How to Clean Roomba Side Wheels and Further Maintenance?
That being said, in consideration of all existing Roomba robot vacuums, our guides on how to clean roomba side wheels will make sure that you can clean roomba wheels correctly. The in-depth and informative guides will let you apply the knowledge on most of your Roomba vacuum models with little trouble.
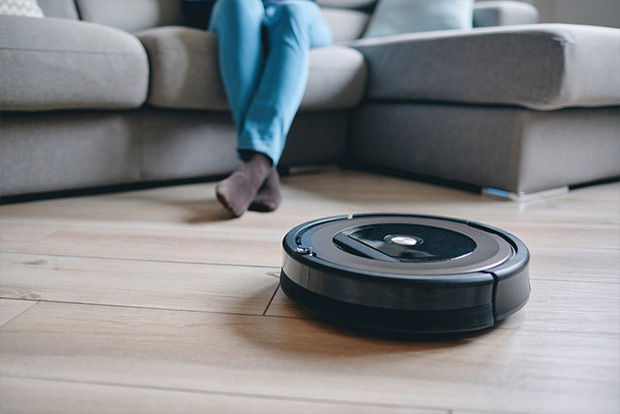
Your automated butler still needs certain wheel maintenance
What you will need to follow this tutorial
To follow our roomba side wheel cleaning instruction, you will need to do some research on your current Roomba models using the certain instruction manuals and from Roomba’s Home Support department. This will show you the exact designs of the wheels on each model and how you can clean them most efficiently.
Usually, your Roomba robot vacuum comes with the standard setup of two sidewheel modules for driving the unit and one front wheel for navigating its direction. So, you will need to clean the side wheels to maintain the momentum and unclog the front wheel if your machine is having trouble navigating.
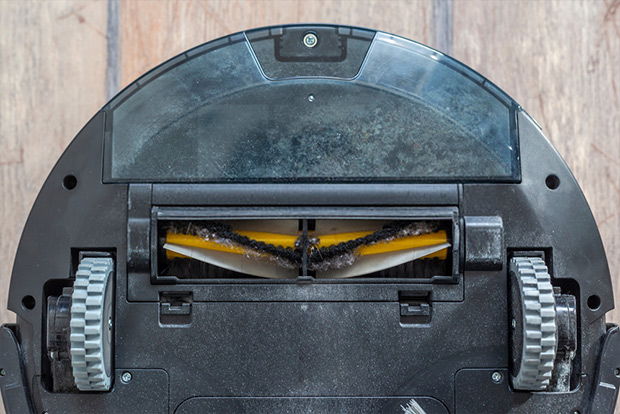
Vacuum wheels and brushes can easily caught hairs
Here are what you need and why you need them:
- And most of the time, you’ll be dealing with dust and hair pieces that are slowing down the machine. So, it’s important to get yourself a vacuum to pick up all the dirt and tiny debris that remains inside the crevices. Also, you’ll need a pair of small but thin scissors so you can get into the narrow spaces and cut off the hairs.
- To disassemble the parts and get your hands on the wheel modules, you need to read the instruction manual and take a look at the unit to find a fitting Phillips screwdriver. And it would be nice if you can prepare small boxes where you can keep all the screws together and different screws separated.
- A few clean cloths are needed if you wish to deep clean the outside of the wheel modules, especially the tainted rubber wheels. You can simply use warm water but if you also want to degrease certain parts, a normal dish soap product would do the job.
- And lastly, you can choose to add any multi-purpose lubricating and penetrating sprays on the axle so it can function more effectively and less prone to issues. Any products would do the job, just make sure that they can reach between the narrow edges.
Step by step instructions
Following these intuitive and simple steps, you can methodically learn how to clean roomba wheels on any of your models, including the IROBOT ROOMBA 960 and products from other series. And the studied knowledge can then be re-applied to any future cleaning projects, thanks to the informative details.
To start the cleaning process, make sure that you’ve turned off your unit and have all the mentioned tools ready.
Step 1 – Remove the bottom lid and the wheel modules
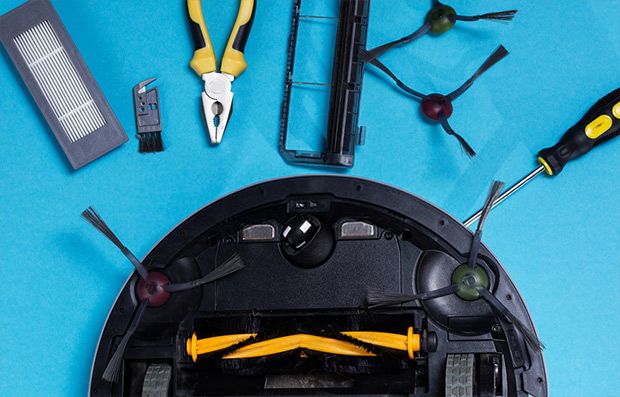
Place the vacuum bottom ups to start removing the wheels
First of all, to remove the bottom lid, you need to place the vacuum upside down to reveal all the bottom screws. On most of your Roomba vacuums, there will be several bigger screws that connect the bottom lid to the body of the machine. Use the prepared Phillips screwdriver and turn it clockwise to remove the screws. Remember to put the removed screws to a box so you can turn to them later.
Once the screws are out, proceed to disassemble the bottom lid, which would come out relatively easy with just a light nudge. Continue to look at the bottom of the vacuum to locate all the different screws that are connecting the wheel modules to the unit. Then proceed to do the same to have them all removed and stored inside a separate box. Depending on different models, the designs and positioning of the wheel models can be varied, but you can almost always be able to take them out without much effort.
A quick note for those who are interested, unlike when cleaning roomba side wheels, it’s possible to just remove the wheel itself instead of the entire module when cleaning. So, you might just consider prying out the front wheels, which is available on most Roomba models, if the machine’s navigation is still good.
Step 2 – Unclog and vacuum the wheel
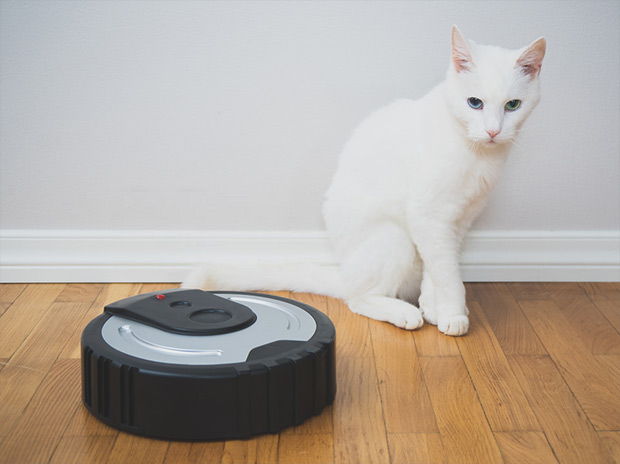
Pet and human hairs can get inside the wheels and slow down its movement
Start working on each module one at a time. Use the scissors to get inside the wheel axle where hairs are clogging up and cut off any excessive pieces. Do this a few times, and you don’t need to work too hard, the rest of the hair pieces will eventually come out when the long ones are cut. Just simply spin the wheels a little so that the little pieces of hair can fall out. Also take a look around the wheel models to locate any hair pieces that are caught in other places and use the scissors to cut them off.
You can use the crevice and dusting tools on your vacuum cleaner to get rid of remaining hairs while also vacuuming any dust pieces that are stuck on the wheel modules. Run it and brush around the body of the wheel and the module until you’re satisfied with the result. Also work your vacuum on the bottom of the robot vacuum where you’ve just removed the modules to make sure that the spots are dust-free.
And for those who are wondering how to clean roomba front wheel, as mentioned, you can just take out the wheel part to do some dusting and unclogging. Or if you chose to get the entire unit out, the job is pretty much the same, but there will be more areas that you need to cover.
FURTHER READING
➜ Irobot Roomba E5: Is This The Best Entry-Level Robot?
➜ What Are Irobots And How Do You Reset A Roomba Robot Vacuum For Your New Home?
➜ Roomba's Battery Life: A Detailed Guide to Enhance Performance
Step 3 – Wipe and dry the outer shells
If there are dry stains and other sticky stuff stuck on the wheels and the modules, you will need to scrape them off. Using sharp and pointy scissors to get rid of all the remaining dirt. Mildly soak your clean cloth with warm water and start wiping the scraped stains to completely get them off your wheels. You can add soap to effectively clean greasy spots and deal with odors. Finish the job with a dry cloth and leave the module out in the air for a few minutes so it can completely dry.
And remember, unless you are able to take out the wheels and only the wheels, never submerge the side wheel modules underwater. This is because they also have built-in electrical parts that are responsible for driving the unit, so any attempt would mean that you’ll have to get yourself a new module.
Step 4 – Lubricate and re-insert the wheel modules
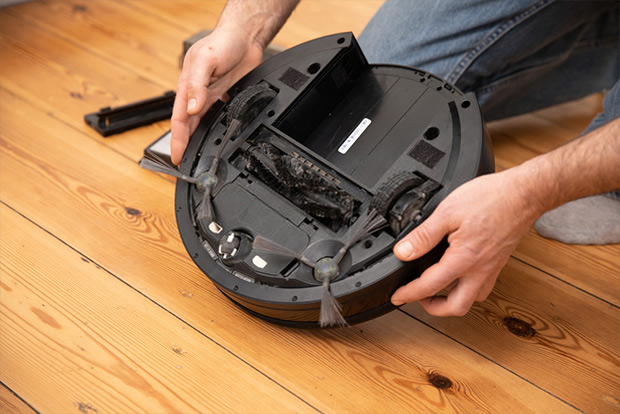
Clean then put the wheels back
Before inserting the modules back to the machine, simply apply your multi-purpose lubricating spray to the metal axle on the wheel. This will stop squeaky noises and protect the wheels from future corrosion.
To finish our guide on how to remove roomba side wheels, simply repeat the first step and place the Roomba robot vacuum upside down on the floor or table. Insert the wheel modules back to the unit then put back the screws. Cover the bottom with the lid and secure it with the rest of the screws. You can then operate the machine to make sure that there is nothing wrong with it.
Conclusion
Having to clean roomba side wheels is definitely challenging for low-tech homeowners, especially with the different models and designs, but with our intuitive guide on how to clean roomba side wheels, you’ll never find the job challenging anymore.
And if you ever have any questions like Roomba not connecting to wifi or doing robot vacuums work, feel free to check our website for other informative posts on vacuums, and home maintenance in general.


