Roomba's Battery Life: A Detailed Guide to Enhance Performance
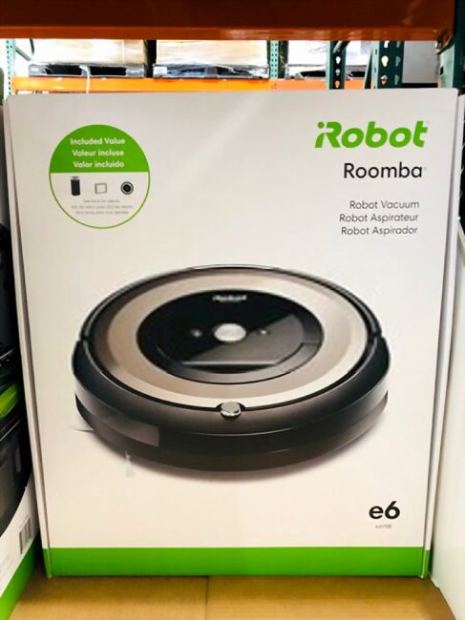
A picture showing a Roomba
These are just some of the many questions that are covered in this article. It is worth noting that humankind has preferred living in a clean environment since time immemorial. However, daily cleaning can at times be time consuming and exhausting.
It is for this reason that Roomba, robotic vacuum cleaners, were invented. The cleaners are built with sensors that allows them to automatically navigate areas around furniture and corners while doing the vacuuming. The sensors are designed to detect obstacles, dirt and even steep drops like staircases to eliminate accidents.
How intelligent can these robots be? These cleaners are capable of picking up any kind of debris along their paths. Home cleaning has been made simpler and more efficient.
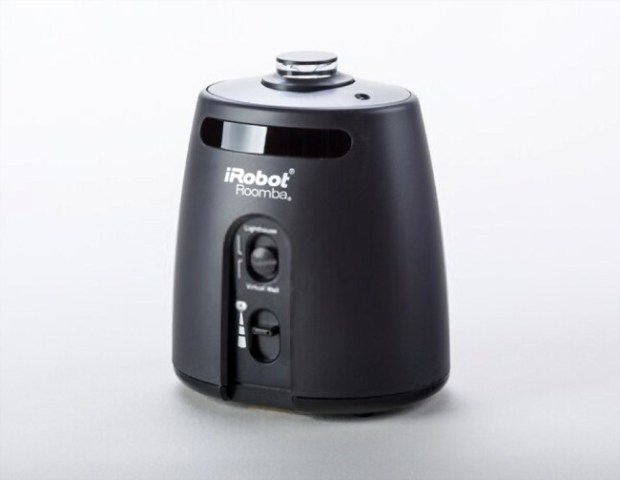
A closeup picture of an iRobot
Every good idea must always have some uncertainties around them. That includes Roomba robotics. The major concern about these intelligent best vacuum cleaners has always been concerning their batteries.
So, how long does Roomba’s battery last? How are they supposed to be charged? Are they replaceable? How are they supposed to be replaced? All these concerns plus much more are the issues that this article will provide answers to.
Let’s take a look.
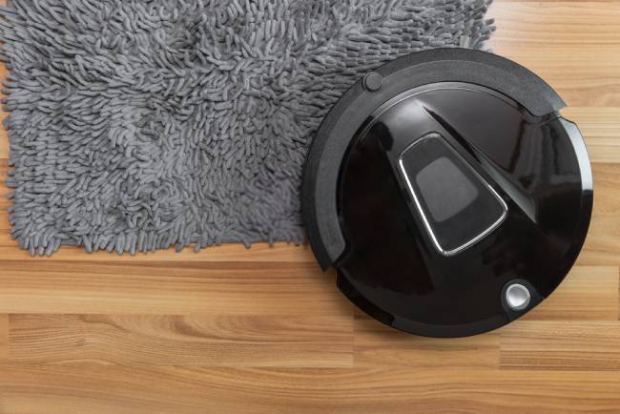
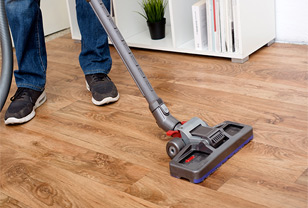
A real picture showing a vacuum cleaner on a wood floor
How long does the Roomba battery last? How can the longevity of the Roomba battery be extended?
Well, this is one question that lingers so often in people’s mind before they decide to spend their money on anything; not the Roomba batteries alone. It is a justified question though. Who really wants to spend money on something that doesn’t offer you a good value?
In this section, therefore, we will answer this important question. After all, that’s why we are here! To provide solutions to your concerns.
The life of any given item often depends on how it is being used as well as taken care of. To help prolong the life of your Roomba battery, here are some of the tips to keep in mind:
● Fully exhaust the battery before recharging
It is important that you drain your battery to maintain its full capacity. This is one thing that I also came to learn of just recently. I used to charge my battery every time that I felt there was a voltage drop and I thought I was helping extend my battery’s life only to learn that I was spoiling it instead.
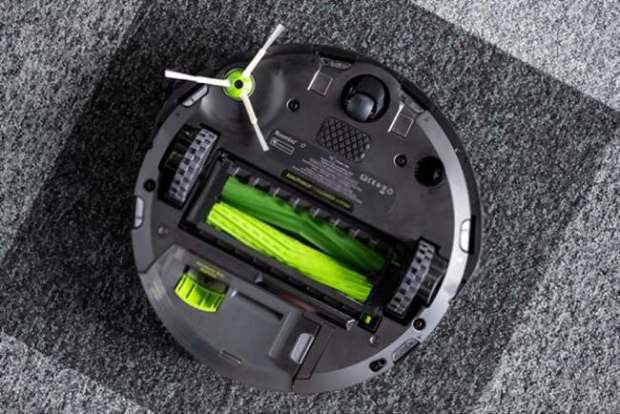
iRobot Roomba fitted with a better battery
But how do you know that the battery is fully drained? Well, you need to run the vacuum till the battery dies by itself. After this is done, you now need to ensure that the battery is fully charged before you begin using it again.
Make sure that this cycle is repeated over and over and you will for sure love how long your batteries last. Charging the Roomba’s battery before it has been fully drained only serves to spoil your rather good battery.
● Store in a cool and dry place
This is a general rule applicable to almost all items. You’ve probably come across ‘store in a cool and dry place’ with regards to most of your household goods. Where you store your battery also goes a long way in determining how long it is going to last.
Just like most of the household items, Roomba batteries should be stored away from direct sunlight. Why is it recommended to keep Roomba batteries away from direct sunlight? Well, heat that is emitted from the sun’s rays are among the high-profile enemies of the battery.
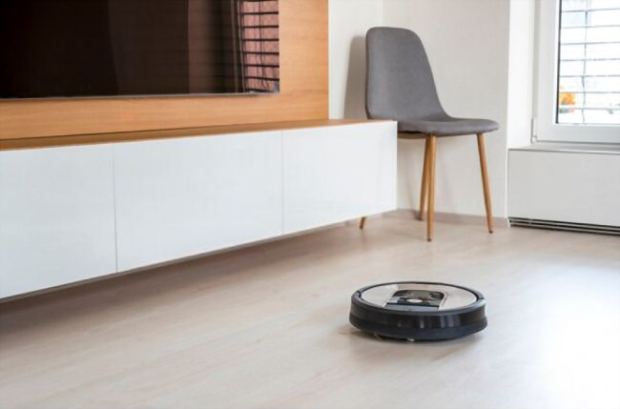
A picture of an automated Roomba in the background
Additionally, ensure that there is plenty of fresh air in and around where the battery has been stored. The battery should be stored away from heat-emitting electronics and appliances. Heat is known to cause damage to batteries so make sure they are stored where it is relatively cool.
● Clean the brushes
There are some Roomba models that are self-charging. However, the hair and pet fur, dust, plus other debris usually find their way into the brushes. To ensure that your battery lasts longer, it is recommended that you clean up the brushes.
If the Roomba vacuum is too full of dirt and debris, it will automatically affect the performance of the battery which will in turn reduce its shelf life.
It is recommended that you remove your Roomba battery’s brushes at least once a week and get them cleaned. That way, you’ll be sure of having your battery serving you a little longer.
● Switch to ‘vacation mode’ when not in use
Another good way to extend your Roomba battery’s life is by switching the robot to ‘vacation mode’. This is one sure way of keeping the battery in a healthy state if it is not going to be used for a longer duration of time; let’s say a month.
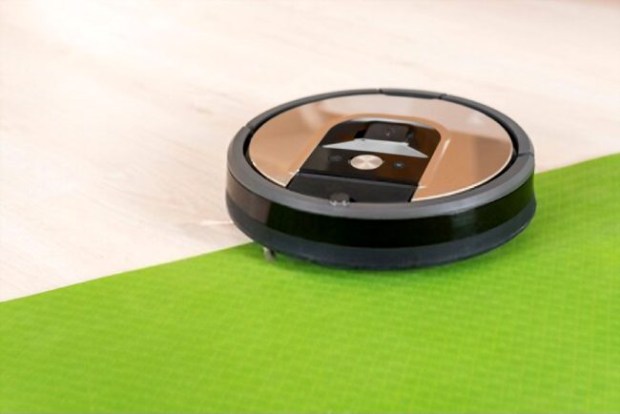
A picture showing a Roomba vacuum cleaning robot in the background
How do you put the battery on vacation mode? Now, this is the next question you are probably asking yourself. This is actually a non-technical trick that can be done by anybody. You don’t need any training to switch your Roomba battery to ‘vacation mode.’
First ensure that the battery is fully charged. Next, remove the battery by loosening screws holding the battery door. Once you’ve removed the battery, store it in a cool and dry place away from the unit itself.
After you’re through with your vacation, just reassemble your gadget after fully recharging the battery. Ensure that you run the unit until it goes completely off before you resume your normal routine. Isn’t that super easy and straightforward?
● Use the battery often
Whenever you are not using the nickel-based Roomba batteries, it is recommended that you keep it charging to ensure its continual use. Regular use of the battery ensures its efficiency is well-maintained. Additionally, lots of vacuuming helps improve the health status of the battery.
As you are now aware, these are just some of the many ways you can extend a Roomba battery’s life. From the above tips, you will notice that the longevity of the battery depends how effectively you use it. It is therefore important that you observe some, if not all, of the above maintenance practices.
When to replace your Roomba battery
Have you been noticing a downward trend on the performance of your battery? Are you suspecting that it is time you replaced the item? Do you know when exactly is the right time to do the replacement?
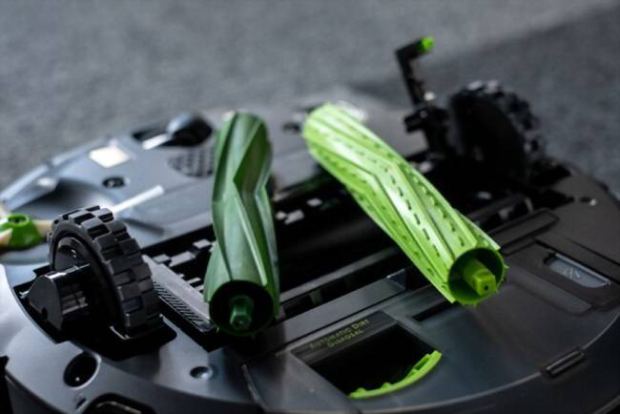
A close up picture showing the iRobot Roomba
You are just in time for the answers to these questions. There are instances where your vacuum may not be functioning properly, some of which could be attributed to the battery, but usually it’s hard to tell right away. In this section, however, we are going to have a look at some of the glaring signs that it is now time to replace your Roomba battery.
So, what are some of the ways of knowing that your battery is due for replacement? Below are some of the very obvious signs:
● Reduced run time
A Roomba in good working condition should run for about 2 hours. However, this depends on other factors such as your home’s layout, size, floor types and how many pets you have. A good battery should be able to serve you for close to 2 hours.
This is not always the case. There are instances where you might find your robot dead in just a few minutes after startup. Nothing is as annoying as finding your robot dead half-way before the job is done, believe me.
I have experienced such a problem before, and it is something that I wouldn’t want to happen to you too. Poor maintenance of the battery is the typical cause of these issues. Very short run times are a big annoyance and the best way to eliminate them is by replacing the faulty battery.
● Battery not holding its charge
Have you ever tried charging a Roomba battery even for an entire day only to realize that the battery wasn’t charging? I’ve had one before that would stay on charge overnight but couldn’t even last 5 minutes during usage. So what is the point of charging a battery for 12 hours when it still doesn’t hold a charge?
Before you replace the battery after it fails to charge, you can try performing a drain-charge cycle as this can help revive the battery. This is a simple process that involves removing the battery from the Roomba for approximately 10 minutes and then reinstalling it just to see if it will work.
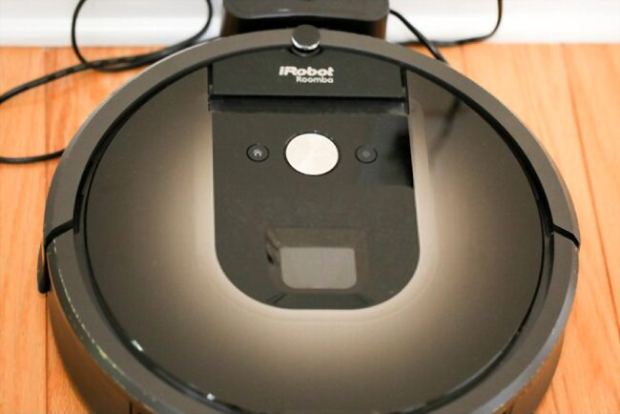
A picture of iRobot Roomba showing it closed up
After reinstalling the battery, perform a cleaning task and see if the battery will drain completely. Thereafter, charge the battery for up to 3 days non-stop and see if the Roomba battery will retain a charge for a relatively longer time.
If after the drain-charge cycle the battery still doesn’t hold a charge, you will need to purchase a new Roomba battery.
● When the power light doesn’t come on
A clear sign that your Roomba is ready for use is when the power light comes on. The power light on a fully charged Roomba will come on in a green solid color. On the other hand, when the battery is charging you will notice a pulsing amber color.
Additionally, the light will be flashing red when the battery is too low and solid red when completely drained. In case you notice that the power light doesn’t come on, one of the obvious causes would be a faulty battery.
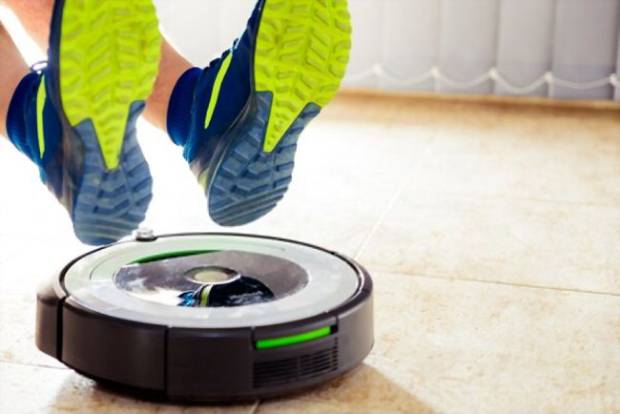
A picture showing someone’s shoes near a Roomba gadget
Well, before you go ahead and replace the battery, it is important that you perform maintenance tasks to be sure that indeed it is the cause of the problem. In that case you are required to remove the battery, wipe it clean and then fit it back into position.
If after doing so the power light doesn’t still come on, then the battery could be faulty and the only solution to that is replacement. This light is the only way you’ll be able to know the status of the Roomba battery.
● Reduced performance even after proper maintenance
I had issues with my Roomba before and all I had to do was a little maintenance and everything was back to normal. By just removing the battery and cleaning the contact surfaces and the charging dock, the Roomba was working well again. However, there are times when you can complete all the recommended maintenance tasks yet the performance is still very poor.
➜ RELATED: How To Clean Dyson Vacuum Cleaners In Easy Steps
Remove all the debris and dust from the Roomba as these can cause strain on the unit and reduce its performance. If there isn’t any improvement in the Roomba’s performance after emptying and cleaning the vacuum, it is important that you consider replacing the battery.
● The Roomba is too old
Every product has a lifecycle limit. There are cases where once the Roomba is about three years old it starts to develop problems. Not because the unit is not being well-maintained but just through aging.
An old Roomba battery is often associated with reduced run times and charging issues. You can maintain your unit in the best state possible but at some point you will have to replace the battery due to old age.
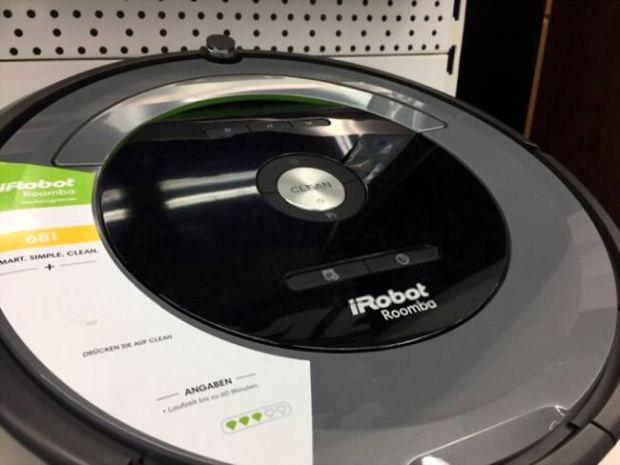
A picture of an iRobot Roomba
In that case, if you suspect that the battery is too old to operate properly, of course after several years of service, you are at liberty to replace it. It will insure your Roomba performs well. Of course the need to change the battery eventually will be inevitable.
● No improved performance even after resetting the unit
Resetting your Roomba can help in the revival of stubborn batteries. Do you know how to reset the Roomba? Well, this is another straightforward process.
Firstly, power the Roomba on by pressing the clean button. Secondly, hold down the ‘spot’ and ‘dock’ buttons at the same time for about 30 seconds. After releasing the buttons, you will hear the Roomba’s usual startup sound. Thirdly, fully charge the battery, this should take up to 16 hours, but you will see the green indication light that the battery is fully charged. It’s that simple to complete the resetting procedure.
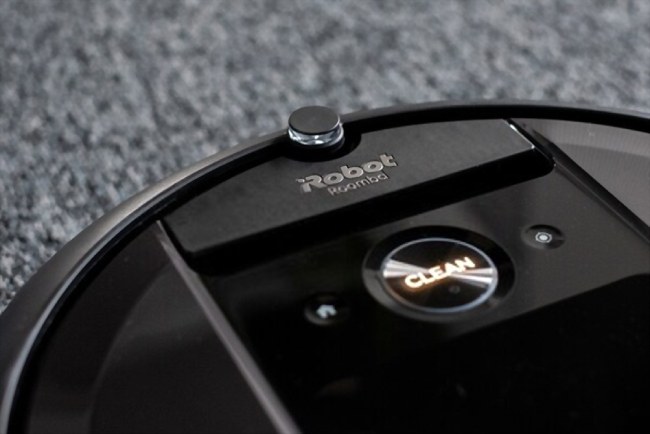
A close up picture of a Roomba iRobot surface
After carrying out this simple procedure, in normal circumstances the Roomba’s performance should improve. However, in case there is no improvement in the device’s performance then the battery is obviously faulty. In such a case, battery replacement will ensure proper functioning of your unit.
I hope your questions about the ideal time to replace a Roomba battery have been clearly answered. This is one of the many questions that Roomba lovers have struggled to answer for quite some time now. However, this in-depth analysis will help you troubleshoot issues to ensure your Roomba continues to help you keep your home clean.
Now that you know when to replace your Roomba battery, the next big question is, how do you replace it? That is the next topic of our conversation about Roomba battery life. Read along for more conclusive insights on Roomba batteries. Let’s go!
Some great vacuums maybe you also like
Roomba battery dead? How do you know?
Are you suspecting that your iRobot Roomba battery could be dead but you aren’t sure about it? Do you wonder if it is time to replace your Roomba vacuum in general or if it is just the battery that needs to be replaced?
Now, for a dead Roomba, it won’t power on or charge. Does your device behave in this manner? If it won’t charge or power on, then you know that it is dead. If it hasn’t been too long since the time of purchase, you can contact the manufacturer and seek technical assistance.
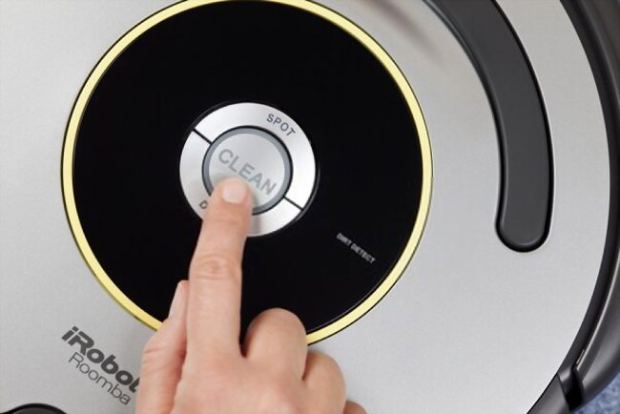
A picture showing someone operating an iRobot Roomba gadget
Some devices can be repaired while for others the cost of repairing it could be as much as buying a new one. If you suspect that your Roomba is malfunctioning, it is probably easiest to just buy a new one.
How to replace the Roomba battery
Have you ever replaced any batteries before? If you have replaced batteries, then it won’t be rocket science to change the Roomba batteries. However, installing a battery for the first time can be quite challenging.
In fact, changing Roomba batteries are a little different from changing remote control batteries for example. So how does one replace old Roomba batteries? What are some of the tools and equipment that are handy during such a process? Is your battery dead in the first place?
If you happen to have a dead Roomba battery, then you will be left without a choice but to replace it. You need to have a screwdriver as that will make it easier for you to access the battery itself.
Here is a step by step guide to replacing your Roomba battery:
i. Roomba battery replacement is usually a simple task that starts with turning the Roomba upside down.
ii. Once you have flipped the robot vacuum upside down, use a screwdriver to remove the side brush out of position.
iii. Remove the bottom cover by first loosening the 4 screws that hold it in position.
iv. Thereafter, remove the old battery and replace it with a new one. Just make sure that it is the same type of battery and the manufacturer’s logo faces up for easy identification on the next replacement.
v. After perfectly replacing the battery, replace the cover and tighten the 4 screws to secure it.
vi. Finally, replace the side brush and make sure the screws are tightly fitted and that the sensors are flush with the bottom cover.
The process of replacing your Roomba battery is that simple. Don’t pay a technician to do for you the replacement and save money!
Roomba battery not charging? What could be the causes of the charging problem?
Have you bought a new robot vacuum that doesn’t want to charge or is your Roomba beginning to act up? These are two different scenarios that must be carefully looked into. Check to see what the model number is of the unit that is giving you trouble.
For new robot vacuums, they might fail to charge as a result of lack of activation. The failed charging could also be as a result of a battery that might have shifted its position during transit. This is pretty common and by just placing the battery back into position you will have resolved the problem.
Sometimes it is the charger that becomes faulty. If your Home Base charging unit is not lighting up solidly for about a few seconds then turning off or not blinking at least once in 4 seconds after start up, then it could be the charger that is faulty. If the charger is preventing the battery from charging properly, then you can consider replacing it with a new one altogether.
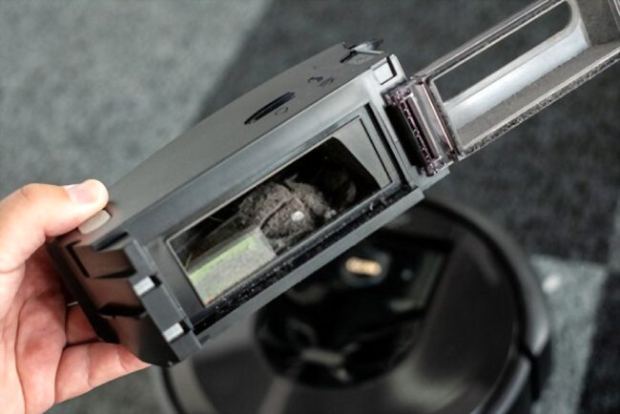
Roomba battery being replaced
Before you conclude that it could be the charger, try shifting to another power outlet. It could be an issue with your power supply too. Try another outlet and see if the charger will come on. If it doesn’t, then the charger will be deemed faulty.
Of course, you need to make an effort to ensure all your power supplies are operational. If they are in good working condition but the charger is still not coming on then it is the charger that needs to be replaced.
Does the charger come on and is ready for use but still your robot doesn’t charge? Well, this could now be attributed to the cleaner itself. Give your unit a quick check to establish the cause of the problem.
Check if there is any dirt on the charging contacts. A large accumulation of dust on the charging contacts can cause the unit not to charge. Ensure that contacts for both the Roomba and charger are free from any kind of dirt.
In case you find any dirt on the charging contacts, use a soft but dry cloth to remove them. However, if no dirt has been found and the battery is still not charging you can go a step further and remove the Roomba from the charger.
Now, disconnect the caster wheel and ensure no debris has collected in the caster wheel. After removing any dirt, put together your cleaner and try charging it. If there are no technical problems with the robot, then it should be able to charge now.
However, if the unit is still not charging, you can reboot the robot and see if the problem has been resolved. Of course, the rebooting procedure is clearly outlined earlier in the article. It is a simple process that will only take a few minutes.
As you have clearly seen, there are various reasons that might cause your Roomba battery not to charge. Some might be technical issues but others can be resolved with simple maintenance practices. To avoid the occurrence of issues in the future, please ensure that you do check the condition of your unit on a regular basis.
Prevention at an early stage goes a long way in extending the Roomba battery life. That way, your Roomba vacuum will continue to make your life easier by doing the vacuuming for you. We are sure you prefer to get the best value for your hard earned money with this time and energy saving device.
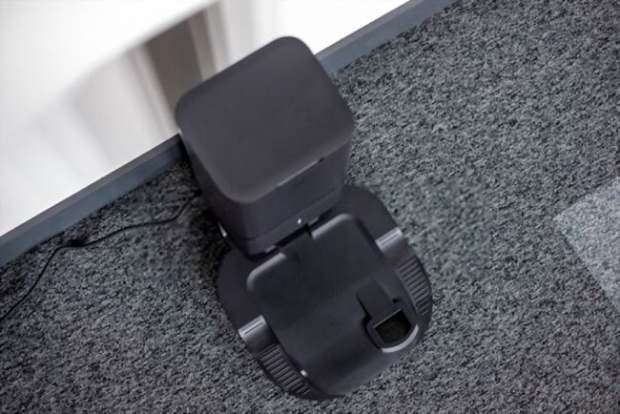
A picture showing Roomba i7 being recharged
It is a good practice to always charge the battery before use, if the charging fails then there is no way your cleaning tasks will be accomplished. My unit once failed to charge at a time when I needed it to operate the most.
Have you ever tried to charge a device overnight only to wake up in the morning to the surprise that it wasn’t even charging? This has happened to me so many times and it is quite a frustrating experience. I hope charging your Roomba battery doesn’t disappoint you in this manner.
How to charge the Roomba battery for the first time
Have you just bought a new Roomba battery? Are you not sure how long the battery needs to charge before use? Well, this a common dilemma for first-time users of these robot vacuums.
Changing a new battery for any gadget, even a phone, for the first time often takes longer so that the battery becomes intensively and completely charged. This is usually the recommended practice so as to extend the battery’s lifespan.
In that regard, I prefer charging my new battery for more than 12 hours. I usually charge my new Roomba batteries overnight so that there are no charge interruptions. This way I am sure that by morning my battery will be well-charged and ready for use.
Roomba batteries should be charged for a long after being bought as that is one sure way of extending its life. The subsequent charging, however, will take only 2 hours and the battery will be full and perfect for use.
Don’t make a mistake of buying a battery and directly using the device without charging for at least 12 hours. Otherwise, the battery will become faulty after just a short period of use.
One thing that you really need to know is that the more often you charge the battery, the healthier it becomes. In fact, it is said that the more the Roomba stays on its charger, the longer it will last. So, any time that you are not using the Roomba make sure it is plugged into the charger.
The only time you don’t have to worry about charging your robotic vacuum cleaner is when you are going to be away for weeks. In such a case, you are allowed to switch the Roomba into ‘vacation’ mode.
I hope this section answers your question on how long to change the Roomba? What do you think? Is there anything that hasn’t been talked about regarding the Roomba battery charging duration?
How to tell if Roomba is charging
You are well aware that a Roomba draws its power from a rechargeable battery which can perform numerous cleaning cycles if properly maintained. The best way to ensure that the battery is well-maintained is to keep it charging after every cleaning job.
But how do you tell if the Roomba is charging? In this section, I tell you how to be sure that indeed your Roomba battery is getting charged.
If the charger indicates a solid green light when plugged into an outlet, then you know that the charging is underway. However, there are exceptions. In case you are charging your Roomba using the Home Base charger, then at times the charging can take place with the indication light off.
The indication light stays off as a power conservation technique. In such a case, the indicator comes on for just a few seconds before going off. The light takes up some energy if it stays on for a considerable amount of time that’s why in some chargers it shuts off.
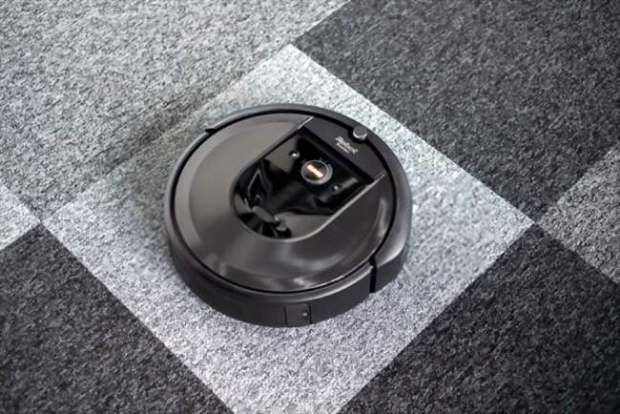
A picture of an iRobot Roomba on the background
If you are still unsure if your battery is indeed charging, you can try this other option. Press the Roomba’s ‘Clean’ button once and check if the power indication is either green to symbolize full charge or it’s a pulsing amber to show that the cleaner is charging. If by chance you notice that the power light is red, then just know that the battery is fully drained and needs to be charged.
If you don’t have enough information yet, there is an iRobot App that you can also use to know if indeed the Roomba is charging. This application is only available in the latest iRobot series like the 900. Using your app, check the upper right corner where the battery is located to confirm your battery’s current status.
If the battery is charging, you will notice that under the ‘clean’ screen there will be a ‘charging’ alert. Once the battery is fully charged, the ‘clean’ screen will now display ‘ready to clean’. This simply symbolizes that your Roomba is now ready to perform its cleaning tasks.
As you have clearly seen, it is quite easy to tell if your Roomba battery is charging.
What are you supposed to do if your Roomba is discharged?
As I have said over and over in this article, it is important to charge your Roomba immediately after every cleaning cycle. However, there are instances when we tend to forget about this and only realize days later that the Roomba wasn’t charged and has probably been drained completely.
What are you supposed to do in such a case? Roombas are smart devices capable of refreshing themselves as well as initializing another charge cycle. When you notice that the ‘clean’ indicator is flashing either amber or red, then know that the cleaner is in a refreshing mode and shouldn’t be interrupted.
The refreshing mode cannot be initiated manually and usually takes up to about 16 hours to be completed. Apart from helping in the process of recharging your battery, the refreshing exercise also helps extend the battery’s life. Once you realize that the battery indicator is quickly pulsing just know that the unit refreshing.
After this process is complete, the battery will just automatically be charged for as long as it is connected to a power outlet.
How long does a Roomba run after being charged?
A Roomba battery is made up of 12 very small NiMH batteries that have been grouped together to form a larger battery. According to the manufacturer, iRobot, the battery can be used for up to two hours after being charged.
The battery, on the other hand, can be charged up to 400 times which translates to between 2 and 4 years of service. It is however worth noting that the time which the robot will keep running depends on a number of issues, one of which is how well the robot is well-maintained.
There have been cases where the batteries run low even before an hour’s mark but not because the battery wasn’t charged but rather due to poor maintenance. There are cases where the battery can even go for 4 hours.
➜ RELATED: Different Types Of Vacuum Cleaners Everything You Need To Know
How to connect Roomba to a Wi-Fi network
Are you trying to connect your Roomba to the iRobot App but it keeps displaying an error message? Is it the first time you are coming across this problem or is it a perennial one? Here is a brief guide on how to resolve such a problem:
a. Firstly, ensure that where you have placed both the Home Base charger and the robovac there is sufficient network coverage and Wi-Fi connection can be achieved and at high speeds.
b. Does the robot’s Wi-Fi indication light turn green? If it does turn green, follow all the instructions being displayed on the App and configure the connection between the robot and the phone.
c. If the Wi-Fi indicator on the robot doesn’t turn green, try rebooting both the router and Roomba, close the App and begin the configuration again. Make sure you follow all the steps.
d. In case this still doesn’t help, go to your router’s Wi-Fi settings and check its compatibility with the iRobot App.
This guide should solve your connection problem.
Roomba indication lights and what they mean
As I have said before, there are some of these robots that have their indication lights turn off in just under a minute of being in a charging mode. This is simply meant to conserve on energy. The Roomba will charge but minus any indication light until the ‘Clean’ button is pressed to turn the robot on.
The information below about indicator lights will be of great importance in determining the condition of your battery:
- Solid Red - the Roomba battery is completely empty and needs to be recharged.
- Flashing Red - the Roomba battery is too low on power and a cleaning cycle cannot be started. The robot needs to be recharged.
- Solid Green - the Roomba battery is fully charged and is ready for use.
- Pulsing Amber - the battery is charging.
- Quick Pulsing Amber - the Roomba is undergoing a 16-hour refresh and charge mode.
Conclusion
The iRobot Roomba is very handy when it comes to home vacuuming with an aim of getting rid of pet hair, dirt, dust and any kind of debris. It is a very intelligent device that doesn’t need a lot of attention to get everything right. Just a little maintenance on the robovac is enough to get optimum performance.
One critical component of this cleaner is the battery. Roomba battery life has been an issue of concern to so many users. However, I have provided an in-depth analysis to almost, if not all, everything you need to know about Roomba batteries.
Do you think there is anything that I have left out? Do you still have some issues or concerns regarding this topic? What are some of the questions you still have? Do you have any additional information that you feel can be added onto the article to make it better? Well, here is an opportunity to reach out to me through the comment section below.
I hope you enjoyed reading through the information. Keep sharing so that the information reaches as many people as possible.


