How to Remove O Cedar Mop Head: User’s Guide & Tips and Tricks
But while the brand sells many kinds of products, their floor mops are the most popular.
Have you got yourself an O-Cedar mop? You may have a few questions about how to use it, such as removing O Cedar mop head. In this guide, we’ll show you how to remove O Cedar mop head. And from there, we’ll show you how to use and maintain them!
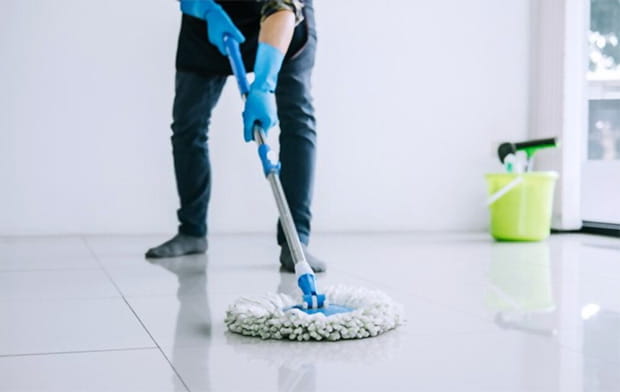
How to Remove O Cedar Mop Head
Like with most floor mops, the O-Cedar mop heads are removable. If you’re wondering how to do this … worry not; we’re here to help!
The most popular O-Cedar mop on the market right now is the O-Cedar EasyWring. So, we’re going to use it as an example. Since all O-Cedar mops have roughly the same design, you can use this guide and apply it to other mop models.
Step 1: Read the Manuals
Before you proceed, read the manuals that come with the mop. It should come with a diagram to show you every part of the mop and its function. Focus particularly on the mopping head and read everything you can about it.
Step 2: Check the Mopping Head
O-Cedar mopping heads are washable. So, if your mop is new, you’re probably looking to remove it to wash it. However, inspecting the mopping head will still be a good idea. Check the strings to see if they are still whole. Then, carefully look at the fitting on the mopping head to see if there’s any broken part.
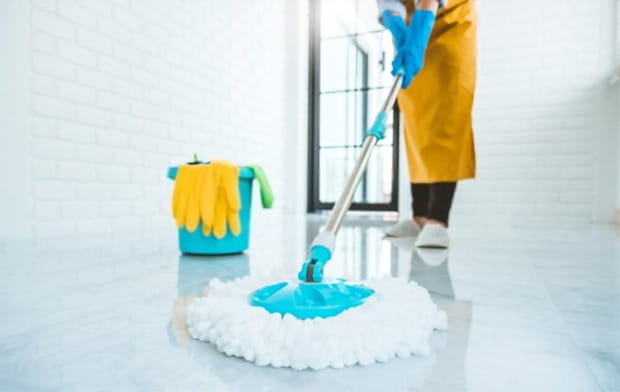
If the mopping head looks damaged or worn out, you should replace it with a new one. Cleaning the house with a damaged mopping head may harm your floor more than good.
Step 3: Remove the Mopping Head
The handle is attached to the mopping head via a friction lock.
Pick up the mop, hold onto the mopping head, and twist the handle counterclockwise while pulling outward. The handle should get looser and looser until it detaches, leaving you with the mopping head.
Do not stick the mop upward. Step onto the strings of the mopping pad, and pull up the handle. While it’s much more convenient than the method above, doing it this way may damage your mop. The handle joint can be damaged alongside the mopping head.
Step 4: Remove the Plastic Cover Plate
Once you have removed the handle, you will be left with the mopping head. If you want to clean the stringy mop, you need to pop out the red plastic covering at the top. This part is quite simple, also. Grip the red cover plate on one end, then pull out. It should come off very easily.
With the cover plate removed, you now have the bare string mop. If it has gotten dirty, you can throw it into the wash, left to dry, and reuse it the next day. Or, if it’s damaged or worn out, you can discard it and buy and use a new one.
And that’s how to remove Cedar mop heads! The fact that it’s so easy is part of the reason why O Cedar is such a popular manufacturer. Everybody loves the simplicity and ease of use of their products.
How to Wash O Cedar Mop Head
Once you have learned the O Cedar mop head removal procedure, then it’s time for you to learn how to wash it (if you haven’t known already.) It’s fortunate that O Cedar has made the cleaning process very easy.
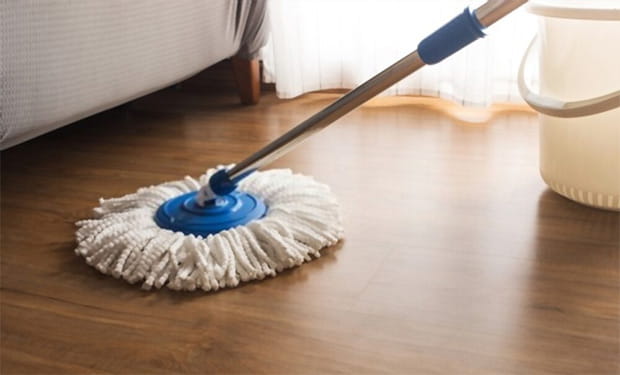
Step 1: Remove the Mop Head
Using the procedure above, disassemble the mop head of the O Cedar spin mop. Follow the steps all the way to the end until all you have left is the bare, stringy mopping head.
Step 2: Decide Whether to Wash Manually or Use a Washing Machine
At this stage, you have a decision to make. You can either wash the mopping head manually by hand, or you can use a washing machine. Most people will opt for the latter since it’s faster and takes less effort. But, just in case, we’ll show you how to do both in this guide.
To manually wash the mopping head, the first step is to rinse it out. After mopping the floor, the mop will hold every manner of dirt, dust, and bacteria imaginable. Run it underneath a stream of water until the water runs clear. Preferably, use your bathroom sink. The dirty water will go right down the drain.
Scrub the mop carefully and brush out all of the mud and debris you see sticking onto the strings.
And if you want to clean the mop using the washer, the task is far simpler. Throw the mop into your washing machine and set the cycle to gentle. Harsher cycles may damage the mop. If the mop is way too dirty, you can add a little bit of bleach to restore it to its pristine state.
Step 3: Hang to Dry
Anyway, no matter what method you use, you should end up with a clean mop by the end. Hang the wet mop somewhere with plenty of air to dry for at least 24 hours before reusing it.
➜ RELATED: Bissell Steam Mop 1940 - A High-Quality Yet Affordable Device
How to Change O Cedar Mop Head
If you want to change the mop head, then the procedure is extremely straightforward. Remove the handle from the cleaning head, then remove the plastic cover on top of the stringy mop. Check the mop carefully to see if it’s still salvageable. If it’s not, then you can discard it.
You can buy a replacement mopper straight from O Cedar. You can call their customer service or visit their webpage to look for O Cedar mop replacement parts.
Once you have the replacement mop in hand, put the red plastic cover place on top of the new mop. Replace the handle at the top, and voilà, your O Cedar spin mop is ready to go again.
➜ RELATED: Can You Use a Steam Mop on Laminate Floors: Basic Laminate Floor Care Tutorial
Why Should You Wash and Change Your Mop Head Often?
Now that you have learned everything you need to know about maintaining an O Cedar mop, from how to remove spin mop head for washing to how to wash the mopping head, you may be wondering … why?
Aside from the obvious benefit of washing all the collected grimes and dirt off of your mop, there are a few other benefits, as well.
Improves Cleaning Performance
If your mop is dirty, you won’t be able to do a good job at cleaning the floor. If the mop strings are caked in dirt and debris, the more you scrub, the worse it will get.
So, make a habit of cleaning your mop’s head regularly. For day-to-day cleaning, washing the mopping head of your best mop for vinyl plank floors once every two or three light cleaning sessions will do the trick. For heavy cleaning sessions that got your mop’s head blackened afterward, take it out to wash immediately.
Protect Your Family Against Diseases and Allergies
The main benefit of mopping is cleaning up all the grimes and bacteria in your house. But remember, when you mop, all of these dirty things will stick to your mop. If you don’t clean your mop properly, your house won’t be sanitized, and you will also spread disease and germs as you clean with the dirty mop.
These bacteria can cause your family to become sick. Or, if allergens are stuck on your mop and there are allergy sufferers in the house, they may react to this.
Prevent Streaking
Old, damaged mops will leak water and cause streaking on your floor. Streaking are hazy stains on the floor. If your house has sensitive floor types like hardwood or laminate floors, once the streaks settle, they may become extremely difficult to remove.
Even if you have the best mop for laminate wood floors and it has a faulty and leaky mopping head, streaks will still appear and ruin your floor.
And believe us, you don’t want to have streaky wood floors. The streaks will dull the color of the floor planks and cause them to look very bad.
The best defense against this is to replace your mopping head frequently. O Cedar recommends that you replace your mop’s head once every three months.
What Are the Signs That I Should Replace the O Cedar Mopping Head?
Most O Cedar mops use microfiber mopping heads. They will last for about 500 cleaning sessions and washings. However, nobody keeps count of how many times they wash their mop.
Fortunately, there are some signs that you can use to determine when exactly you should replace your old O Cedar mopping head with a new one.
- The mopping head is permanently discolored: When the mop becomes so dirty that no amount of washing can make it look clean again, then it’s time to think of getting a replacement mopping head.
- The fibers come loose: Many O Cedar mops, like the O Cedar Microtwist Microfiber Twist Mop, use a stringy type of mopping head. Once the strings begin to lose, it’s time to switch it up for a new one.
- General wear and tear: If the mop looks like it’s become worn down or damaged, then you should replace it. It may look like it’s still in working order, but as we mentioned earlier, don’t take any chances. A damaged mop will do more harm than good to your floor.
Conclusion
And that’s how to remove the O Cedar mop head! If you have any other questions that you would like to ask us regarding the O Cedar mop (or any other mop, really), don’t hesitate to give us a call at the editorial! We’ll try to get back to you as soon as we can.
With that said, that’s everything you need to know about how to remove O Cedar mopping head and more. But we still got something else for you. Our readers have sent us many questions about the O Cedar mop. Here are our selections of the best questions and answers to them that may help you learn more about your O Cedar mop and how to use and clean it properly.
FREQUENTLY ASKED QUESTIONS
- 01. How Do You Use the O Cedar Spin Mop?
-
The O Cedar spin mop functions just like your average mop. It should come with a water bucket that you can either fill with plain water or detergent. Dip the mop in the liquid, then track across the floor to pick up all the dirt and dust. To refresh the mop, dip it back into the bucket and give it a good shake to dislodge the dirty particles on the mopping head.
But at this stage, don’t start to mop immediately. The mopping head is still soaked with water. If you try cleaning with a soaked mop, your floor will develop water stains and streaks immediately.
Fortunately, the O Cedar spin mop will have a wringing system built into the water bucket. There will be a receptacle in the bucket. Insert the mopping head into it. Then, search the side of the bucket for a foot pedal. Step on it, and the wringer will rotate the mop at high speed. The fast rotation will wring the mop until it’s only damp, not soaked.
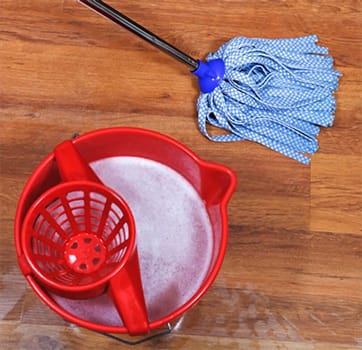
That’s the difference between the average spin mop vs O Cedar!
Literally, rinse and repeat the above.
- 02. Can You Machine Wash the Spin Mop Head?
-
Most definitely. As we demonstrated above, the mopping head can be machine washed. So long that you clean it using the gentle duty cycle, it should be totally safe.
- 03. Can You Wash the O Cedar Mop Head?
-
Most O Cedar mops will come with washable and reusable mop heads. Still, it’s better to be safe than sorry. Check the user’s manuals carefully before you go ahead and wash your mopping head. If the mop head is truly washable, O Cedar will mention it in the manual.
- 04. Can I Put My Mop Head in the Washing Machine?
-
Remove all of the plastic parts and ensure that only the mop itself will go into the washing machine. You can refer to our earlier guide on how to take off O Cedar mop heads for this.
Then, tune the washer to the gentle duty cycle. If the mop is too dirty, you can add some bleach or detergent. Run it!
O Cedar mopping heads are safe to clean in the washer.
- 05. How Do You Change the Mop Head on a Spin Mop?
-
It shouldn’t be all that different from changing the mop head on any other kind of mop. There should be a mechanism to let you remove the mopping head. In the case of the O Cedar mop, remove the handle and the plastic cover at the top of the cleaning head. Once that’s done, you will have the mop head in your hands.
If it’s too worn out or damaged, you can buy a replacement mop head and discard the old one. Replace everything (put the top cover back and lock the handle into place.) But, this time, with the new mop head instead of the old one.


