How to Clean a Roomba That Ran Over Poop: Step-by-Step Instructions
You've slogged through a grueling workday, visions of spotless floors dancing in your head, courtesy of that trusty little vacuum bot. But upon unlocking the door, bam—your nostrils are assaulted by an unmistakable funk, and there it is, your Roomba looking like it just lost a battle with a pet's midnight mishap. Heartbreaking, right? This no-nonsense guide walks you through reclaiming your robot's dignity, step by step, so you can get back to that gleaming paradise without the drama.
Potential Consequences if Your Room Isn't Not Cleaned Properly
Tackling this fecal fiasco might feel like a Herculean chore at first glance, but skimping on a deep clean for your Roomba after it's tangled with poop? That's inviting trouble on a whole other level.
Beyond the obvious stench that could linger like an unwanted guest, even top-tier gadgets like the iRobot Roomba 960 aren't invincible to such sloppy encounters—poop has a way of sneaking into the nooks where tech meets trouble.
Ignore it, and those sneaky bits of waste can worm their way into the guts of the machine, gunking up sensors that guide its every zigzag and whirl. These aren't just fancy add-ons; they're the Roomba's eyes and ears, and any grime-induced glitch could leave it bumping into walls like a drunk toddler, slashing its efficiency to ribbons.
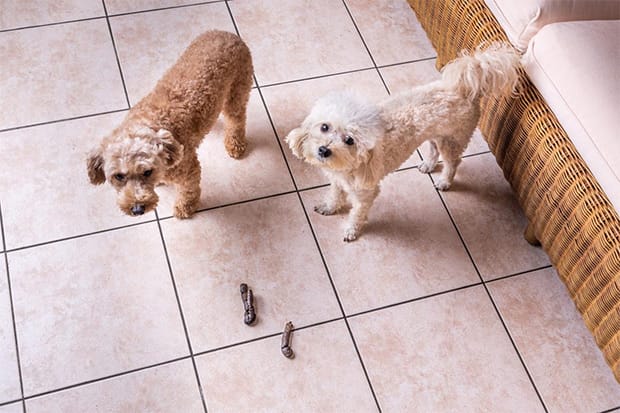
Your robot vacuum may encounter situations beyond its intended design capabilities
Worse still, if traces fester in the dustbin or cling to the brushes, you're brewing a bacterial bonanza that could hitch a ride on your socks or shoes, turning your home into a subtle health hazard for everyone under the roof.
Botch the cleanup, and come next run, your once-reliable sidekick might smear fresh streaks of stink and stain across the carpet, flipping its role from hero to havoc-wreaker and undermining the very reason you shelled out for it.
In the doomsday version of events, that poop could corrode key parts beyond repair, forcing you to fork over for swaps or even a full replacement—ouch. That's precisely why folks with setups like the iRobot Roomba E5 need to roll up their sleeves for these inevitable poop patrols, too.
What You'll Need
Stock up on these essentials before diving in—it's like prepping for a quirky science experiment, but with higher stakes for your sanity:
- Soft cloth: Grab one for gently buffing the Roomba's sleek shell. Microfiber reigns supreme here, as it polishes without a hint of scratching, keeping that matte finish pristine.
- Mild cleaning solution: Essential for tackling the casing and select innards—steer clear of anything gritty or caustic, lest you etch unwanted battle scars into your bot.
- Small brushes: Ideal for dislodging stubborn gunk from tight spots; an overlooked toothbrush from the back of the drawer often shines in this role.
- Cotton swabs or Q-tips: These tiny warriors excel at sensor sweeps and probing those pesky crevices where poop particles love to hide.
- Paper towels: Your go-to for sopping up moisture post-wash, ensuring everything dries without a drip.
- Replacement parts (optional): If the brushes, wheels, or filters look battle-worn from the incident, swapping them out could be the smartest move for longevity.
How to Clean a Roomba That Ran Over Poop
Turn Off and Unplug the Roomba
Kick things off by powering down and disconnecting your beleaguered Roomba—safety first, always, especially when dealing with something as unpredictable as pet waste.
This isn't just protocol; it's your shield against accidental zaps or worsening the spread of that nasty residue, which could fry sensitive circuits if the bot buzzes back to life mid-scrub. Fecal contact amps up the shock risk, so no shortcuts here.
Hit that "Clean" button until the light fades to black, confirming the shutdown. For battery-powered models, pop out the power source from the base—it's usually a straightforward flip-and-lift affair.
Pro tip: Approach with freshly washed, bone-dry hands to avoid transferring your own germs into the mix.
Remove the Robot's Components
Time to play mechanic: Break down the Roomba into its core pieces for a no-stone-unturned cleanse.
Dissecting it this way lets you hunt down every last poop invader lurking in the machinery, while giving you a front-row seat to spot any collateral damage from the chaos—like bent parts or hidden wear.
Heads up: As you unscrew and unclip, catalog every tiny screw and snippet; misplacing one could turn reassembly into a puzzle from hell, or worse, leave your Roomba limping.
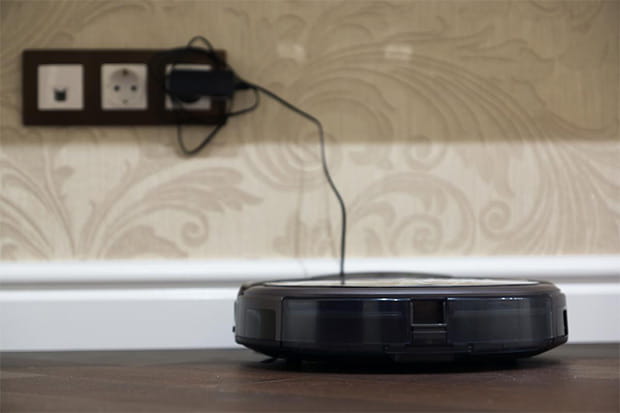
Always turn off and unplug the vacuum before initiating the cleaning process
Side Brushes
Arm yourself with a compact screwdriver for the side brushes—those agile arms that sweep edges like pros.
Invert the Roomba to expose them, zeroing in on the central screw per brush. Twist it free, then pluck the brush away with ease-no force needed.
Back Cover
The bottom panel, often called the back cover, hides under a cluster of screws begging for attention.
Hunt them down on the underbelly, unscrew methodically, and lift the cover like unveiling a treasure—careful not to yank.
Wheels
Don't forget the wheels: The front caster pops out with a firm tug, while the burly side drivers might demand clip releases or extra screws, varying by your model's quirks.
Dust Bin
Easiest win: Locate the bin's release latch-usually at the rear or crown—depress it, and slide the bin free for a full evacuation.
Brush Roll
Down at the base, the brush roll awaits: Unfasten its guard via clips or screws (model-dependent), then extract it smoothly from its slot.
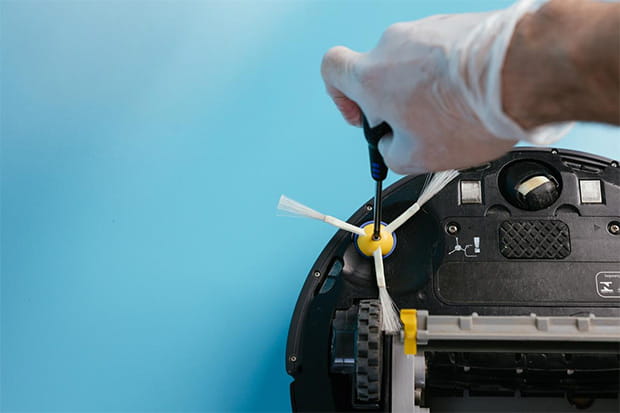
Disassembling your vacuum makes it easier to access and clean all components
Clean the Exterior of the Roomba
With the bot in bits, pivot to the outer shell—think of it as giving your gadget a spa day, minus the cucumber slices.
The mission? Evict every fecal fleck to starve out bacteria and sidestep contaminating the deeper dives ahead. It's all about containment in this messy ballet.
Disinfectant wipes are your best allies—swipe every inch with vigor, lingering on poop hotspots like a detective on a case. For those stubborn slits, arm a toothpick or mini-brush with warm, soapy suds to probe and purify.
Sage advice: Glove up with disposables; no one wants to high-five poop residue bare-handed.
Clean the Wheels
Wheels are poop magnets, grinding floor-level fallout into their grooves with ruthless efficiency—both the sturdy drivers and the nimble caster deserve VIP treatment.
Dab away chunky clumps first with a throwaway towel, no mercy. Then, for each, wield a sudsy cloth or retired toothbrush to scour the surfaces and well interiors, zeroing in on tread traps where debris plays hide-and-seek.
Follow with a warm rinse to banish soap scum, but remember: Submersion is a no-go—waterlogging internals spells disaster for these rolling wonders.
Clean the Brushes and Bristle Extractors
These hardworking heroes—the brushes and extractors—sweep and snag like champs, but poop exposure demands a ruthless rinse to preserve their edge and block bacterial tag-alongs.
Pincers or a dedicated tool first: Pluck out snarled hairs and junk from the bristles, no prisoners. Soak a cloth or brush in warm suds, then attack every filament with elbow grease.
Rinse under flowing warmth till the soap vanishes, restoring their fluff.
Bonus wisdom: If they've tasted too much trouble, swap 'em out—it's the gold standard for hygiene, especially in high-traffic lounging zones.
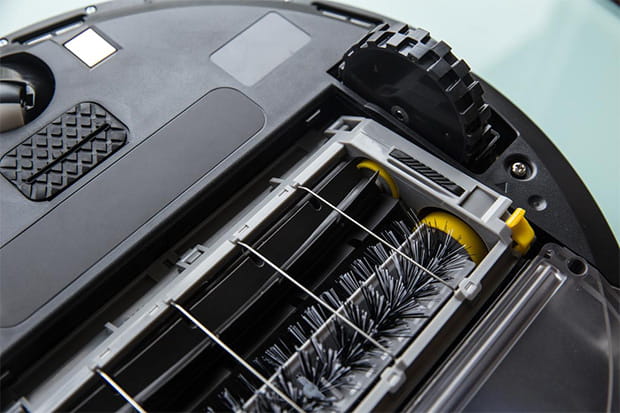
Thoroughly clean each part to ensure optimal performance
Clean the Dustbin and Filter
The bin and filter are debris jails, and post-poop run, they're likely stuffed with suspects needing eviction.
If you're searching for how to clean a roomba that ran over poop, this is the step where one wrong move can trade a clean bin for a ruined filter.
Dump the bin's haul into a sealed sack, banishing visible villains. Sponge or cloth with soapy warmth next, scouring folds and flaps where filth festers.
Rinse the bin fully under the tap for a fresh start. For the filter, a gentle tap over trash loosens the loose ends—water? Strictly verboten, as it wrecks the weave.
Smart swap: New filter if poop's been prowling; it safeguards air purity during duty.
Address Any Remaining Residue on the Roomba
Pre-rebuild ritual: A final sweep to hunt lingering lurkers—overlooking one could sabotage your efforts like a plot twist in a bad thriller.
Scrutinize inside-out, flashlight in hand if needed, for sneaky spots. Zap survivors with wipes or sudsy swabs, enlisting brushes for the nooks.
Post-purge, air-dry every piece completely—moisture is the enemy of electrics, potentially shorting your freshly revived friend.
Alert: Zero tolerance for dampness at reassembly; let it all evaporate to dodge zaps or corrosion.
Reassemble the Robot and Perform a Test Run
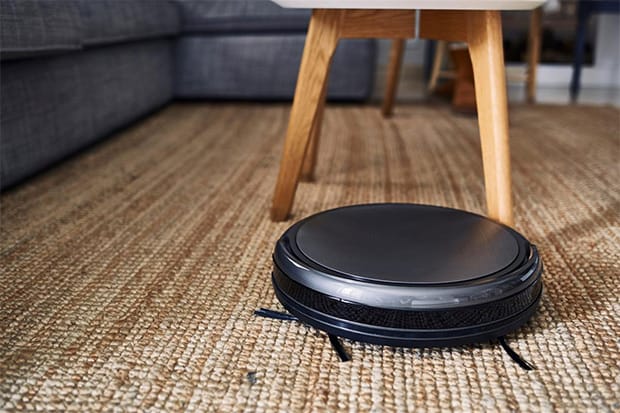
Reassemble the parts correctly and conduct a final test run to confirm functionality
Clean, dry, and ready? Piece the puzzle back, channeling your inner engineer for a snug fit.
Heed the manual's wisdom for precise placement of wheels, brushes, and bin—sloppy seating invites future fails.
Fire it up in a pristine zone for a trial spin: Watch for smooth sails, no weird wobbles or error beeps.
When to Seek Professional Assistance
Meticulous as you are, sometimes the mess demands expert backup—better safe than sorry with your pricey pal.
Factors at play: The poop's tenacity, your DIY comfort, or fears of fumbling the fix could tip the scales toward pros.
Persistent Foul Odor
Even after exhaustive efforts, if a rancid reek refuses to recede, it signals subterranean survivors in hard-to-hack zones. Professionals wield industrial tools and techniques to unearth and obliterate them, restoring olfactory order.
Roomba Functionality Issues
If post-purge your Roomba stutters—erratic evasion, diminished draw, or navigation nonsense—it may betray deeper disruptions from the dung debacle. Experts excel at exhaustive eviscerations, pinpointing and patching the problems.
Preventing Damage to the Roomba
DIY doubts? Call in the cavalry to avoid accidental harm; they're wizards at poop-proof cleanups without the wreckage.
Health Concerns
Squeamish about biohazards or germ warfare? Hand it off to sanitized pros for peace of mind.
Additional Tips for Maintaining Your Roomba
Regularly Empty the Dustbin
Maximize your Roomba's mojo by never letting the bin brim—while its clever sensors chime in when capacity crests, habitual post-session evictions guarantee unhindered uptake, amplify endurance, and elevate your abode's overall aura of cleanliness, turning routine into ritual refinement.
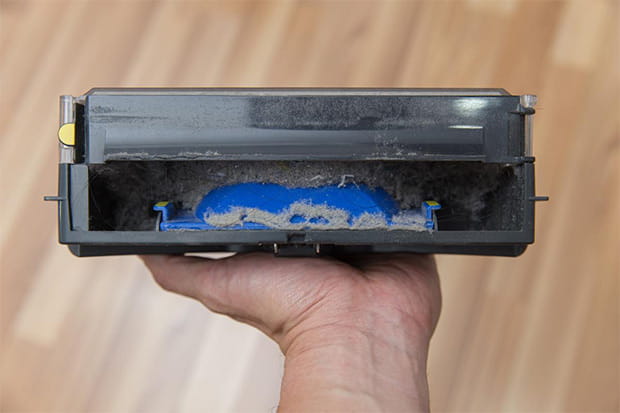
Empty the dust bin regularly to maintain efficiency
Inspect and Clean Brushes and Wheels
Stay sharp on the spinning squad: Routinely rifle through brushes and wheels for accumulating adversaries like pet hair snarls or grit grinders that erode efficacy—periodic purges preserve pickup power and pathfinding prowess, with replacements revitalizing reliability when wear wins out.
Keep Sensors Clean
The sensor symphony—anti-plunge perimeter detectors, filth-finder optics, capacity criers—demands dust-free dominion to dictate deft dances around your domain. A barely moistened microfiber cloth conquers cloudiness, ensuring error-free escapades.
Regularly Update Roomba's Software
Embrace the digital dawn: iRobot's iterative infusions mirror smartphone surges, ironing out idiosyncrasies and injecting innovations that sharpen suction and smarts—maintain that Wi-Fi whisper to welcome them wirelessly, unlocking untapped potential.
Schedule Regular Cleaning Sessions
Consistency is key: Frequent runs fend off internal buildup, keeping floors flawless and your bot battle-ready.
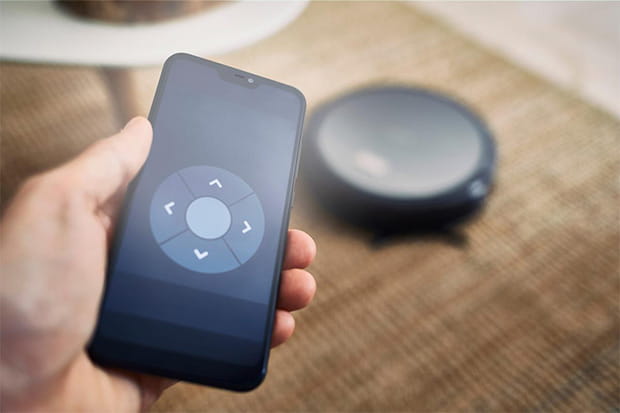
Schedule regular cleaning sessions depending on the cleanliness level of your house and the area to be cleaned
Armed with this blueprint on how to clean a Roomba that ran over poop, you'll navigate the nightmare with finesse, reviving your robotic ally swiftly. Sure, it's a fiddly endeavor laced with ick, but diligence and a dash of determination transform it into a triumph, returning your vacuum to victory mode—floors flawless, once more.
FREQUENTLY ASKED QUESTIONS
- 01. How Often Should I Clean My Roomba??
-
This depends on the usage. For regular usage, iRobot, the maker of Roomba, recommends cleaning the brushes and filter once a week and the front caster wheel every two weeks. If you use the Roomba more intensively, more frequent cleaning may be required.
- 02. What Should I Do if My Roomba Still Smells After Cleaning It??
-
If your Roomba still smells after cleaning, there might be some residual waste in a hard-to-reach area. If this happens, consider seeking professional help for a more thorough cleaning.
- 03. Can I Prevent My Roomba From Entering Rooms Where My Pet Might Make a Mess??
-
Yes, Roomba offers virtual wall barriers that can block off certain areas. You can set these up to prevent your Roomba from going into areas where your pet may have accidents.
- 04. Is It Safe to Clean the Roomba's Components With Water??
-
Yes, some components of the Roomba can be cleaned with water. However, make sure they are thoroughly dry before reassembling the robot. Never submerge electronic components or the entire robot in water.
- 05. Can I Use a Roomba if I Have Pets That Sometimes Make Messes on the Floor??
-
You should always check the floor for pet messes before running your Roomba. A Roomba can handle pet hair well, but pet waste can damage the robot and require extensive cleaning.


