How to Repair Laminate Flooring: A Complete Guide to Fixing Your Laminate Floors
However, that doesn’t mean they are invincible. Laminate floors can be damaged, too. And when that happens, you must know how to repair laminate flooring. Otherwise, you’ll have to pay a lot for a professional floor-maintenance service.
In this guide, we’ll show you exactly how to repair laminate flooring, from beginning to end. You’ll be able to save a fair bit of money by employing some of these DIY floor repair tricks!
Before We Start
Before we dive into this tutorial, it’s important to know that not all laminate floors can be repaired. If your floors are too old or have been extensively damaged, then you should replace the boards completely. It’s pricier, but in that case scenario, it’s your only choice.
This tutorial (and every laminate floor repair tutorial you will find out there) is only for minor issues. You may be able to repair some major damages, but don’t hold your breath.
When to Consider Repairing Your Laminate Floors
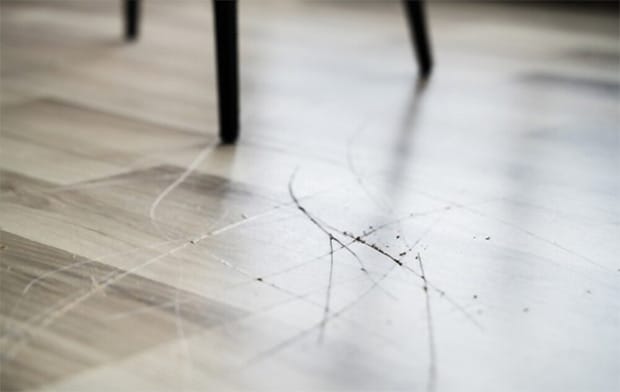
When your floorboards look bad from shallow scratches or their coloration begins to dull out, it's time to consider a repair.
As we mentioned earlier, you won't be able to fix extensive damages like boards with raised or curled edges or if they have begun to warp. In these cases, your only option is to replace them. Fortunately, you don't have to replace the whole floor. It's entirely possible to replace the damaged portions only.
How to Fix Laminate Floors
How to Prep Your Floors for Repair Work
Before you do any sort of repair on the floor, you should prep it first by carefully cleaning and mopping it. Stray debris and dirt on the floor can worsen the scratches if you don’t pick them up beforehand.
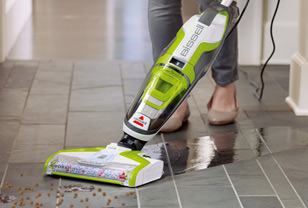
Start first by sweeping the floor with a soft-bristle broom. If you use a vacuum cleaner, make sure that the motorized brush bar is off or attach a wood floor-cleaning accessory to it. Pick up every piece of debris or dirt you see on the floor.
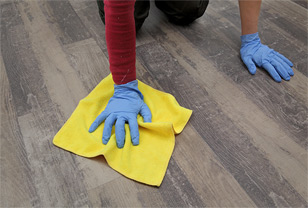
Next, follow that up with a wet mopping session. Use the best mop for laminate floors that you have in your closet and give the floor a thorough clean using mild detergent.
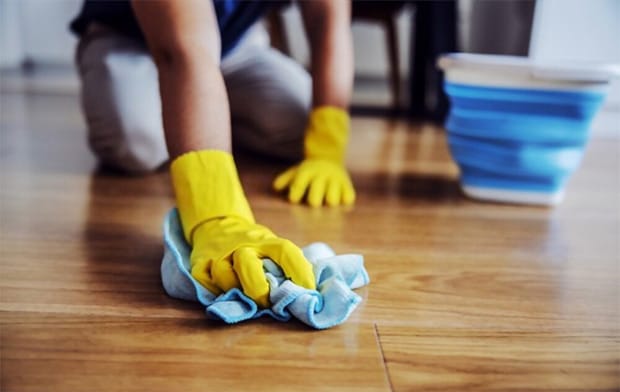
Go over the floor once again with a dry mop to sweep up all of the excess moisture. Moisture is bad for laminate floors and can cause water stains.
How to Repair Chips in Laminate Flooring (and Scratches!)
Repairing Laminate Floors with Floor Repair Markers and Pencils
This method works best for shallow scratches or dents on the floor. You can disguise them behind a layer of ink. All you need is a pack of floor repair markers or pencils that have the same color as your floors.
These “stationeries” are widely available online and in hardware stores. You will be able to find them in a variety of shades (one of which will fit your floors). If you decide to buy them yourself, we recommend taking a picture of your floors and showing them to the clerk. They can help you pick out a pack of markers or pencils that best suit your floor’s color tone.
Using these markers and pencils is very simple. Take one marker out of the pack, uncap it, then slowly and gently trace the tip over the scratches or dents on the floor.
It’s very similar to coloring. Start at one end of the scratch line, then gently guide the tip to the end. Use light strokes and layer them appropriately until the ink has the same color as the floor. The more layers of ink you add, the darker it will be.
Satisfied? When you have finished, and the spot looks … well, spotless, then use a dry cloth to buff up the site. The ink will blend to the floor, and the scratches will seemingly disappear!
Most floor repair markers and pens will come in packs of three, in closely-matching shades. For most people, using just one shade can adequately cover the scratches on the floor. But if you have artistic inclinations, you can combine several shades to better mask the blemishes!
However, note that the ink won’t last forever; this is a temporary solution at best. Over time, the ink will fade, and the blemishes will return. When that happens, you have two choices: you can re-apply the ink, or you can replace the boards.
Repairing Laminate Floors with Wood Wax
You can use wax filler sticks for deeper scratches that can’t be masked with markers and pens. The manufacturer of your floor will usually sell these kits. Phone them and ask for kits with the same color as your floorboards.
If you can’t remember the manufacturer, wax sticks can also be found and purchased in hardware shops. Just make sure that they match the color tone of your floors.
Like the markers and pens above, these wax sticks will usually come in packs with several different shades. You can blend the shades to make a more seamless mask for the damages. The pack will also come with an applicator to help you spread the wax evenly onto the floor.
You will first need a heat source to melt the wax to use it. Once the wax starts to melt, drip it onto the applicator. Then, spread the wax evenly on top of the damage.
Wax filler sticks are more complicated to use than markers and pens. They also take a lot more time since you must wait for them to dry. However, the results are usually far better than floor repair markers (they last longer, too).
When the wax has dried, use a small putty knife to remove the excess wax on the floor. Make the wax-filled spot as flat as possible. If you do a good enough job, from a distance, you won’t notice that there’s a patched-over spot on the laminate floors.
Wipe the area with a damp cloth, and you’re finished!
Repairing Laminate Floors with Burn-in Sticks
Burn-in sticks are arguably the best type of floor repair kit. These sticks are made specifically for repairing damaged laminate floors. These sticks can fill up the scratches or dents and make them look great again. They’re pretty similar to wax filler sticks, except they’re made from resin.
Like wax filler sticks, burn-in sticks are typically sold by floor manufacturers. If you still have the user manual for your floors or know who your manufacturer is, you can ask them to send or sell you a kit with matching color. Alternatively, these sticks can be found in hardware stores, too.
Within each kit are several sticks in varying shades. You can combine the colors until you achieve the perfect look. You’ll find a user manual inside the kit, too. Read it from top to bottom and follow every instruction.
Heat burn-in sticks with an electric knife, then apply the melted resin to the scratches or dents. The resin will quickly fill up the cavities.
Quickly remove all excess resin from the floor with a putty knife or a similar utensil as it dries. Once it dries, it will be difficult to remove from the floor.
Repairing Laminate Floors with Crayons
Don’t have access to wax or burn-in sticks? A makeshift alternative is crayons. Crayons are made from wax, so if they have the same color as your floor, you can melt them down and use them more or less as a wax filler stick.
Go to your local bookstore and pick up a pack of crayons. Then, shift through the colors and pick the one with the closest color tone to your floor.
Melt it down with a lighter and drip the melted crayon wax onto a putty knife. Spread the wax onto the floor, over the damaged spots. Let the wax seeps into the scratches and fill them up.
As the wax dries, take care of the excess residues with your putty knife. Then, carefully clean the floor with a cloth.
Repairing Laminate Floors with Floor Repair Putty
Floor repair putty is a soft, malleable material commonly used to fix deep scratches. Most manufacturers sell these putty in colors that match the floorboards they offer. Hardware stores sell them, too.
Each floor repair putty kit will come with an instruction manual. Read through everything carefully to know exactly what to do.
Apply the putty to the floor with the included putty knife. Spread it evenly across the surface and try to make it blend as best as possible with the floor. Run the knife's blade back and forth across the putty several times to ensure it's flat against the floor.
While the putty is still fresh, use the putty knife to remove all excesses on the floor. After it has hardened, removing it won't be easy.
Some manufacturers and hardware stores sell colorless putty. You can add pigments to it and mix it until it matches your floor's color. It's an excellent way to match the color if you can't find premade putties that match your floor's color tone.
That’s how to repair laminate flooring!
How to Replace Damaged Floorboards
Unfortunately, repairing won’t always be an option. If the boards are too heavily damaged, you must replace them entirely. Fortunately, you don’t have to replace the entire floor. Instead, you can replace the damaged segment and leave the rest.
Replacing the Damaged Floorboards Near the Edge of the Floor
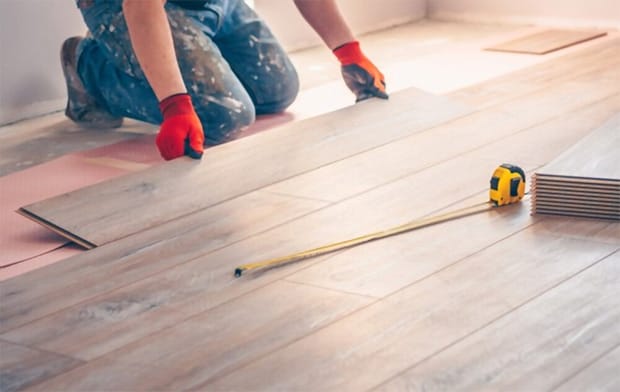
Step 1: Buy Replacement Boards
The first step is to buy replacement boards. You can take a picture of the floor, bring it to the shop, and ask the clerk to help you find matching ones. Or you can remove one of the damaged boards later and bring it straight to the shop. With physical reference, finding matching replacement boards should be a lot easier.
Step 2: Remove the Baseboards, Thresholds, and Molding
Before you can pry out the damaged boards, you must first remove all of the supports. Begin with the side closest to the damaged portion of the floor. Remove the baseboards and the molding from the wall with a pry bar. If the damaged floorboards intersect with a threshold, you can remove them with your pry bar.
Step 3: Lift the Boards One by One
Starting with the board closest to the edge of the floor, right where you just popped off the baseboard and molding. Insert your pry bar underneath the board, then press on one end of the bar. The bar will act as a lever to pull up the board and pop off the joints.
Slowly work your way toward the damaged boards.
Try and be as gentle as possible. If the laminate floorboards you popped up are still in good condition, they can be recycled later.
Step 4: Replace the Damaged Boards
After popping the damaged boards from the floor:
- Put them aside.
- Take your new boards and line them up with the existing boards.
- Snap the new laminate floorboards into place.
Step 5: Put All of the Old Boards Back into Place
Reinstall all of the old boards back into place if they aren’t damaged. If they got chipped or scratched while you’re popping them off and you have replacement boards on hand, switch in the new boards.

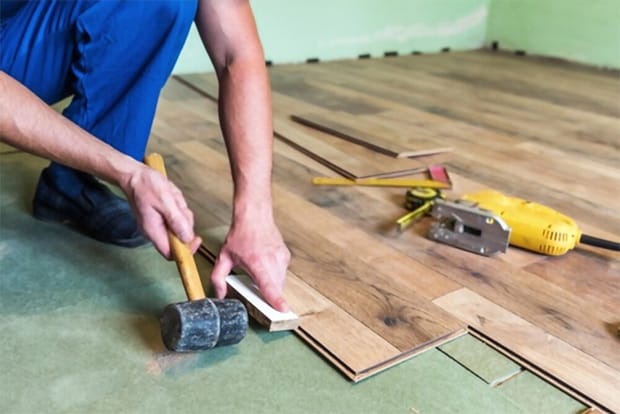
If you need to tap new boards back into place using a hammer, you can take the damaged board and use it as a buffer between the hammer and the new boards. This way, you won’t damage the surface of your brand-new floor.
Step 6: Put Baseboards, Moldings, and Thresholds Back
Replace all the baseboards, moldings, and thresholds you removed earlier. Tap them back into place using the old nails you ripped out earlier (you can replace them with new ones if they have gotten old).

Replacing the Damaged Floorboards in the Middle of the Floor
This scenario is a lot trickier than the edges. You not only need to meticulously measure out the clearances and each cut, but you also need to work with power tools. For most people, we recommend hiring a professional to do it for you. But if you have the tools and the expertise here’s how to repair laminate flooring when the scratched boards are right at the center of the floor.
Step 1: Gather the Tools and Materials
Here are the tools that you need to have on hand:
- Circular saw
- Drill
- Utility knife (or any kind of knife)
- A pair of pliers
- Floor glue
- Pencil
- Ruler
- A clean, dry cloth
Step 2: Measure the Cut
Since the damaged board is in the middle of the floor, it’s extremely difficult and time-consuming to pop off one board at a time from the edge to reach it. So, you’ll need to make a cut.
Take a pencil and a ruler. Then, mark a line diagonally and inward to the center of the board. This line should be about 1.5 inches long. Repeat this with all four corners of the board.
Connect the end of the diagonal line with the ends of the lines of the neighboring edges. Together, they should form a rectangle.
Step 3: Drill Relief Holes
Cut four relief holes using your drill (equipped with a ⅜-inch drill bit). The holes should be positioned right on the inner ends of the diagonal lines (the four edges of the rectangle you just drew.)
Next, cut another four relief holes. This time, using larger ¼-inch drill bits. Plus, you need to cut at the outer ends of the diagonal lines.
So, in total, there are eight relief holes. The holes allow you to separate the cutting motion into two parts: one to remove the center of the board and one to remove the sides of the board.
Step 4: Cut Out the Center
Bring out your circular saw. Set the depth of the blade to be slightly deeper than the flooring. Starting at one of the inner relief holes, cut along the inner rectangle (the one you drew). By the end, the center section of the board should come cleanly off.
The sides of the board should still be connected to the rest of the floor.
Step 5: Cut Out the Sides
From the center of the board, cut outward and diagonally with your circular saw until you reach the second set of relief holes on the outside. This cut will separate the sides of the damaged board, allowing you to pry them off the floor.
Step 6: Pry Out the Sides
Use your pliers to rip the remnants of the damaged board from its neighboring floorboards. Occasionally, there will be floor glue still stuck to the side of the neighboring boards. Scrape off the excess glue with a knife before you reinstall the new board.
Step 7: Install the Replacement Board
A new laminate floorboard will come with two tongues and two grooves. Saw off the tongues with a knife and cut off the bottom of the grooves. To cut the bottom of the grooves, stick the tip of your knife inside, then cut to the side. Score off the wood until it becomes loose, then snap off the loose parts with your pliers.
This way, you can slide the new board into place.
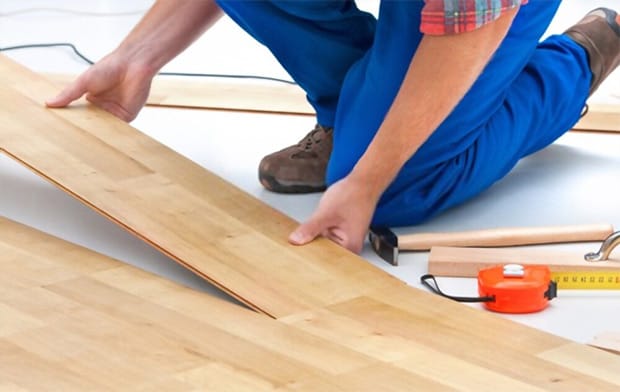
Step 8: Put on Floor Glue
Apply small beads of floor glue to the side of the new board. Put the glue onto the spots where you just scored off the tongues. Then, also put a few beads onto the upper parts of the grooves that you just cut the bottom lips off of.
Step 9: Set Down the New Floorboard
Fit in the new floorboard and make sure that it has a snug fit with the surrounding boards. If the fit isn’t quite right, you can use your knife to score away the wood until it does.
Step 10: Clean Everything Up
Use a damp cloth to take care of the wood shavings and the excess glue still on the floor.
Weigh down the newly-fitted board with something heavy like a table or a heavy chair for the next 24 hours as the glue dries. Glue may come out of the seams once you apply the weight. You can use the cloth to take care of that.
➜ RELATED: Can You Paint Laminate Floors? Do This 8 Steps Tutorial to Achieve Your Goal
Conclusion
And that’s how to repair laminate flooring! It can be a lot of work and expensive. But the shining beauty of the floor after it has been restored is well worth the time and money put into it. Plus, by doing it yourself, you will save tons of money (thousands of dollars!)
FREQUENTLY ASKED QUESTIONS
- 01. How Much Does It Cost to Have a Laminate Floor Professionally Repaired or Replaced?
-
For repairing damaged planks, usually, you will need to pay between $1 to $3 per square foot. And for replacing the damaged planks with new boards, the cost usually runs between $2 to $8.
That can be a fair bit of money, especially if the damage to your floor is extensive and a lot of boards have to be repaired or replaced.
- 02. Can You Repair Pet Nail Scratches on Laminate Floors?
-
Definitely. Most scratches made by pet nails are usually quite shallow. So, you can use a marker to fix laminate floor scratches caused by pets pretty easily.
- 03. What Do I Do If My Laminate Floors Become Dull?
-
Dulling happens to every type of floor out there. For laminate floors, you can restore the shine of the floorboards by using a specially-formulated laminate floor cleaner.
Never use wax or polish on laminate floors. They can make your floors look even worse!
- 04. Can You Use a Steam Mop on Laminate Floors?
-
You can, but only with the right technique. Laminate floors are very sensitive to moisture and heat. So, always use the lowest, gentlest steam setting available and make sure not to linger in one place for too long. If you do, you’ll burn a hole through the floor.
➜ RELATED: Can You Use A Steam Mop On Laminate Floors: Basic Laminate Floor Care Tutorial


