How to Clean Your Kitchen in 30 Minutes or Less: The Ultimate Deep-Cleaning Guide
- How to Clean Your Room - The Ultimate Remodeling That Every Homeowner Needs
- How to Get Dog Hair Out of Carpet - How to Get Rid of Dog Hair in House
- How to Clean Shag Rugs - The Plain and Simple Truth
Here's the thing – trying to cook in a dirty kitchen isn't just frustrating. You can't guarantee your food will turn out good, or even safe to eat.
That's why every home cook needs a spotless, organized kitchen. It starts with cleaning frequently and keeping everything in its place.

Cooking in a messy kitchen is more than simply annoying
In this guide, I'll walk you through exactly how to clean your kitchen step by step. You'll discover the most efficient methods for every area, plus get insider tips that actually work.
Each section includes everything you need to prepare and clear instructions that anyone can follow. Do this thoroughly once, and your kitchen will feel completely transformed.
Our guide can be used as the complete deep-cleaning guide for your kitchen as well as simple cleaning. Depending on your kitchen's condition, you might want to apply a few steps or our complete cleaning process to get the best results in minimal time.
I'll also share smart organizing tips to keep your kitchen clean after every cooking session. Are you prepared to rediscover your passion for your kitchen?
➜ RELATED: 50 Amazing Cleaning Tips You'll Wish You Knew Sooner
What You Need to Get Started
Before diving into your kitchen transformation, let's gather your cleaning arsenal. Since we're tackling different kitchen areas, you'll need specific tools for each job:
For Your Counter and Cabinets
Your countertops and cabinets take a beating from cooking splatters and food prep. They need the right approach for their specific materials.
Just make sure that you pay attention to the types of materials that were used to create the countertop and cabinet to make sure that you don't damage the surfaces with the products that you're using. Still, most of the time, your all-purpose cleaner will not be likely to harm the materials.
In addition:
Here's what you need to prepare:
- All-purpose cleaner (or enzyme cleaner if you want to deal with tough stains)
- Dish soap
- Clean cloths
- Metal scrubber
- Vacuum cleaner
- Ladder (or dining chair)
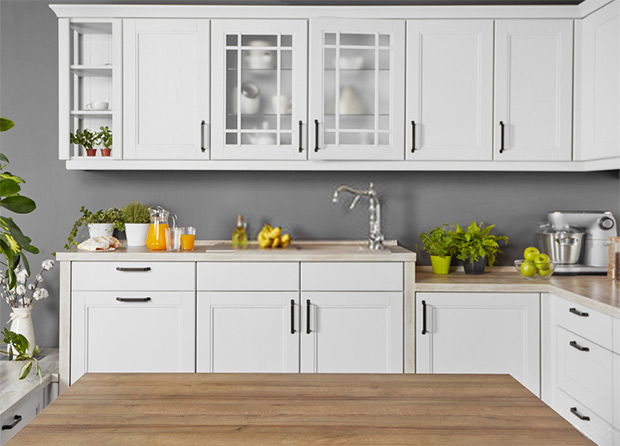
Cooking splatters and food preparation damage your countertops and cabinetry
For Your Stove and Oven
Since the stove and oven often get dirty from grease and burned ingredients, you should focus on getting this mess out with the help of:
- Oven cleaner (or baking soda and vinegar)
- Stainless steel scrubber
- Sponge
- Clean cloths
- Paint scrubber (or anything that has the same application)
- Dish soap
For Your Refrigerator
Time to face every homeowner's most intimidating opponent – the fridge. Looking at it, you can't help but wonder why and when you start having this or was that thing always here? Not to mention that the dirty stains that have formed in the interior of your refrigerator are absolutely disgusting!
It's clear that your fridge will need a complete cleanup to get rid of all the nasty stuff that is left inside. And to do it, you'll need the help of these items:
- All-purpose cleaner
- Clean cloth (microfiber products will be better)
- Dish soap
- Sponge
- Trash can
- Recycle bin
For Other Cooking Appliances
The other common cooking appliances inside your kitchen are often known as the dishwasher, microwave, coffee maker, and blender. And here are all the items and tools that you need to prepare for cleaning them:
- Distilled vinegar (or ammonia)
- Sponge
- Clean cloth
- Dish cleaner
- Paper filter
- Tissues
- Old toothbrush
For Cleaning the Floors and Finishing
To finish things up, you're going to need these tools:
- Mop
- Vacuum cleaner
- Floor cleaner
- Paint scrubber
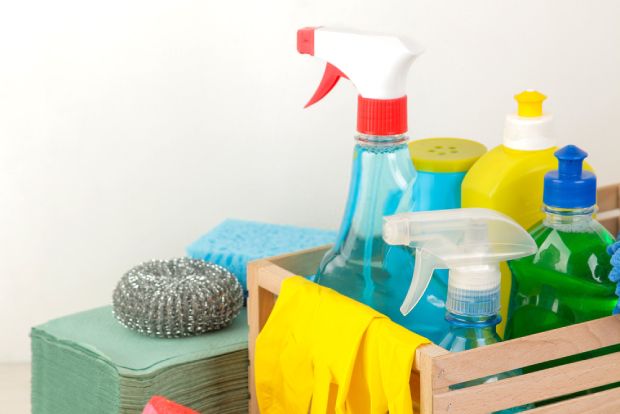
Get ready for the most important kitchen cleaning jobs
Your Complete Kitchen Cleaning Blueprint
Now that you're armed and ready, let's tackle this systematically. In this section, we'll provide complete step-by-step guides on cleaning different parts of your kitchen that are completely simple and intuitive for you to follow.
Cleaning Your Kitchen Counter and Cabinet
Step 1 – Get rid of all unwanted items and clean off the rest
Start your kitchen cleaning by clearing all that mess off your kitchen counter. Put your dirty dishes and cooking utensils into the sink. Run them down with warm water and soap to start cleaning. Once you're done, put them all in a dry place and start to work on other tasks.
Open your cabinet and get all your dry ingredients, cooking appliances, and the likes out of the way. Carefully sort them into different categories and get rid of all unwanted or expired foodstuff. Make sure you also check the top of your cabinet and get rid of anything on there as well.
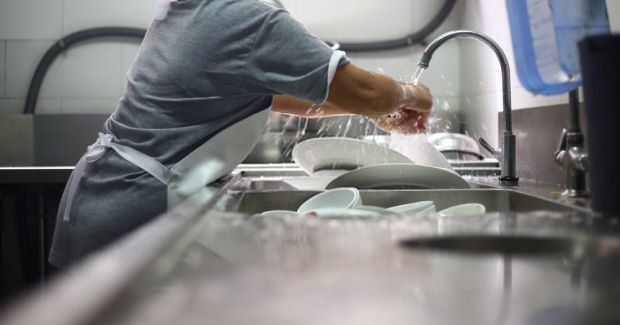
Clearing the kitchen counter should come first
Step 2 – Clean your kitchen cabinets
The best way to clean kitchen cabinets is definitely by using powerful and efficient vacuum cleaners. Use your vacuum cleaner and start vacuuming the top of your cabinet, you can use a ladder or firm chair to stand on to effectively collect all the dust and debris. Then start to vacuum every corner inside the cabinet, make sure you also clean the doors and surfaces of your cabinet for more comfortable cleaning in the following steps. Do it from top to bottom for a thorough vacuuming session.
And since the outer surfaces of the cabinet are often covered with grease and stains from food spills, you'll need to use your all-purpose cleaning solution and a wet cloth to wipe on its surfaces a little bit. For tougher and more embedded grease, it's recommended that you apply some enzyme cleaner that could help break down the stains easier. Then use a clean cloth to wipe off everything that's left on the surface of the cabinet.
➜ RELATED: Cleaning With Baking Soda: Transform Your ENTIRE Home With One Box
Step 3 – Organize your kitchen cabinets
Reorganize the different boxes, cooking utensils, and appliances before putting them back in the cabinets. Make sure you put the frequently used items and utensils on the lower section. As for those that you rarely use, they should be placed on the higher sections of your cabinets. Additionally, also remember to keep dangerous utensils or breakable items such as knives and dishes away from children's reach.
For the pots and pans, you can either put them back on the cabinet or go for a more convenient approach, which is to use wall-mounted utensil racks. This will make them more accessible as well as give your kitchen look a more stylish appearance.
In addition, you'll have to remember to do some light cleaning on it every time you finish cooking if you want it to stay clean for long.
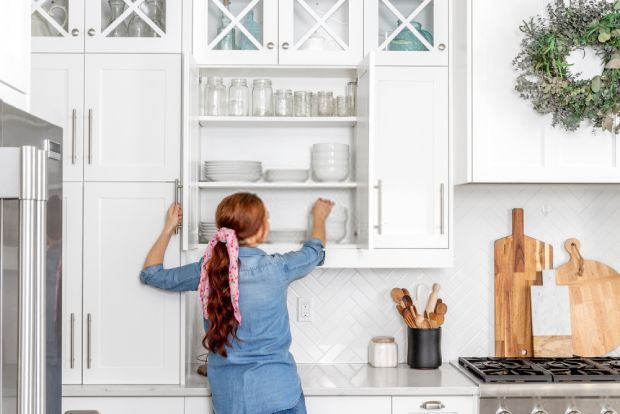
Clean and arrange the kitchen cabinet
Step 4 - Clean your kitchen hood
Many homeowners don't realize that under their spotless kitchen cabinet lies a greasy, and sometimes, smelly kitchen hood which is dying to be cleaned. Since you're working on the cabinet, you might want to give your hard-working hood a little touch-up. And don't worry, it won't take too much of your time, though.
You can start by spraying some of that cooktop cleaning solution on the outer surface of your hood and wipe it clean. Then reach your hands inside to get that greasy fan filter out. Wash it on the sink using regular dish soap and everything should be back bright and shiny. Remember to clean up the kitchen stove hood every once in a while, throughout the years to guarantee that your it can operate properly.
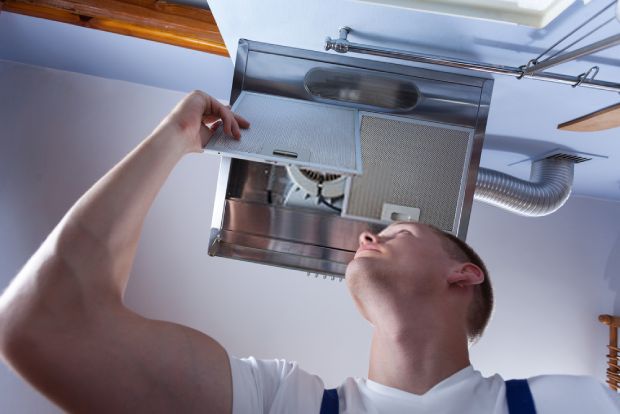
It is not too difficult to remove the fan filters
Step 5 – Clean your counter
Let us move down to the kitchen counter, which is absolutely one of the most important areas of your kitchen that needs to be cleaned and well-kept. Here, you'll do most of your preparing and cooking, so you would want the area to be as hygienic as possible.
Once you've cleared all the dishes and cooking utensils that still remain from the last cooking session, you'll need to organize them neatly and allow the counter to have as much free space as possible. Don't leave any unused items on the counter unless they're absolutely needed.
Then proceed to apply your kitchen cleaner onto the walls and counters to start the cleaning. Wipe and gently scrub with a clean cloth to collect all the grease and grime. Switch the sides of the cloth often to prevent spreading the dirt back and maybe change to a new piece of cloth if needed.
Start from top to bottom with the walls, the counter surfaces, and the under doors. For tougher stains, you might need to use stronger cleaning solutions to effectively clean them.
As for the inside of your counters, you might or might not want to follow the provided steps with the cabinets depending on their condition. If they are too dusty and covered with spider webs as well as other unknown debris, a deep cleaning might be required. But if it's not that dirty, you need have to run your vacuum hose inside a few times to collect most of the dirt. Hence, the best vacuum cleaners will prove to be extremely helpful in cleaning your kitchen in this scenario.
Step 6 – Reorganize your well-cleaned kitchen counter
And with your kitchen counter properly cleaned, it's time to decide what you should keep on the counter and what's not required.
First, remember to only keep essentials that you cannot be able to keep inside the cabinets or if it's extremely comfortable to have them within your reach. These should be your best coffee grinder, microwave, and maybe a blender. But that's it.
Anything else that could fit inside the counter and cabinet should be back in their respective places. As for the common cooking utensils, you might want to install a wall-mounted kitchen rack to keep them, just like with the pots and pans.
Believe me, it'll only take a couple of minutes to realize how clean and comfortable your kitchen could become if you don't keep any unnecessary stuff on it. You can also add a small potted plant, just to give that natural feel to your counter while you're cooking on it.
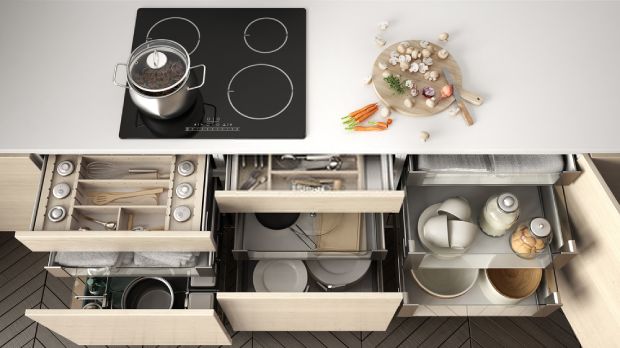
Organize and tidy your kitchen counter
Cleaning Your Stove and Oven
Step 1 – Remove all the items from your oven and stovetop
You should start by removing all the interiors inside your oven and stovetop. Pick up all the greasy metal parts and carefully place them inside your sink to avoid any stains on the floor or counters. And if it's possible, you would want to prepare a large container so you can completely submerge them in hot water.
This would make the later cleaning steps simple and comfortable as the fat stains and hardened debris will be easily broken down. However, if you don't have it, you can always put them in the sink and rinse them with some warm water.
Take out the oven trays
Step 2 – Apply your cleaning solution
Start applying the cleaning solution on the inside wall of your oven and on the top of your stove. Use a clean sponge to spread it evenly. Wait for a couple of minutes for the effects to start working their magic and you can move on to the next steps. If you have an induction cooktop, things can be even more simple since you only have to clean the surface.
For those who are interested in using baking soda and vinegar, make sure you mix them in a ratio of three tablespoons of vinegar to one tablespoon of baking soda. And if you wish to have a stronger action, just apply more vinegar. But be careful since it can result in a strong fizzing effect. Spread the mixture evenly in the oven and stovetop just like with the cleaning solution.
➜ RELATED: How to Clean Every Surface of Your Home With Vinegar
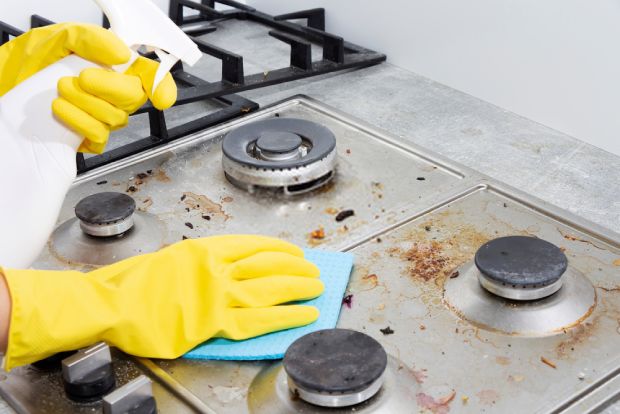
Directly mist the stovetop with your cleaning solution
Step 3 – Get rid of the grime from the inside walls of the oven and from the stovetop
Once the cleaning solution (or your baking soda and vinegar mixture) has worked its way into the dirt, it's time to scrub it a bit to comfortably clean your oven. You'll be surprised how easily everything starts to come off when you know how to clean your kitchen properly – within just a few minutes of cleaning. Feel free to add more cleaning solution into the places that require further attention and keep scrubbing.
In addition, for the tough stains that won't come out after being scrubbed, you might want to use your paint scrubber or metal scrubber to force them out. It should be fairly simple since the structures have already been loosened thanks to the cleaning solution.
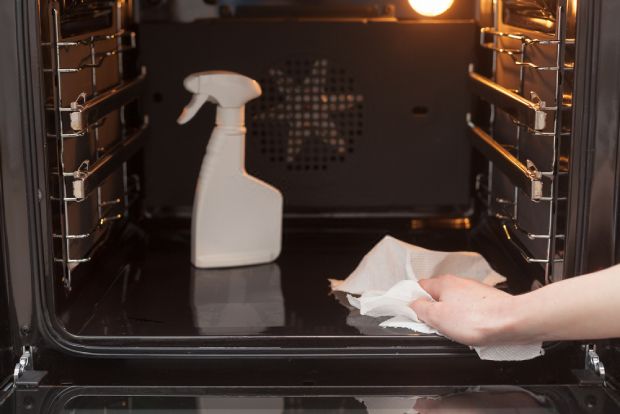
Use a clean cloth to wipe off the dirty mixture of gunk and cleaning solution. You'll find your oven a lot cleaner than it was just a couple minutes ago. Finish up things up by wiping the inside once or twice more with clean cloths until it's completely dry and spotless.
For the stovetop, everything is pretty much the same so you can easily follow the previously-mentioned steps. Just make sure you don't let any soap or cleaning solution get inside the heaters.
Step 4 – Clean up the items and finish by putting them back
Use your dish soap to wash off the grease on your oven trays and stovetop items. Then use the metal scrubber to get rid of stubborn stains. By submerging them in hot water, you'll find it relatively easy to clean off everything.
Finish things up by rinsing off the soap under hot water and wait for everything to dry completely. Then place the parts back inside your oven and on your stovetop. And don't forget to clean the outer surface of your oven with a few sprays of oven cleaner.
Once that's done, you can start moving on to the next steps.
Alternative oven cleaning method.
And if you have time to spare, then setting your oven in the self-cleaning mode before you do the cleaning can save you a lot of work. That being said, in this mode, the oven will heat to extreme temperatures, which allows it to burn up remaining debris and turn it into ash. And when it's done, you just need to scoop or vacuum it out. But keep in mind that it would also take a few hours for the process to finish.
For the older ovens, you can just simply crank it up to the highest temperature and wait. But don't let it run too hot since the old models don't often have the ability to heat that long. Hence, you might damage your system as a result.
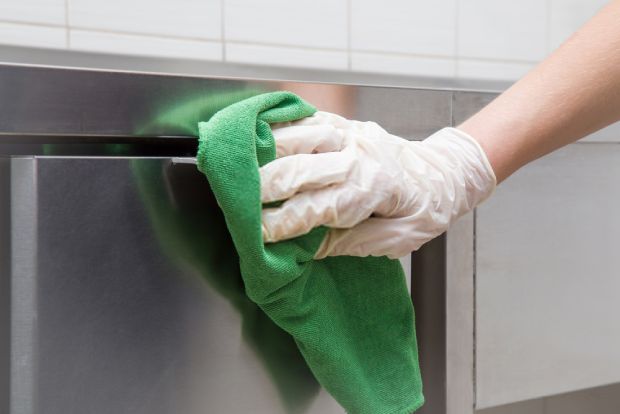
Wipe the oven's face to complete the cleaning
Cleaning Your Refrigerator
Before you perform any of these steps, make sure you've cut off the power sources to avoid any possible accidents.
Step 1 – Take out everything from inside your fridge
Start your fridge renovation by taking out all the food that has been stuck inside for so long. Try to put similar stuff that falls under the same categories such as plastic bottles, glass jars, paper boxes, veggies, fruits, and so on. Don't forget about frozen foods inside the freezer since you'll never know what might be resting inside.
Once you're done with the food, it's time to disassemble all the plastic containers, trays, and lids that are installed inside your fridge. Put them in your sink and put them under running water to rinse down some of the debris and dirt.
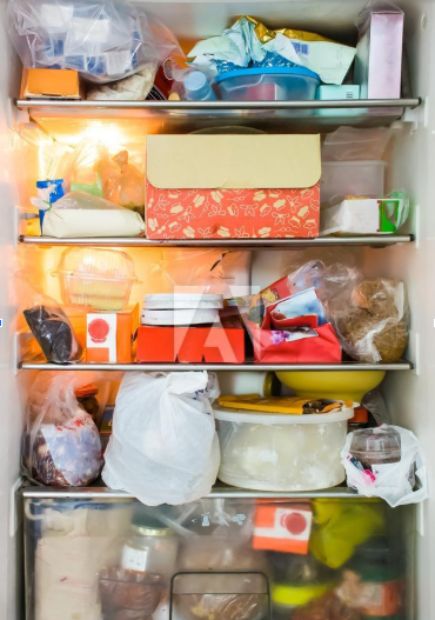
You'll need to clean your dirty refrigerator
Step 2 – Clean the trays and inside walls of your fridge
Use the all-purpose cleaner to spray the interiors of your fridge and wait for a couple of minutes for the effects to work their magic. Then, start wiping with a piece of clean cloth. Give the walls a few gentle rubs if you wish to remove those stubborn stains. And since there are little dirty elements inside your fridge, except for the food, you can easily clean the walls without having any problems.
As for the plastic trays, the remaining dirt and stains on them should fall off relatively easily once you start pouring on the water. But for certain stains such as dried blood, especially from frozen fishes, you need to clean them off with some dish detergent. Give them a few rubs using your sponge and rinse them with water. Once you're done, just put the trays away and wait for them to dry off.
And if you have the time, you can always clean the front and the sides of your fridge, which in some cases, could get quite dirty due to the covered dust. Use a wet cloth to wipe it and you can get rid of the dust in no time.
Step 3 – Sort out unnecessary stuff and trash it
Now, let us move to the toughest task, which is sorting out the usable and unusable items from the mini grocery store that you've just pulled out. Start by separating the outdated and rotten products from the edible ones. In addition, also pay attention to duplicate items that you have in your jars or bottles, and put the same food inside one container.
Remember, you shouldn't throw out the food even if they're already categorized as inedible. Instead, spend some of your time to dump the food inside on the trash can while the recyclable bottles and jars should be placed in your recycle bin. Don't be irresponsible and just dump everything out at once.
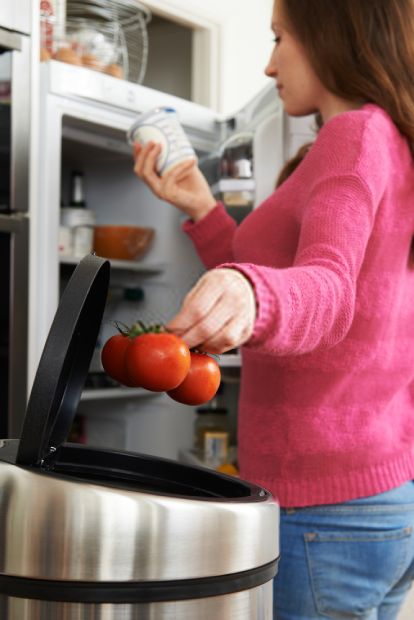
Choose what you need and what to discard
Step 4 - Place your food back and organize them neatly
And once you're finished throwing off all the unwanted foods, it's time to put things back into the fridge. Start by reinstalling the trays and containers inside your fridge. If they're still wet, you can use a clean cloth to wipe them dry.
Start with the large items and move on to the smaller foods. Try your best to keep stuff with the same categories in their own sections. It'll be a lot easier if you've done your sorting job at the beginning properly.
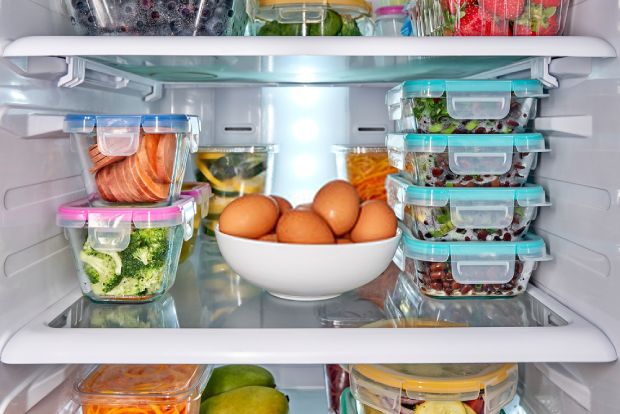
Reorganize the foods to finish
Cleaning Other Cooking Appliances
For those of you who are interested, you can always learn a thing or two about how to clean your kitchen appliances with our informative guides on some of the most common cooking appliances in your kitchen. And of course, always remember to unplug the power cord or cut off the power source before you perform any cleaning.
The dishwasher
Since the dishwasher itself is often quite clean, so you won't need to spend too much of your time to clean it.
Start by taking on the dishes and remove all the racks and other interiors. If you often use your dishwashers, then those parts won't need to be cleaned again. Just put them away while you deal with other parts of the machine.
Use your clean cloth to wipe the inside walls of the dishwasher to get rid of the remaining dirt and debris, which wouldn't be too much. The only thing you should focus on is the drain, and more specifically, the filter.
Put the filter upside down above your trash can and hit it on the bottom to force the dirt and debris out. Then place it under running water to flush out the remaining residue. If you want to, you can submerge it under soapy water and give the filter a few scrubs.
Once you're done, just put the filter back and return the racks to their original places. And maybe you can give the front surface a few wipes with normal kitchen cleaning solution.
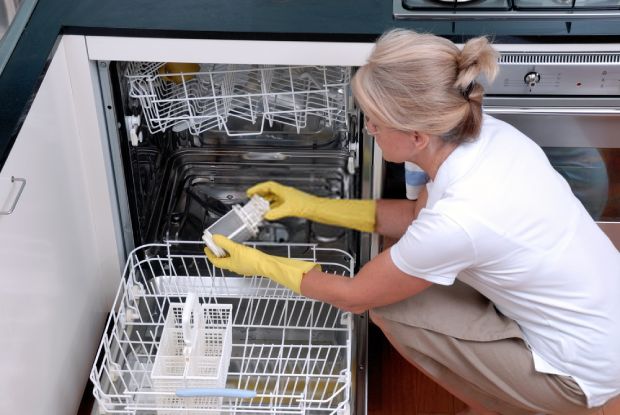
When cleaning your dishwasher, pay close attention to the filter
The microwave
On the other hand, the microwave is something that could get quickly get dirty, even if you've already used the cover to prevent food stains. With all kinds of foods being processed inside it, you'll need to clean your microwave right after you use it to maintain a clean environment.
Begin the cleaning by taking out the turntable, then washing it with soap and warm water. And unless you've neglected your table for a long time, it'll quickly get cleaned after a few scrubs with your sponge.
For the inner walls, you can effectively loosen the caked food stains and grease using vinegar. Simply place a dish of water and vinegar inside the microwave-safe chamber and increase the temperature. The heat will steam up the vinegar and spread it evenly on the inner walls.
And once that's done, you just need to use a clean cloth or tissues to wipe off the stains inside your microwave. Feel free to use extra cleaning products to give the microwave a refreshing smell if you want.
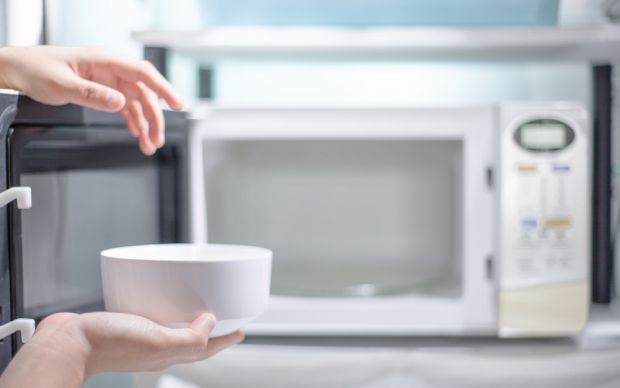
Put a basin of vinegar and water inside
The blender
Your blender can be quite easy to clean if you follow the right method, and of course, don't leave it unwashed. Otherwise, whatever that still remains can dry up and form tough stains.
You can use all different types of cleaning solutions such as dish soap, ammonia, vinegar, and so on. Start by rinsing your blender right after you finish using it with warm water to get most of the gunk. Apply your cleaning solution inside, then fill it with water to cover the dirty parts.
Put the container back on your blender. Close the lid and turn up the blender and let it run for about 15 seconds. Wait for it to finish running and dump out everything inside. Your blender should get surprisingly cleaned after you rinse it with water.
The coffee maker
Coffee makers often have the filter to make sure that the water comes out nice and clean. However, after extended use, your machine will eventually become dirty and need to be cleaned. But don't worry, because it's going to be easy.
Just pour your mixture of distilled vinegar and water onto the coffee maker just like how you often make your java. But in this case, you don't need to add coffee inside it. Just put in a water filter to optimize the cleaning process.
When you're done, close the lid, and turn up the brewing functionality. This will allow the vinegar to run through the entire brewing system inside your machine and perform a complete cleaning. In some products, you'll even have access to the self-cleaning function, which features the same mechanics, but offer better results.
Once the water and vinegar start dropping down in your coffee carafe, you'll immediately see the results with the liquid keep getting darker and darker. Feel free to give it another run with new vinegar and water to guarantee the best results.
And once you finish, you can proceed to clean the outer part of the machine as well as the carafe to make sure they look like new.
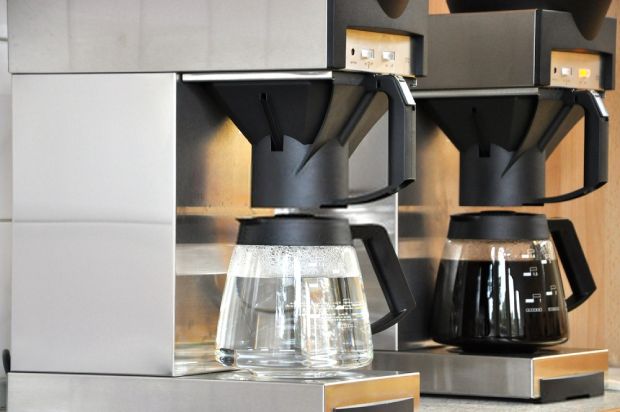
Take note of how the first and second brews differ
The toaster
Cleaning your toaster can be as easy as making your delicious toast if you know the right method. And with our help, you can give your dirty toaster back its shiny look.
You can start by wrapping a piece of tissue around an old toothbrush, then running it inside the toaster slots to collect the remaining oil and butter. Then remove the tissues and use the bristles to brush away the crumbs.
And if you don't know, every toaster has its own crumb tray, which you can easily access and remove to collect the junk from inside. So, you just need to brush off the crumbs and empty the tray. For any remaining debris, you can always pick up your hairdryer and force them out.
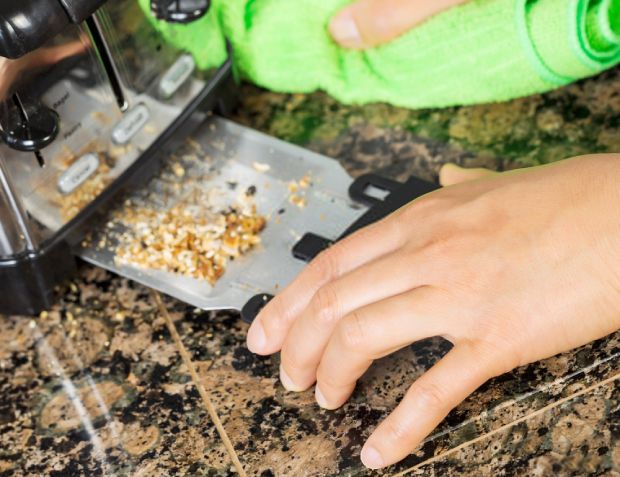
The majority of models have access to the crumb tray
Clean Your Floors and Finish the Process
Step 1 – Use the paint scrubber to pry out sticky and dry stains
While it's not very noticeable to the eyes, your kitchen can be filled with solid food stains that have dried up. And since they're impossible to vacuum, you'll need the help of a paint scrubber to get this stubborn waste off the floors. Do it properly before you advance to the next steps.
Step 2 - Vacuum and mop your kitchen floor
With all the parts of your kitchen being properly cleaned, it's time to finish things up by vacuuming and then mopping the floor. If you don't have the time, then vacuuming is the way to go.
But if you wish to enjoy a comfortable aroma while staying inside the kitchen as well as making sure that it's thoroughly cleaned, then you can always use a little mopping after clean the floor with the vacuum.
Remember to use your favorite floor cleaning solution for a more satisfying result.
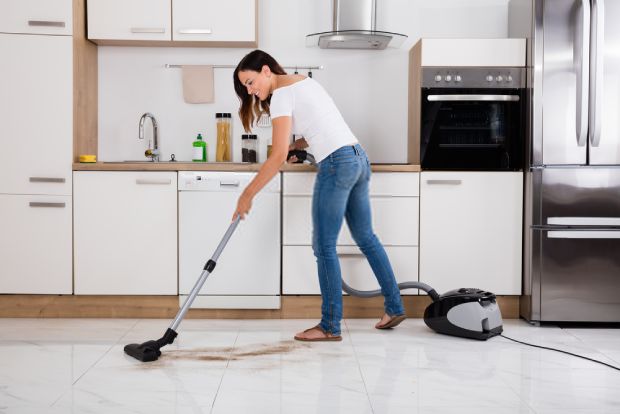
Use your vacuum cleaner to complete the cleaning
The Best Tips to Keep Your Kitchen Clean and Tidy
You've done the hard work – now let's keep it that way with these simple strategies that actually work:
#1- Clean things up right after using
The first, and probably, the most important tip that you need to remember is to clean your cooking utensils and appliances right after use. If you leave them be, the stains can easily occur and become difficult to clean in just a couple of minutes.
Knives, chopping boards, blenders, and the likes are those that need your immediate attention after use. This also applies to other parts of the kitchen such as the countertop, cooktop, and more. Clean them right away or waste your time scrubbing off the stubborn stains later on.
#2- Remove all the remaining foods before putting in the sink
However, if you don't have time to clean up your stuff, you can at least empty the pots and pans before putting them in the sink. If possible, place them under running warm water to help break down the grease and grime.
#3- Use wall-mounted hanging racks to optimize space
And if you're having trouble organizing all those pots and pans inside your conservative cooking space, using wall-mounted hanging racks could be a brilliant solution for you. There are plenty of different options with varied sizes and applications that you can make use of. From those that are for hanging knives, pots, and pans, to those that can be installed on the side of your sink to keep your sponge. Use them cleverly to make your kitchen space more comfortable and convenient at the same time.
Keep track of what's inside your cabinets and fridge
While you might not notice it, but you may be putting too much stuff inside your cabinets and fridge without having any idea of what you're going to do with them. Therefore, it's important for you to always keeping track of what you have in your fridge and cabinets. This will allow you to neatly organize them and avoid stuffing in too much food.
There are also many interesting kitchen cleaning tips that you can find on our kitchen cleaning checklist articles. So, if you're interested, feel free to visit the other informative posts from our website.
Also, check out this amazing video with brilliant cleaning tips that would only require a few minutes of your time:
Your Kitchen Transformation is Complete
And that's our comprehensive guide on how to clean your kitchen. With all the provided facts and informative tips, you should know by now that it's crucial for every homeowner to keep their kitchen clean, both inside and outside.
That being said, a tidy and well-organized kitchen will not only inspire you to cook more delicious food, but it'll also ensure that the food comes out perfectly.
Hope you find our comprehensive guides on how to clean kitchen informative. Thanks for reading and we'll see you in our future posts.
FREQUENTLY ASKED QUESTIONS
- 01. How Often Should I Deep Clean My Kitchen?
-
You should deep clean your kitchen once a month for regular maintenance. However, high-use kitchens might need deep cleaning every 2-3 weeks. Daily cleaning of surfaces after cooking prevents buildup and makes monthly deep cleans much easier
- 02. What's the Fastest Way to Clean a Really Dirty Kitchen?
-
Start with decluttering all surfaces first, then work top to bottom: cabinets, counters, appliances, and floors last. Focus on one area completely before moving to the next. This systematic approach prevents re-contaminating already clean areas and saves time.
- 03. Can I Use the Same Cleaner for Everything in My Kitchen?
-
All-purpose cleaners work for most surfaces, but some areas need specific products. Use enzyme cleaners for tough grease, stainless steel cleaners for appliances, and avoid harsh chemicals on natural stone countertops. Always check your surface material before applying any cleaning product.
- 04. How Do I Maintain My Kitchen After a Deep Clean?
-
Clean as you cook by washing dishes immediately, wiping spills right away, and doing a 10-minute nightly tidy-up. Empty your dishwasher daily, wipe counters after each use, and do weekly maintenance on appliances. These small habits prevent the need for frequent deep cleaning sessions.


