How to Shine Laminate Floors: The Best Practical Way
That said, I still tried and scoured the internet for a sufficient remedy to my problem. Quite a lot of people suggested using the DIY solution of vinegar and water. What confused me was this vinegar acid reportedly could cause issues like warping. Sigh...
I also read about the Bona cleaning product. While there were many positive reviews, some people complained about their floors retaining dull spots after its use. I wondered whether this item was worth the hype.
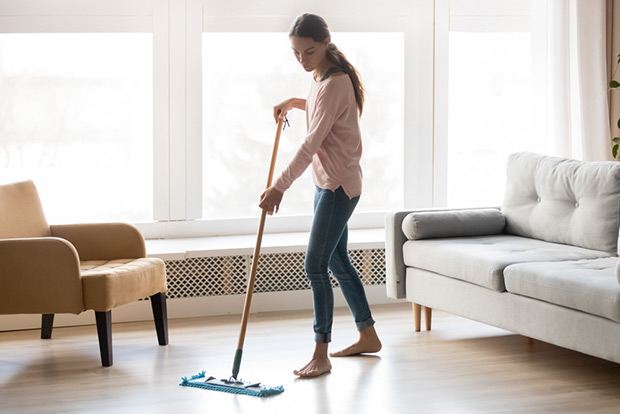
There was honestly nothing much to lose. I decided to give those options a try on a small section of my floor without high expectations. Much to my surprise, they worked well to revive the laminate.
Are you wondering just how good these solutions were? Below I have shared in details about how I managed to clean and shine my laminate floors by making the most effective use of them. I do hope you will enjoy the same eureka moment as I did!
Things you will need
≫ Dustpan (optional)
≫ Best mop for laminate floors
≫ A Good vacuum cleaner with the hard floor setting
≫ Distilled white vinegar
≫ Water
≫ Spray bottle
≫ Clean, lint-free cloth
Some great vacuums maybe you also like
How do I get my laminate floors to shine?
One of the best things about laminate floors is they look flawless and shiny. They can remain that way with proper maintenance. Still, residue and dirt buildup from unsuitable cleaning items may accumulate on laminate and reduce its quality.
The secret to restoring shine to your flooring is through the proper cleaner type. Also, stop using certain unfriendly products on the floor as soon as you can.
Step 1. Sweep or vacuum
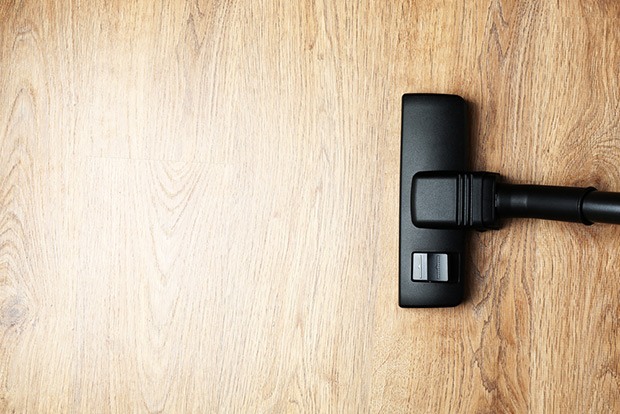
First, get rid of dirt and dust from your floor using a mop. Laminate is a thin wood layer over synthetic medium density fiberboard. It is vulnerable to surface damage. That is why you should not use any abrasive cloths or mops.
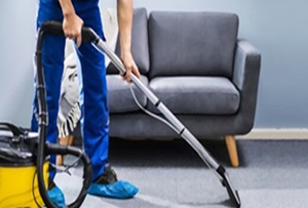
You can vacuum the laminate, which is much more effective at gathering fine dust particles. Still, make sure you avoid scratching or dulling the floor finish by using the hard floor attachment. Say no to vacuums with the beater bar to prevent the buildup of grit and dirt.
✪✪✪ Pro tips:
☑ Avoid scrubbers like steel wool and scrubbing sponges. The best material for restoring shine to laminate flooring is a soft, lint-free microfiber cloth.
☑ Clean underneath furniture and along the walls because hair and dirt are likely to slide across your flooring. If you only dust the visible areas, trash can move out from the hiding place and onto your laminate thanks to slight changes in the air. The consequence is you will have to repeat sweeping from the beginning.
Step 2. Use the right cleaner
The vinegar and water solution is the best homemade way to go for me. It is inexpensive and works sufficiently. I put a 1/2 and 1/2 combination of water and white vinegar in a spray bottle.
If you do not like the idea of using vinegar to make your laminate floor shine, a cleaner specifically made for this type of flooring (Bona, etc.) is another good choice. This popular product has a neutral PH level that is its advantage over vinegar, and is safe for polyurethane. Be sure you buy the Bona Cleaner instead of the polish or refresher. Those will leave shiny residues which could possibly harm your wood floor.
➜ RELATED: Diy Cleaning With Vinegar: Household Uses For Vinegar
✪✪✪ Pro tips:
☑ To avoid dullness, stay away from cleaners with oils, soaps, or harsh chemicals. You should only use a trusted cleaning product specifically designed to polish laminate floors or a water and vinegar mixture for shine!
☑ Laminate flooring manufacturers are the best people to ask about the laminate floor shine restorer. You know, you can void your warranty when not using their recommendations.
☑ If you are not opposed to rubbing alcohol, you can add it to the mixture of water and vinegar. It does a great job of eliminating shoe polish, nail polish, crayons, and inks on the laminate floor. A good measurement ratio is equal parts water: vinegar: rubbing alcohol = ½ cup (118 ml): ½ cup (118 ml): ½ cup (118 ml).
☑ To decide whether you chose a proper cleaning product or not, I recommend you do the first test on an area that is small and hidden from the eyes. If the coating is adequately clean and stays intact, you can use it to clean the whole floor.
☑ Warm water is better for the floor than hot water. If done accurately, it will not leave streaks.
Step 3. Spray the solution directly onto the laminate
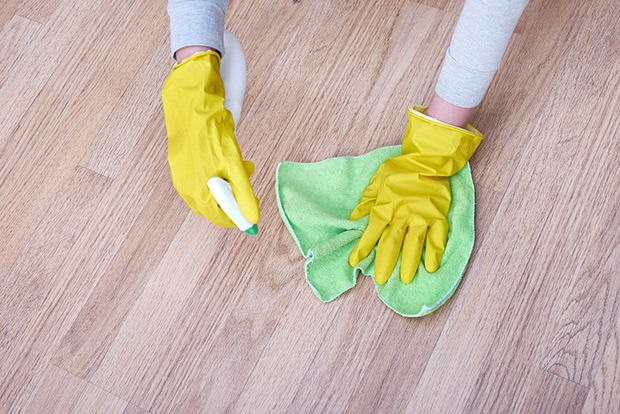
Importantly, spray a little at a time, especially when it comes to the vinegar solution. Never soak laminate with large amounts of liquids as allowing moisture to sit on the floor for too long could make it warp. Also, this helps you reach the whole area with the mop without walking on the wet floor.
The smell of vinegar will not bother you; it only lasts ten minutes or less.
✪✪✪ Pro tips:
☑ Spray a fine mist of cleaner over an area about 3 feet by 8 feet wide.
Step 4. Wipe the cleaner up with a microfiber mop
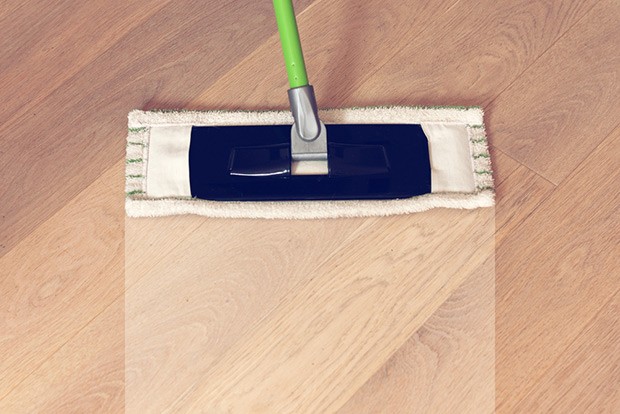
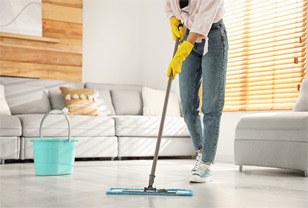
Work in small sections of the floor in the grain direction with a clean microfiber mop. Be sure you wring it out before each use. Avoid using string mops on laminate as they hold too much water which will damage the floor. Your floor surface should look moderately damp without streaks.
Spray the cleaner and mop over it until the whole floor is clean.
✪✪✪ Pro tips:
☑ Apply cleaner in the first small area. Wait two or three minutes. Spray the next section (area 2). Go back and wipe up the solution from the first area. Apply cleaner to the next section and then come back and wipe up area 2. Continue this back and forth process until you finish tackling the entire floor.
Step 5. Dry the laminate
Once your room surface has been cleaned and looks spotless, dry it off. If there is a large amount of water left behind, use a dry microfiber cloth to absorb it. Otherwise, let it air dry. You should not walk on the laminate while it is still wet to protect the shine.
Next, look at the dry floor in the light and check for any remaining dull spots. Rub and buff them with a dry cloth to restore the shine.
✪✪✪ Pro tips:
☑ Say no to any cleaning system that is water-based - for example, mop-and-bucket, steamers, and spray mops.
☑ Ensure your house has proper ventilation while you clean the floors.
The do’s and don'ts
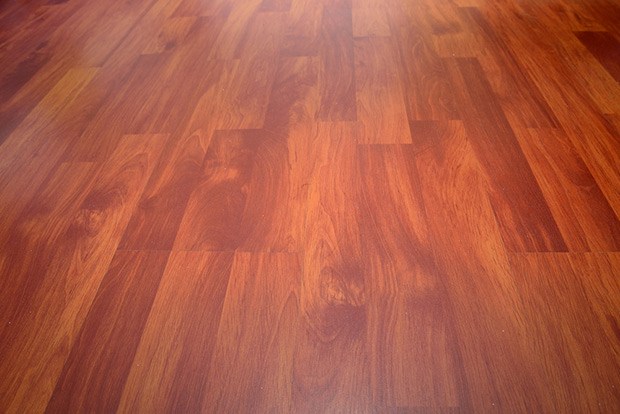
Although I have managed to restore shine to my laminate floors, I know being specific about how to take care of them is essential for maintaining shine and damage prevention. I have other priorities in life, so I cannot spend too much of my precious time cleaning the mess I make to my flooring due to my insufficient care and attention.
That is why I have put together these essential points when it comes to keeping the laminate polished. Take it easy; it is not rocket science but easy to understand and follow.
➜ RELATED: 8 Best Vacuums For Laminate Floors That Actually Work
1. Simple things to do
≫ Install protective pads on the bottom of your furniture to prevent potential scratches by table legs, chair legs, etc. For chair legs and the like, you can rely on small round pads. You should use more full pads for bigger and heavier furniture to protect the floor.
≫ Vacuum or sweep at least once a week to avoid the accumulation of dirt and dust on your floor and possible scratches. Clean up your laminate more often if you have an active home with little children and pets.
≫ Always rely on the hard floor attachment when vacuuming.
≫ Consider making a no-shoes policy to keep the floors clean. Or else, prepare house shoes for your family and guests to wear. It takes five seconds at most and probably twenty seconds or so if you have footwear to unlace.
≫ Place floor mats at your entrances. They not only welcome guests to your home, but help collect dust, mud, dirt, moisture, and other particles that may be pulled in from outside.
≫ Handle spills immediately. While laminate is durable, it is not meant to become overly wet. Once food spills on your floor, gather solid waste using a towel. Use a cloth to wipe up liquids that end up on the laminate.
≫ Mop up any stains once they appear.
≫ In case of dents or scratches to your laminate, you can buy a touch-up kit for its finish maintenance. Typically, there are either crayons or color pencils or filler material in this kit. When you use this touch-up material appropriately, it can conceal the damage to the floor with ease while maintaining the finish and durability.
≫ Do a periodical cleaning with the solutions mentioned above or products made specifically for laminate flooring care.
➜ RELATED: Best Laminate Floor Polishes To Make Your Floor Shine Like New Again
2. Things you should not do
≫ Never wear outdoor shoes in the house, or you will possibly track all the filth from your shoes into your living space.
≫ Never wax the laminate. As it is made to be shiny, you do not have to treat it with wax or a similar substance. Also, if you do a Google search, you can see horror stories about those who have used floor wax on their laminate and how much work it is to get rid of it. It is notorious for dulling and ruining your floor rather than giving a shine.
And finally!
Many house designers on popular TV shows suggest installing laminate floors for a reason. While it is from wood composite, laminate has the same look as solid hardwood flooring. Also, it is usually less expensive and easier to put in and fit together.
The transparent protective layer on top is fantastic. Cleaning this type of flooring will not stress you. Once you grasp the basics, it will look as good as new and shiny without a lot of effort.
➜ RELATED: 50 Amazing Cleaning Tips You'll Wish You Knew Sooner
Make sure you make a wise choice about your cleaners since the floor can retain a film which attracts dirt and dust quickly. Homemade cleaners are one of the safest options. Equal parts warm water and vinegar are ideal. Either that or you can rely on Bona cleaner. Wipe up the laminate with a suitable mop. I was amazed to see the actual results before my eyes. I successfully restored the shine to my laminate floors, and it does not cost a fortune to get the work done!
What is more, regular care will keep your floor beautiful for years. It is not difficult at all by following the above tips.
Now that you have read through my post, it is time to transform your flooring. Let me know if you need any further help.


