How to Get Smell Out of Cooler: Simple Steps to Clean, Deodorize, and Sanitize
- Top 3 Ways on How to Clean a Dirty Cooler and Sanitize It Too
- Different Types of Vacuum Cleaners: Everything You Need to Know
- How to Clean With Vinegar - Amazing Remedies and Cleaning Hacks for Homeowners

Some of the simplest and most efficient methods for deodorizing your cooler are highlighted in this article
After more than 10 years of caring for camping gear and coolers, I’ve learned that most “this thing is done” coolers are still salvageable. With a few basic products and the right order of steps, you can clean, deodorize, and sanitize your cooler so it’s safe for food again. This guide from TheKingLive walks you through exactly how to get smell out of cooler—from quick fixes to deep cleans and simple prevention habits.
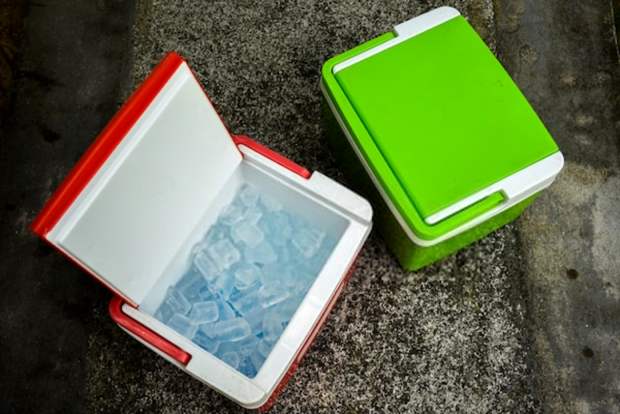
You can clean, sterilize, and deodorize your cooler to make it safe for food again with a few basic materials and the proper sequence of actions
Quick Overview: The Main Ways to Deodorize a Smelly Cooler
Before we dive into details, here’s a quick look at the main methods that consistently work to deodorize a cooler or ice chest:
-
Vinegar + lemon + dish soap – great for fishy, sour, and “ocean” smells.
-
Odor absorbers (baking soda, activated charcoal) – gentle for soft or fabric coolers.
-
Bleach + baking soda – strong combo for rotten meat and heavy odors, plus sanitizing.
-
Baking soda + coffee + vanilla – natural, low-chemical “scent reset.”
-
Warm soapy water + baking soda + mild bleach spray – deep-clean routine for moldy, long-neglected ice chests.
You can mix and match these depending on whether you’re dealing with fish, meat, stale beer, mildew, or a general “what died in here?” smell.
Important: Whatever method you choose, always let your cooler dry completely with the lid open at the end. A dry interior is your best defense against mildew, mold, and recurring odors.
Essential Supplies for Cleaning and Deodorizing a Cooler
You don’t need a cupboard full of specialty products to get smell out of a cooler or to tackle how to get fish smell out of cooler — most of what you need is already in your kitchen or laundry room.
Basic Cleaning Supplies
-
Mild dish soap
-
Warm water
-
Soft brushes or sponges
-
Old rag or microfiber cloths
-
Bucket or large bowl
Natural Deodorizing Supplies
-
White vinegar
-
Lemon juice (fresh or bottled)
-
Baking soda
-
Activated charcoal (loose or in small bags)
-
Coffee grounds (fresh or dried used grounds)
-
Vanilla extract
-
Cotton balls or paper bowls
Sanitizing & Deep-Cleaning Supplies
-
Chlorine bleach (regular, unscented)
-
Spray bottle
-
Rubber gloves
-
Simple mask (optional, for strong odors or bleach fumes)
-
Garden hose with spray nozzle (for outdoor deep cleans)
-
Old toothbrush (for corners, seams, and drain plugs)
You won’t use everything every time, but having this list ready makes it easier to plan one solid cleaning session.
Common Reasons Your Cooler Smells Bad (Fishy, Sour, or Musty)
Coolers don’t suddenly smell for no reason. A strong odor usually comes from one or more of these:
-
Food remnants and spills
Bits of fish, meat, onions, and other strong-smelling foods fall into corners or stick to the sides. As they rot, they leave a powerful odor that clings to the plastic.
-
Stale drinks and dirty meltwater
Old beer, juice, soda, and murky meltwater collect at the bottom. That puddle quickly becomes a breeding ground for odor-causing bacteria, leading to a sour, “swampy” smell.
-
Trapped moisture, mold, and mildew
Closing the lid before the interior is fully dry creates a warm, dark, moist space—perfect conditions for mold and mildew. That’s where the classic musty smell or “mildew smell” in a cooler comes from.
-
Soft cooler materials that absorb odors
Fabric and foam in soft-sided coolers soak up smells more easily than hard plastic. If you don’t clean and dry them thoroughly, the material itself starts to smell and is harder to deodorize.
Besides being unpleasant, a smelly, moldy cooler can also raise the risk of stomach issues if you store food in it without cleaning. That’s why learning how to clean a smelly cooler properly matters for both comfort and health.
Method 1: How to Get Fish Smell Out of a Cooler Quickly
Fish is one of the strongest, most stubborn odors you’ll ever deal with when you’re figuring out how to get smell out of cooler. I’ve pulled coolers out of garages after fishing weekends where the smell was so bad people refused to stand near them. In one case, a friend was ready to throw his “ruined” fishing cooler in the trash. We tried this method first—and by the next day he was using it again for drinks.
If you forgot to rinse your fishing cooler after a long day on the water, try this fish-focused method before you give up.
Supplies for Removing Strong Fish Odors
-
240 ml (1 cup) white vinegar
-
60 ml (1/4 cup) lemon juice (fresh or bottled)
-
1 small drop of dish soap
-
A bowl or bucket
-
A soft brush or sponge
-
A magic eraser (optional, for stains)
-
Clean water for rinsing
Step-by-Step: Cleaning Fish Smell from a Smelly Cooler
-
Mix the cleaning solution
In a bowl or bucket, mix the vinegar, lemon juice, and a drop of dish soap. Let it sit for about 30 minutes so the ingredients fully combine. Vinegar and lemon help cut through the oily compounds that hold fish odor.
-
Empty and rinse the inside
Remove leftover ice, packaging, or fish remnants. Give the interior a quick rinse with clean water so your cleaner can focus on the odor instead of chunks of food.
-
Scrub every surface
Pour the solution into the cooler and scrub every surface—sides, bottom, lid, corners, and around the drain. Pay extra attention to seams and grooves, where fish residue hides.
-
Treat stubborn stains
If you see yellow or dark spots after scrubbing, gently use a magic eraser to lift them off. Stains often cling to smell, so removing them helps deodorize the cooler more effectively.
-
Rinse thoroughly
Rinse with plenty of clean water until no suds remain. If you still see foam, rinse again. You don’t want leftover soap drying inside.
-
Air-dry completely
Leave the lid open and let the cooler air-dry for several hours or overnight. The inside should be completely dry before you close it to avoid a musty or mildew smell later.
If a faint fish smell lingers, follow up with the baking-soda-and-coffee method in Method 4 for an extra deodorizing boost.
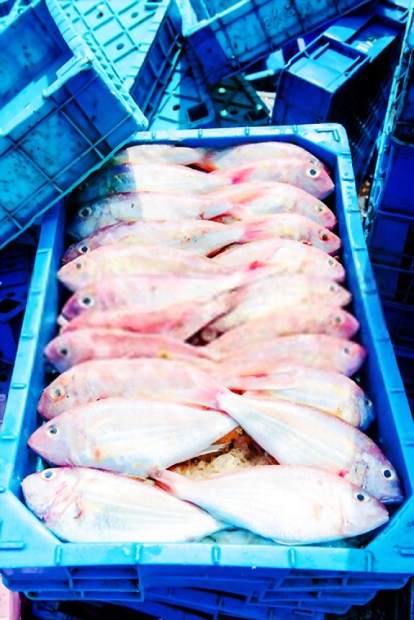
Regardless of the approach you take, always leave your cooler's lid open at the end to allow it to dry entirely
Method 2: Using Odor Absorbers in Soft or Fabric Coolers
Sometimes the smell doesn’t come from leftover food but from the material itself—especially in soft-sided or fabric coolers and ice bags. In that case, harsh cleaners aren’t always the best choice. Odor absorbers do the heavy lifting more gently.
Best Odor Absorbers for Soft Coolers and Ice Bags
-
Baking soda
-
Activated charcoal (loose or in small bags)
-
Shallow containers or paper bowls
-
A dry, clean cooler
-
A low-traffic space (garage, spare room, balcony)
Step-by-Step: Deodorizing a Soft Cooler with Absorbers
-
Prepare the interior
Make sure the cooler is clean and as dry as you can get it. If there’s visible dirt, wipe it down with mild soapy water, rinse, and let it dry. This step turns a “dirty cooler” into a clean one that only needs odor removal.
-
Place odor absorbers inside
Fill one or more small containers with baking soda, charcoal, or both. Place them inside the cooler so they can absorb odor from the air and fabric.
-
Close the lid and set aside
Close the lid tightly. Put the cooler somewhere quiet where it won’t be knocked over—like a garage, laundry room, or spare room.
-
Let it sit for several days
Leave it closed for 3–5 days for smaller coolers, and up to a week for larger ones or very strong smells. This is not the fastest way to deodorize a cooler, but it’s gentle and effective for musty or absorbed odors.
-
Check the smell, then rinse
Open the lid and sniff. If the odor is mostly gone, remove the baking soda or charcoal, give the interior a quick rinse, and let it dry again.
-
Repeat if necessary
For very stubborn smells in soft coolers, repeat the process with fresh baking soda or charcoal until the cooler smells neutral.
- This method works well when you want a non-toxic, low-effort way to remove odor from a soft cooler without soaking the fabric in strong cleaners.
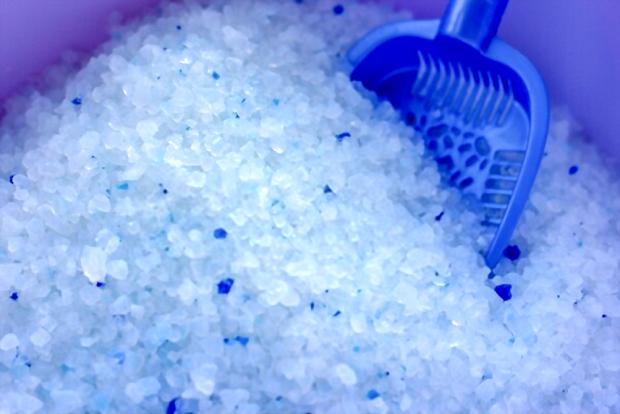
For delicate coolers, this approach is really effective
Method 3: Safely Removing Rotten Meat Smells and Sanitizing Your Cooler
Rotten meat is not only disgusting; it can also carry harmful bacteria that may cause food poisoning if you’re not careful. When meat juices spill and sit for a while, they create powerful, sour, almost sickening odors.
I’ve made this mistake myself—left a cooler in the trunk after a hot weekend, then opened it mid-week and nearly slammed it shut from the smell. The inside looked clean at first glance, but the odor was intense. This is the routine I now use when I really need to know how to get smell out of cooler, clean a smelly cooler, and sanitize it so it’s safe for food again—and it’s the same approach we recommend at TheKingLive for seriously smelly coolers.
Supplies for Deep-Cleaning Meat Odors
-
Rubber gloves (and a mask if the smell is very strong)
-
A bucket
-
1 tablespoon chlorine bleach
-
1 gallon (about 3.8 liters) cold water
-
Baking soda
-
Several white cotton cloths
-
Hot tap water
Step-by-Step: Sanitizing Meat Odors from Your Cooler
-
Get rid of the rotten meat
Throw away any spoiled meat in an outdoor trash can, not in your kitchen bin. Open windows or doors so fresh air can move the smell out of your home.
-
Protect yourself
Put on rubber gloves. If the smell is overwhelming, a simple mask helps. You’re about to clean and sanitize the cooler, so protect your skin and nose from both odor and bleach.
-
Mix a sanitizing solution
In a bucket, combine 1 tablespoon of chlorine bleach with 1 gallon of cold water. This mild solution helps kill bacteria and remove odor without being too harsh on the plastic.
-
Rinse and wipe with bleach solution
Rinse the cooler with water first. Then use a cloth soaked in the bleach solution to wipe every surface: bottom, sides, lid, and around the drain. Let it sit for a few minutes so it can sanitize, but don’t leave it on for hours.
-
Scrub with baking soda paste
Wet a cotton cloth with hot water, wring it out, then sprinkle baking soda on it. Rub the cloth together to make a paste and scrub the interior thoroughly. Baking soda helps neutralize strong meat odors.
-
Wipe away all residue
Use a clean, damp cloth to remove all the baking soda. You may need more than one cloth depending on cooler size.
-
Air-dry fully
Leave the lid open until everything inside is completely dry. This protects against mildew, mold growth, and musty smells coming back later.
Use this method when you need to clean, deodorize, and sanitize a cooler that had raw meat or spoiled food inside and you want to reduce the risk of foodborne bugs on your next trip.
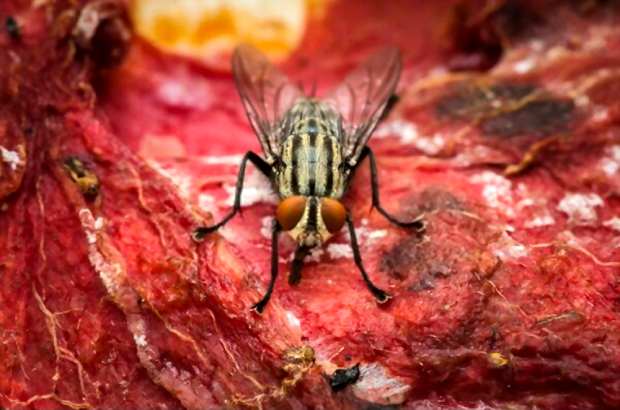
In addition to being repulsive, rotten meat might contain dangerous bacteria that, if consumed carelessly, could result in food poisoning
Method 4: Natural Deodorizing with Baking Soda, Coffee, and Vanilla
Want to know how to get smell out of cooler without harsh chemicals or strong scents? This method is like a “spa day” for your cooler: a thorough clean, long-lasting deodorizing, and a light, pleasant scent at the end.
What You Need for This Natural Deodorizing Method
-
White vinegar
-
Dish soap
-
Warm water
-
1 container of baking soda
-
Freshly ground coffee or dried used coffee grounds
-
4 cotton balls
-
Vanilla extract
-
A few clean cloths
Step-by-Step: Giving Your Cooler a Natural “Scent Reset”
-
Clean the inside with vinegar and soap
Mix 2 parts vinegar with 1 part soapy water. Dip a cloth into the solution, wring it out, and wipe every inner surface of the cooler, including the lid. This removes old residue and starts the odor removal process.
-
Rinse lightly and dry
Rinse with clean water to remove the vinegar/soap mixture, then dry with a towel so the interior is only slightly damp, not soaked.
-
Let baking soda work overnight
Place an open container of baking soda on the bottom and close the lid. Leave it for at least 24 hours. Baking soda slowly absorbs odor from the air and surfaces.
-
Add coffee for extra deodorizing
After the first day, add a small plate of freshly ground coffee or dried used coffee grounds inside, next to the baking soda. Close the lid again and leave it for another 24 hours. Coffee helps cover and absorb stubborn smells.
-
Remove everything and lightly scent with vanilla (optional)
Take out the baking soda and coffee. Roll four cotton balls, dip them in vanilla extract, and place one in each corner for a few hours. This gently infuses a clean, pleasant scent into the cooler.
-
Vent and store
Remove the cotton balls, leave the lid open for a short time to let the scent settle, then store the cooler with the lid slightly open if you can. This prevents a stale or musty odor from returning.
This method is perfect when you want your camping or beach cooler to smell fresh and neutral—ideal for family use, picnics, and indoor storage.
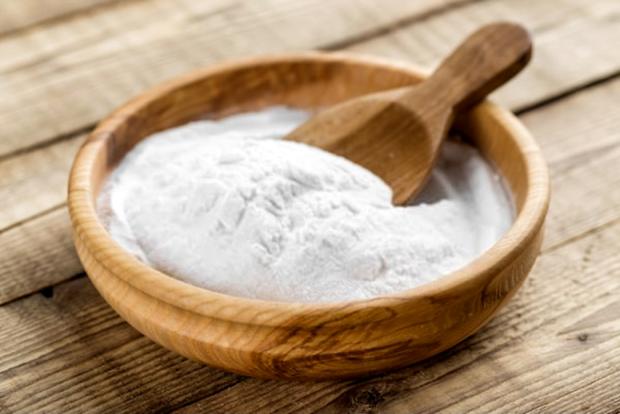
This method is ideal for making your camping or beach cooler smell fresh and neutral
Method 5: Deep-Clean Routine for a Moldy or Severely Smelly Ice Chest
Sometimes your ice chest smells so bad you feel like nothing will save it. Stale water, rotten fish, onions, sticky spills, and even patches of mold can combine into one awful odor. This deep-clean routine shows you how to clean a smelly cooler, how to get rotten smell out of cooler, and how to deal with mold or mildew smells at the same time.
Tools and Cleaners for a Full Ice Chest Reset
-
An outdoor space with good ventilation
-
A garden hose with a spray nozzle
-
Warm soapy water (dish soap is fine)
-
An old rag
-
An old toothbrush
-
A soft brush
-
Rubber gloves
-
A spray bottle
-
Chlorine bleach
Step-by-Step: Deep-Cleaning a Heavily Used Ice Chest
-
Rinse and remove debris
Take the ice chest outside. Use the garden hose to spray every surface inside and loosen food particles. Use the toothbrush for corners, crevices, and the drain plug. Wipe settled dirt with the rag.
-
Wash with warm soapy water
Fill a bucket with warm water and dish soap. Use a soft brush to scrub the inside thoroughly, including the lid and drain plug. This lifts grease, sticky residue, and much of the smell.
-
Check the smell and look for mold
Rinse with the hose and smell the interior. Also check for mold spots, slime, or a mildew smell—especially around seams and the drain plug. If it still smells bad or looks moldy, continue.
-
Apply baking soda as a deodorizer
Lightly dampen the inside walls and bottom. Sprinkle baking soda over the surfaces and use the soft brush to work it in. Do the same for the lid. Close the lid and leave it for at least 2 hours so baking soda can absorb deep odors.
-
Rinse thoroughly
Rinse away all baking soda with the hose. Smell the interior again. If there’s only a faint odor left, you may stop here. If you still notice a strong or moldy smell, move to the final step.
-
Use a mild bleach spray to kill mold and odor-causing bacteria
In a spray bottle, mix 1/3 cup chlorine bleach with 2/3 cup cold water. Wearing gloves, spray the inside of the ice chest and the drain plug until they’re lightly coated. Do this outside or in very good ventilation. This step sanitizes the cooler and kills mold and mildew.
-
Let it sit and then rinse one last time
Leave the solution on for about 30 minutes so it can work on bacteria, mold, and stains. Then rinse thoroughly with plenty of water to remove all bleach residue. Never mix bleach with vinegar or other cleaners—use them in separate steps only.
After this deep clean, even a severely smelly or moldy ice chest should be fresh, deodorized, and ready for safe use again.
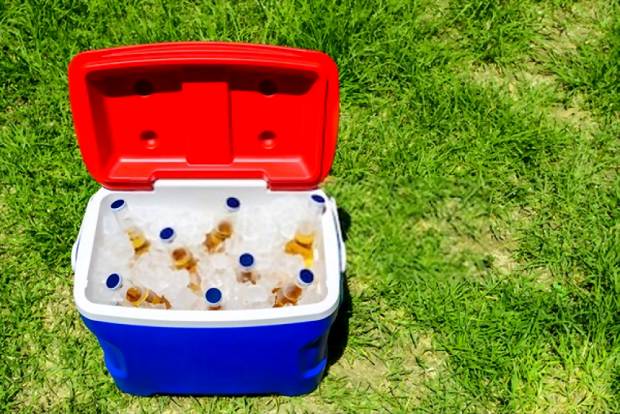
This deep-cleaning routine demonstrates how to clean a smelly cooler
Quick 10-Minute Fix If Your Cooler Smells “Just a Little Off”
Sometimes your cooler doesn’t smell terrible—it just smells… not quite fresh. Maybe it’s last weekend’s beach cooler or a camping cooler you forgot to crack open.
When you only have about 10 minutes before you need to pack, try this:
-
Fast wash
Rinse the inside quickly, then wipe it with warm soapy water and a sponge.
-
Vinegar swipe
Mix equal parts white vinegar and water in a bowl. Wipe all interior surfaces, then leave the lid open for a few minutes.
-
Speed-deodorize
Dry the inside with a towel, then place a shallow bowl of baking soda inside. Close the lid while you prep other gear. Even 30–60 minutes can noticeably reduce light odors.
-
Final air-out
Dump the baking soda, give the cooler a quick wipe, and leave the lid open as long as you can before packing.
This won’t fix a truly nasty, moldy cooler, but it works well for mild smells when you’re short on time.
Smart Packing and Storage Habits to Prevent Cooler Odors
Knowing how to get smell out of cooler is important, but avoiding bad smells altogether is even better. Good packing and storage habits dramatically reduce spills, leaks, and moldy, musty odors in your camping, beach, or fishing cooler.
Choosing a Cooler That Stays Fresh Longer
When you’re buying or upgrading a cooler, look for:
-
Thick insulation and a tight-sealing lid
-
A drain plug that’s easy to remove and clean
-
Smooth interior surfaces with minimal deep grooves
A well-designed cooler keeps food colder longer, reduces spoilage, and makes it easier to clean and deodorize.
Separating Food and Drinks the Right Way
If possible, use:
-
One cooler for drinks (opened frequently)
-
One cooler for raw meat and food (opened less often)
The drink cooler gets opened constantly, which warms it up faster. Keeping raw meat and strong-smelling food in a separate cooler reduces spills, contamination, and future odor problems—and helps protect your family from unnecessary food-safety risks.
Pre-Chilling and Using Ice Blocks Effectively
-
Pre-chill the cooler with ice or frozen bottles for a few hours before packing.
-
Use ice blocks instead of just cubes. Blocks melt more slowly and create less dirty meltwater, which means fewer smells and less mess.
A cold cooler slows bacteria growth and helps prevent that sour, stale smell.
Packing Food so It Doesn’t Leak or Spoil
-
Pack food by order of use: meals for the last day at the bottom, upcoming meals near the top.
-
Double-bag raw meat and store it low in the cooler.
-
Use sealed containers for prepared dishes.
-
Keep fruits and vegetables in baskets or containers so they don’t sit directly in the ice melt.
These simple habits stop spills and rotting food—the main causes of strong cooler odors and potential tummy trouble later.
Boosting Insulation to Keep Odors Away
To keep everything cold longer and prevent early spoilage:
-
Fill empty space with extra ice, frozen bottles, or crumpled clean towels. Less air = more stable temperature.
-
Line the bottom and sides with plastic or foil if you want an extra barrier.
-
Close the lid quickly every time you open it.
The colder and more stable the temperature, the less likely food is to rot and create bad smells.
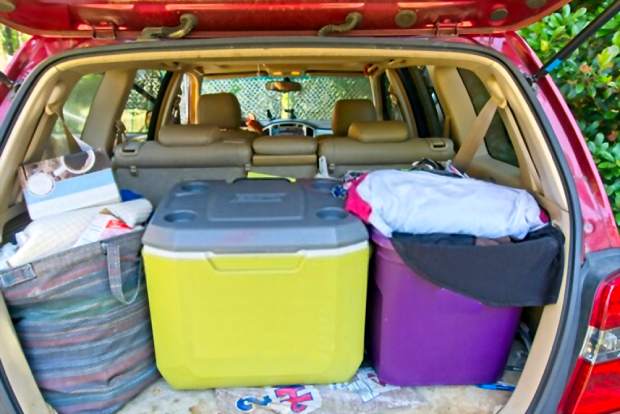
Good packaging and storing habits significantly decrease spills, leaks, and mold
How Often Should You Clean and Sanitize Your Cooler?
Regular cleaning and occasional sanitizing are the easiest ways to avoid major odor problems—and are the core of how to get bad smell out of cooler, while also reducing the risk from bacteria that love warm, wet, dirty spaces.
-
After every use
-
Empty leftover ice and water
-
Wash with mild soapy water
-
Rinse and dry completely with the lid open
-
-
Every 3–6 months (deep clean)
If you use your cooler regularly, give it a deeper clean every few months, even if it doesn’t smell. This stops invisible bacteria, mold, and mildew from building up.
-
After raw meat or fish
Clean and sanitize your cooler as soon as you can using one of the bleach-based methods in this guide. Raw meat and fish can carry bacteria you definitely don’t want anywhere near your food and drinks.
A little routine cleaning now saves you from dealing with a moldy, musty, smelly cooler later—and helps keep your family safer on trips.

Raw meat and fish can have microorganisms that you don't want near your food and drinks
Safety Notes and Manufacturer Guidelines
Before you grab the bleach bottle or scrub brush, keep these safety basics in mind:
-
Always check your cooler’s care instructions, especially for premium models, rotomolded coolers, or coolers with special coatings. If the manufacturer says “no bleach,” follow that first.
-
Work in a well-ventilated area—preferably outdoors—when using bleach, vinegar, or strong cleaners.
-
Never mix bleach with vinegar, ammonia, or any other cleaner. Use them in separate steps only.
-
Wear gloves if you have sensitive skin, and consider a mask if odors or fumes bother you.
-
Rinse thoroughly after using any cleaner or sanitizer, then let the cooler dry completely before putting food or ice inside.
Think of these methods as practical, real-world benchmarks, not strict lab rules. You can adjust times and exact quantities slightly based on how strong the odor is and the specific cooler you own—just keep safety, ventilation, and the manufacturer’s instructions at the top of your list. At TheKingLive, we always recommend following your cooler brand’s guidance first, then using these home methods as a proven backup.
Disclaimer: These tips are based on home use, general sanitation practices, and real-world experience. They’re not a substitute for professional food-safety advice or the specific guidance provided by your cooler’s brand.
How to Get Smell Out of Cooler for Good
A smelly cooler is usually a sign of something simple: trapped moisture, forgotten food, or dirty meltwater that sat too long. The good news is that once you understand how to get smell out of cooler—from quick vinegar wipes to full bleach-and-baking-soda deep cleans—you can rescue most coolers instead of replacing them.
Use gentler methods first, save the stronger sanitizing steps for rotten meat and mold, and build a few easy habits into your packing and cleanup routine. With a little care between trips, your cooler can stay fresh, safe, and ready for whatever adventure you load into it next. And if you ever forget a cooler in the trunk for “just a few days,” keep this TheKingLive guide handy—you’ll know exactly what to do.
FREQUENTLY ASKED QUESTIONS
- 01. What is the Fastest Way to Deodorize a Smelly Cooler?
-
If you need quick results, first wash the interior with warm soapy water and rinse well. Then clean again with a mix of 2 parts white vinegar to 1 part soapy water, scrubbing all surfaces. Rinse and dry with the lid open. If you have a few extra hours, place an open container of baking soda inside and close the lid. This combo often removes odor from a cooler in less than a day.
- 02. How Do I Remove Mildew or Musty Smell From My Cooler?
-
A mildew smell usually comes from moisture trapped inside. Start with a deep clean using warm soapy water and baking soda. If you see mold spots or smell strong mustiness, follow up with a mild bleach solution (about 1 tablespoon bleach per 1 gallon of water), wipe every surface, let it sit briefly, then rinse thoroughly and air-dry. Once it’s completely dry, you can add baking soda or charcoal inside to absorb any remaining odor.
- 03. Is It Safe to Use Bleach in a Cooler and Still Store Food Afterward?
-
Yes—bleach is generally safe to use on many hard plastic coolers as long as you dilute it properly and rinse thoroughly. Use about 1 tablespoon of chlorine bleach per gallon of cold water to sanitize, wipe surfaces, let it sit for a few minutes, then rinse with plenty of clean water until you’re sure no bleach smell remains. Once the cooler is fully dry and scent-free, it’s usually safe to store food, ice, and drinks again—but always respect any specific instructions from your cooler’s manufacturer.


