How to Clean a Cooler: 3 Pro Methods to Eliminate Odors and Restore Freshness
- How to Change and Empty the Vacuum Bag: 5 Essential Steps to Remember
- Carpet Made Easy: How to Remove Carpet?
- How Often Should You Vacuum? - The Complete Guide to Household Vacuuming
A cooler works almost like a refrigerator. It helps to keep food and drinks fresh for a prolonged period. For example, it can keep fish, meat, beer, drinking water and even tomatoes fresh for a longer period. A typical cooler looks like the one below.
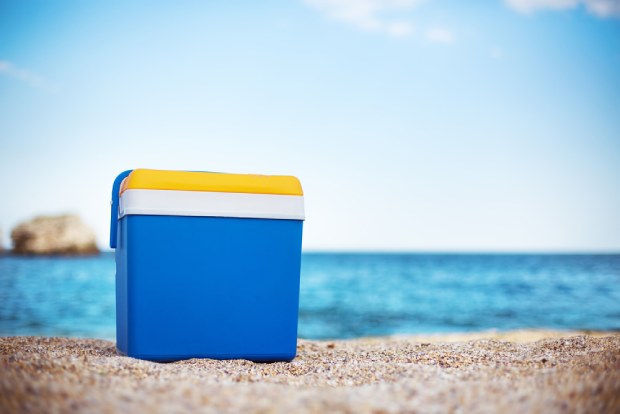
You should be aware of the best technique to clean a cooler in order to maintain the freshness of your cooler and the goods it holds
But here's the thing - to keep your cooler and stored items fresh, you need to know how to clean a cooler properly. Have you ever opened an ice chest and been hit with a funky or fishy smell? If not cleaned regularly, it soon starts to infect the stored items with a foul smell that's very disgusting. Even the best coolers require regular cleaning.
So what's causing that awful smell in your cooler?
What Makes Your Cooler Smell Like a Disaster Zone?
When poorly maintained, coolers soon become dirty and smelly. The culprits behind that offensive odor are usually:
- Bacterial action on moist areas that turn your cooler into a petri dish
- Mold growth inside the enclosure - nobody wants fuzzy green guests
- Hidden spillage from previously-stored items lurking in corners
- Frequent use without proper cleaning between trips
However, here's the good news - this disgusting state isn't permanent. There are simple ways to get smell out of your cooler. With the right approach and formula, even seemingly stubborn stains become easy to eliminate.
Have you tried unsuccessfully to restore your cooler's fresh smell? Then this guide is exactly what you need. We'll show you how to bring your cooler back to life and prevent it from turning into a stink bomb again.
Your 3-Step Battle Plan Against Cooler Chaos
A dirty cooler can be restored using any or a combination of these targeted approaches:
- Cleaning mold - eliminate those unwanted fuzzy colonies
- Removing bad odors - say goodbye to that fish-market smell
- Cleaning deep stains - tackle those stubborn marks and blemishes
Let me walk you through each process step by step:
Method 1: How to Banish Mold from Your Cooler in 10 Steps
Since mold isn't welcome in our homes - especially around food - you should regularly check for it on your cooler. Fortunately, it isn't that difficult to find and eliminate. Here's your complete mold-busting strategy:
What you'll need:
- Liquid dishwashing soap
- Warm water
- Baking soda
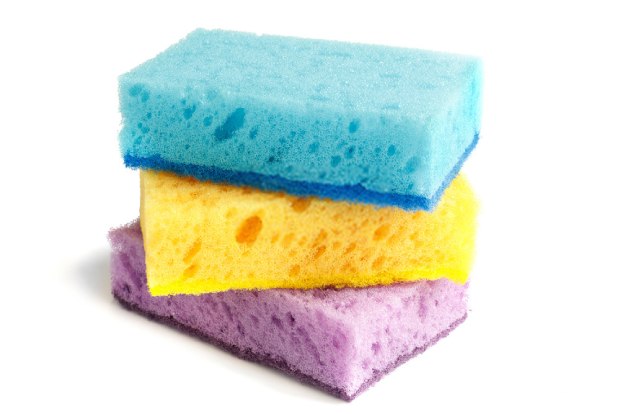
- Sponge
- Garden hose
- Bleach
- Clean towel
Step 1: Set Your Stage
Position your cooler on level ground in an open area. This gives it enhanced stability, preventing any accidental spillage. Remove any items that may have been abandoned inside.
Step 2: First Strike Against Grime
Start by rinsing out the filth, dirt and other light stains from your cooler surface. Your water hose will help remove loose surface dirt and debris. Let out the water by opening the drain or just pouring it out manually.
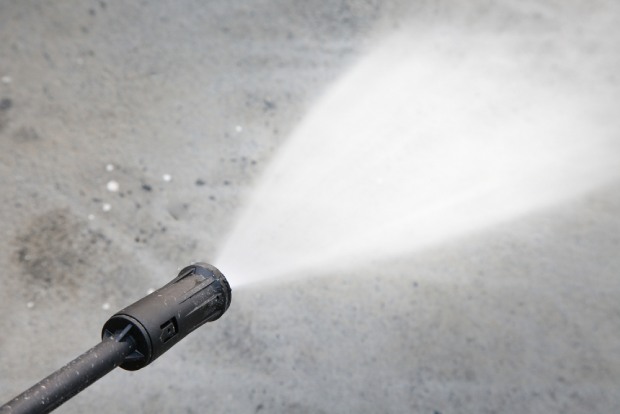
The loose dirt in a cooler is eliminated by the water hose's high pressure
Step 3: Create Your Cleaning Arsenal
Mix one cup of baking soda, three drops of liquid washing soap and a gallon of warm water. Combine these ingredients thoroughly in a bucket. This becomes your mold-fighting solution.
Step 4: Attack the Interior
Dip your sponge in the cleaning solution bucket. Make sure it's soaked thoroughly. Then use it to gently scrub your cooler's interior. Don't have a soft sponge? A paper towel works equally well.
Step 5: Keep the Momentum Going
When your paper towel dries up or becomes extremely dirty, re-dip it in the bucket and continue wiping the cooler's interior surface. Don't let mold catch a break.
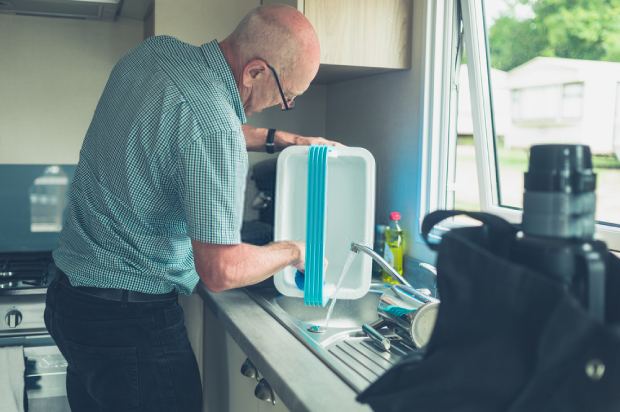
How to use a sponge or soft brush to clean the inside of the cooler
Step 6: Don't Forget the Outside
Once you've conquered the inside, wet your sponge in the solution one more time. Then begin wiping or scrubbing the exterior as well.
Step 7: Rinse Away the Evidence
After gentle wiping and scrubbing of the exterior, it's rinse time. If your cooler has a drain plug, make sure it's open. Then spray the cooler with water from your hose both inside and outside. This eliminates any remaining soap and dirt from the equipment.
Step 8: Bring Out the Big Guns
Discard the remaining solution from your bucket and rinse it. Fill the pail with a gallon of water, then add a cup of bleach to the same water and mix. Pick a clean sponge and dip it in the solution. Cleaning a cooler with bleach helps eliminate molds easily. Wet the inside with your soaked sponge. Make sure you apply the solution to every corner.
Step 9: Let Chemistry Work Its Magic
Let it sit for about 10 minutes. This gives the bleach time to destroy any lingering mold spores.
Step 10: Final Victory Lap
Rinse the bleach solution from your cooler using your garden hose. Check if there are still traces of mold on the equipment. See any stubborn spots? Repeat the process and rinse again. Wipe off excess water with a soft, dry towel, then air dry.
Pro tip: For complete drying of any hidden moisture, leave the drain and the lid open for a while. Air drying your cooler not only freshens it, but also discourages further growth of mildew and mold.
Method 2: Removing Stubborn Stains in Seven Simple Steps
Since coolers store a variety of foods, water, and other liquids, yours might develop blemishes and stains on the floor and sides. To a professional, how to clean a cooler shouldn't be stressful.
Since this process can be long-winded and monotonous, you can have some cool music to entertain you during the process. Here's your sure-fire way to clean a stained cooler:
What you'll need:
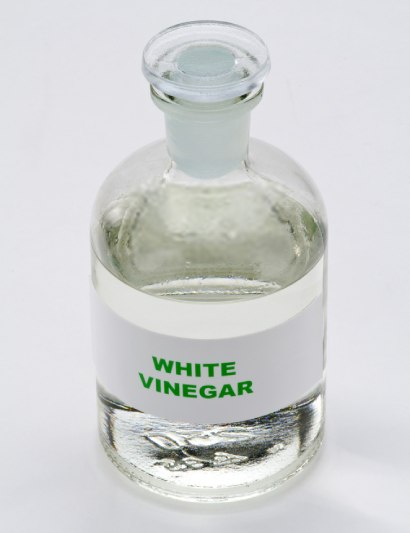
- A cup of white vinegar
- Garden hose
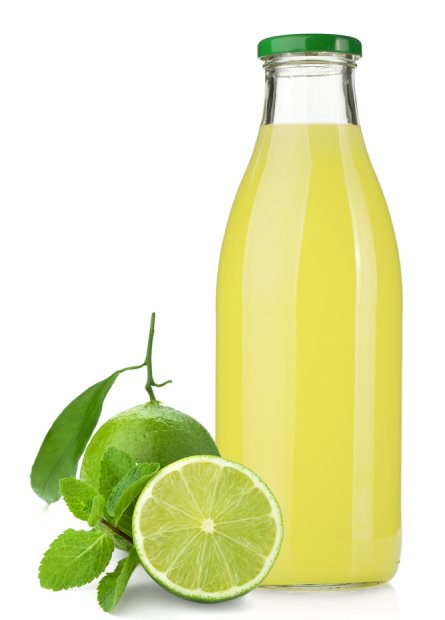
- Lemon juice
- Soft towel
- Sponge
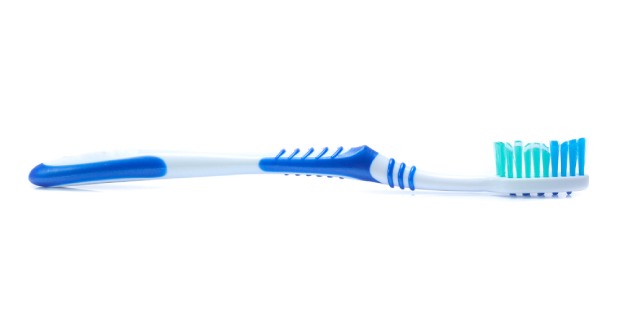
- Toothbrush
Step 1: Survey the Damage
Begin by rinsing your cooler using your garden hose. This removes loose dirt and helps you identify clearly where those stubborn stains are hiding.
Step 2: First Round of Attack
Add a little bit of liquid dishwasher to warm water to make a solution. Dip a sponge in the warm soapy water. Using the wet sponge, gently scrub the walls and bottom. Take a toothbrush and gently scrub the area around the lid gasket and the drain area for any hidden dirt.
Step 3: Clear the Battlefield
After gentle scrubbing, rinse out the loose filth. You're making progress!
Step 4: Deploy the Vinegar Solution
Mix white vinegar with water in a 1:1 ratio to form your stain-fighting solution. Dip a sponge or rag in the white vinegar solution and use it to wipe all interior surfaces.
Step 5: Patience Pays Off
Let your cooler sit for about half an hour. Then rinse thoroughly using your garden hose.
Still seeing some stubborn spots? Don't give up - move on to the step below:
Step 6: When Life Gives You Stains, Use Lemons
Cut a lemon into two equal parts and remove the seeds. Take each half and gently rub it on the stubborn stains. Next, rub those areas again with a sponge soaked in a little bit of liquid soap dishwasher. Then rinse.
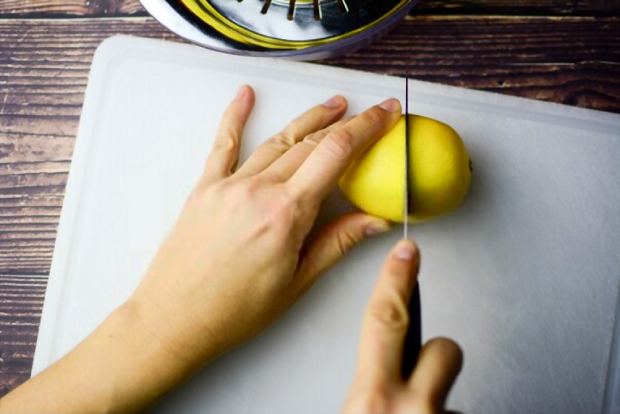
How to cut a lemon in half so that it can be cleaned in a cooler
Step 7: The Final Lemon Victory
Still seeing some faint spots? Here's your secret weapon: squeeze out some lemon juice onto a towel and rub it on the faint stains. Thoroughly rinse again, and air out in the sun.
Pro tip: Before wiping off with a towel, check the area around the drain. You might find that some of the stains removed from the walls have accumulated here. Give the area a hard scrubbing similar to what you did on the walls. Make sure to store your cooler with the drain open. We hope that helps you to even clean a Yeti cooler!
Method 3: Conquering the Stinky Cooler Challenge
A few foods can lead to a disgusting smell in your cooler - fish or meat residue top the list. And if any leakage occurs while you're transporting either of these items, you're in for trouble!
The question is: How do you rescue a stinky cooler? Regular cleaning with water and soap detergent isn't sufficient to remove all traces of that fish smell.
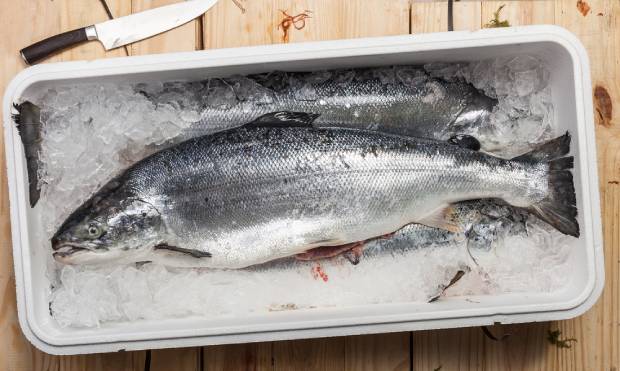
Fish kept in a cooler may leave behind a fishy odor
Here are six steps on how to remove odor from the cooler:
What you'll need:
- Warm water
- Liquid bleach
- Mild abrasive
- Baking soda
- Toothbrush
- Gloves
Step 1: Clear the Crime Scene
Empty your cooler completely. Wash as usual with warm soapy water to remove food crumbs. Gentle scrubbing with an old toothbrush will help remove grime from crevices, corners, and the lid gasket. Rinse out but do not wipe dry.
Step 2: Baking Soda to the Rescue
Sprinkle fresh baking soda onto the entire interior surface. Don't forget to do likewise to the area around the lid. This is your crucial step in removing odor from your cooler.
Step 3: Work That Magic Powder
Using a clean toothbrush or mild abrasive, gently rub the baking soda onto every inch of surface. Make sure it reaches even the usually hard-to-reach areas. Close the lid and let it sit for about two hours.
Step 4: The Moment of Truth
After two hours have passed, rinse out the baking soda residue. This should eliminate most of the smell.
But what if there's still a lingering odor? Put on your gloves and proceed to the last stage of cleaning a cooler without panicking.
Step 5: Prepare Your Odor-Killing Solution
Create a solution of one part liquid bleach to two parts of water. Transfer the solution to a spray container.
Step 6: Nuclear Option Against Odors
Spray every surface, corner and even the lid gasket. This step neutralizes odor traces, inhibits bad bacteria's growth and sanitizes your cooler too. Allow the bleach solution to work for about sixty minutes before doing a thorough rinsing.
Step 7: Sweet Victory Scent
If the lingering smell of bleach bothers you, take vanilla extract or oil and smear it on a paper towel. Then use the towel to wipe your cooler's interior. Voila! Your cooler has been restored to its fresh new look like the one shown below:
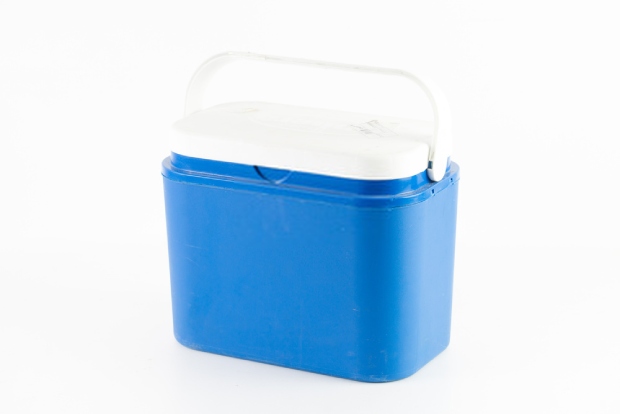
Your cooler will shine like this after professional cleaning
Quick Fix for Busy People
Looking for the fastest way to clean your cooler? Here's your time-saving trick:
Either buy or hire the service of a high-pressure soap spray. A self-service car wash center is one sure place to get this equipment. It won't cost you more than a few dollars but you'll appreciate the service it offers.
Hold the high-pressure soap spray at close range and spray thoroughly, especially inside. Pay extra attention to any crevice, drainage plug, and rubber gasket.
After which, scrub and finally rinse with a high-pressure hose. Lastly, open the lid, turn upside down to let the water drip down and dry out completely.
But as you've realized, cleaning smelly coolers or removing stubborn stains can be very elaborate. That's why it's important to know how to prevent your unit from developing stubborn offensive smell and stains.
How to Keep Your Cooler Fresh: Prevention is Your Best Friend
First, don't forget your routine of cleaning with warm soapy water after every use. A gentle scrubbing may also be necessary. Make sure to clean immediately after use before spilt liquid and crumbs decompose. Also, keep these points in mind:
A. Pack Your Items Like a Pro
The most crucial point here is knowing the correct way to pack your cooler. Always insert food items like meat, fish or any smelly substance in an airtight plastic bag before putting them inside. This helps keep both the smell and spillage from reaching your cooler unit.
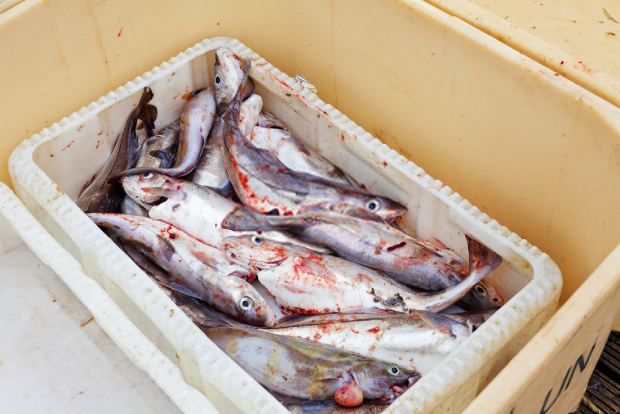
Fish kept in a cooler box after being packed in a plastic bag
B. Never Store a Damp Cooler
Closing the lid and storing a moist cooler is a sure recipe for disaster. The dampness allows for bacterial action that causes bad odors. Instead, open the lid and air dry to remove the dampness. Once done, sprinkle some baking soda on the bottom before storing it away.
C. Don't Let Items Overstay Their Welcome
Sometimes your business involves transporting perishables from one place to another. That's fine. But have you ever felt so tired after a long trip that you don't feel like emptying, let alone washing your cooler?
Once you've reached your destination, empty it straight away. Then use a garden hose to clean and spray the interior. Usually it's the buildup of spillage or food crumbs that contributes to the offensive smell. Spraying it out eliminates the problem before it starts.
D. During Cleaning, Don't Forget the Hidden Spots
However thorough your cleaning routine is, if you fail to take care of the hard-to-reach areas, your cooler will still smell. Therefore, pay special attention to the drain, lid gasket, and corners as well.
Your Fresh Cooler Awaits
To get the best service out of your cooler, you need to take care of it properly. The methods outlined above show you foolproof ways on how to clean a cooler effectively. But we don't just stop there - we've given you detailed advice on how to guard against developing stubborn stains and offensive smells.
Remember, a clean cooler means fresh food, happy camping trips, and no more embarrassing moments when you open that lid. You will be grateful to your future self for acting now!
FREQUENTLY ASKED QUESTIONS
- 01. How Often Should I Clean My Cooler?
-
Clean your cooler with warm soapy water after every use. For deep cleaning with bleach or baking soda, do this monthly if you use it regularly, or whenever you notice odors or stains developing.
- 02. What's the Fastest Way to Remove Fish Smell From My Cooler?
-
Sprinkle baking soda all over the interior, scrub it in with a toothbrush, and let it sit for 2 hours. Rinse thoroughly. If the smell persists, spray with a bleach solution (1 part bleach to 2 parts water) and let sit for an hour before rinsing.
- 03. Can I Use Regular Household Cleaners Instead of the Methods You Mentioned?
-
Stick with the recommended methods for best results. Regular cleaners might not eliminate odors or kill mold effectively. Baking soda, vinegar, and diluted bleach are specifically chosen because they're safe for food storage areas and tackle the root causes of cooler problems.


