How To Clean A Vacuum Hose And Its Attachments
And you may wonder how to clean a vacuum hose when it’s nearly impossible to reach inside? Don’t worry, the following article will instruct you on how to clean a vacuum hose and all of its attachments in the fastest and most effective ways, so you won’t have any troubles using it.
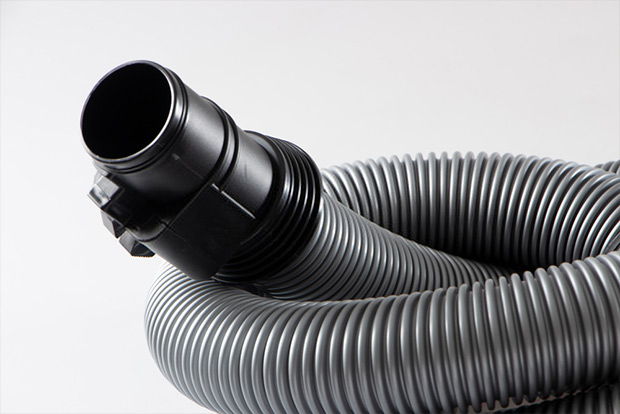
The vacuum hose can get really dirty and smelly
The procedures and what you need to prepare
With vacuums, you will have the filters doing their jobs of keeping the inner parts free of dust and dirt. And the dust container, while being the place that stores dirt, is usually detachable and can be easily cleaned with a little work.
But for the hose and the connected attachments, which are the very first things that come in contact with all kinds of nasty stuff that you picked up, they will get quite dirty over time.
And unlike the container, which can be easily removed and cleaned, you will need to put extra work in disassembling the parts and cleaning them from the inside out. Not to mention that different machines will have their slight differences in designs, which require certain compromises.
So, it would be nice if you could understand the whole cleaning process and be able to apply it to your current vacuum cleaner model.
➜ RELATED: How To Get Paint Off Laminate Floors With Simple Solutions
The procedures
Here is how to clean a vacuum cleaner hose, the way I usually do with my own machine. Basically, you will first need to dissemble the hose from the vacuum body. Nowadays, most vacuum models offer detachable hoses, which can be easily removed with a press of a switch.
And while the outside can look fairly clean, the inside can consist of all kinds of dirty stuff, from pet hairs, dust, greases, and more, which won’t come out easily. You will then need to dip the entire hose into a certain cleaning solution to help loosen the dirt and break down the greases. Once everything is somewhat cleaned and loosened up, you will find it a lot easier to clean the inside.
One would definitely wonder how to unclog a vacuum hose when it’s too long for any kind of brush to reach. So, for this matter, I have a really nice trick to help you get inside the hose and be able to scrub the inner walls.
Just find a long stick that can fit inside your vacuum hose and put a piece of rag on one end. It would become a self-made brush for you to do the cleaning. Then you can simply fit the stick back inside the hose while keep rubbing the inner walls with the rag.
This method is extremely useful when trying to clean up the dirt and greases inside the vacuum hose, which are usually impossible for you to reach.
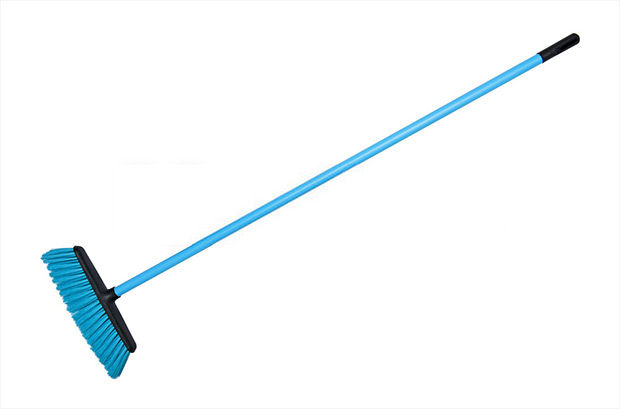
A broom handle of any kind would make the perfect tool for cleaning the hose
Things to prepare
Here are all the items you need to start cleaning and unclogging your vacuum hose:
A large container that can fit your entire hose – you will need this to hold the cleaning solution and be able to submerge the vacuum hose under water. In my case, I have an unused stationary sink in the basement, so I always do the cleaning there. As for you guys, make sure that you find something similar or get a plastic container for the job. And never use your kitchen sink or anything similar, since you don’t want the dirty water polluting the drain.
Some kind of cleaning solution – since you will mostly need this to break down the greasy substances that have been building up inside the vacuum, any kind of soap would do the job. I often use dish soap and it works quite well.
A long stick that can fit inside the hose – as mentioned, we’ll be using a stick to run inside the hose to unclog the inside. The simplest way is to get yourself a broom handle, which should be available in most households. Of course, you are free to invent your own cleaning shafts by using all kinds of items that are available and compatible.
A few rags to deep clean the inside – combined with the long shaft, the two would make a great cleaning tool for the inner walls of your vacuum hose.
A cup cleaner brush – while this is not long enough to reach inside your entire hose, it would make a perfect tool for cleaning the other attachments from the vacuum.
➜ RELATED: Shark Apex Uplight Lift-Away Duoclean LZ601: Strong Suction In A Compact Body
Step by step instructions
If you are someone who uses their vacuum for almost everything like I do, you can imagine how dirty and smelly it would get, if you neglect the regular hose cleaning. So, let’s get right to work to learn how to clean out a vacuum hose.
Step 1 - Disassemble the parts
Depending on the model of vacuum that you’re using, the process might vary a little, but most vacuums will allow users to disassemble its hose quite effortlessly. You just need to press the knob to unlock the hose from its canister or upright body. Then remove any attachments that you’re having on the hose head. If you’re unsure about this step, feel free to take a look at your instruction manual or consult your product manufacturers.
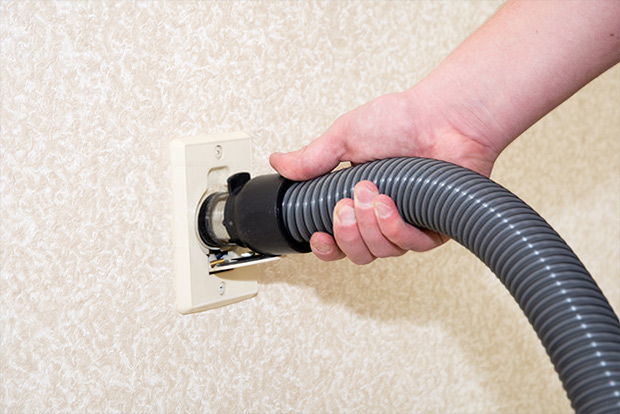
Take out hose from the power unit
Step 2 - Pre-clean the hose
With the hose and all of its attachments disassembled and ready on the table, you can start making the cleaning solution. Simply apply some soap and add enough water into the container so your vacuum hose and the attachments can stay completely submerged inside. Make sure to give a little time for the cleaning solution to take effect and start breaking down the dirty materials inside. The more you let it work, the better the results would be.
Also, for those who are wondering how to clean a smelly vacuum hose, you will probably want to get yourself stronger soap with deodorizing effects. Since the bad odors that have been building up overtime won’t simply get erased with regular soaps.
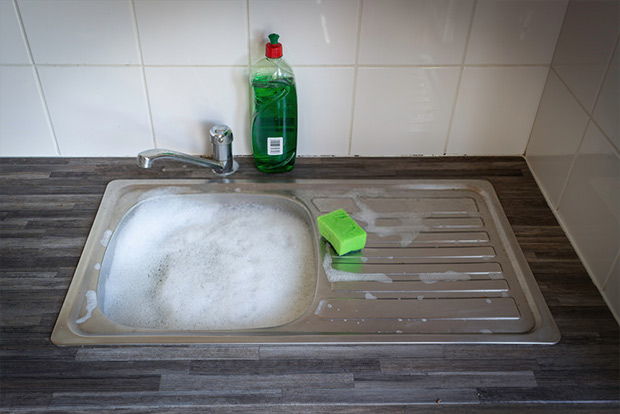
Prepare the soap for cleaning
Step 3 - The actual hard work
Once you take out the hose and vacuum attachments, it’s time to rinse them inside out with water multiple times. This would get rid of any greasy and dirty water that still gets on the items. Plus, you’ll also do your vacuum hose a little bit of extra cleaning. It should look and feel much better after this process.
But inside the vacuum hose, there are still stubborn stains and greasy parts that require you to really work on. Hence, it’s time for the cleaning shaft to do the work. Simply sit on a chair, position the broom handle or anything similar in between your laps. Wrap a rag around the top of the handle and make sure that it would fit your hose.
Then, just simply work your cleaning tool into the hose and start scrubbing the inside to get rid of any stubborn stains and greasy matters. Remember to not move the stick. Instead, wrap your palm around the outer walls of the hose and rub it against the piece of rag. Do this repetitively and gradually follow the length of the hose until you reach the very end.
Take out the hose and run it under water to clean up the excess dirt. Clean the rag or change to a new one and repeat the process to make sure that the inner walls of your vacuum hose are completely cleaned.
As for the attachments, you just need to work the cup cleaner brush into them to get rid of all the dirt and grease. Perform the push and pull actions while twisting the brush to optimize the cleaning result. Then rinse everything again with water. Your crevice tool, dusting brush, and many others can be easily cleaned afterward.
Step 4 - Finish the job
Once you are satisfied with the result, just leave everything to dry clean on themselves before you try to put them back together. Follow the instructions to put the hose back on its vacuum body and place the attachments back to their mounting position. You can even start vacuuming to see how much your machine has improved. No funny smells, no poor suction, everything will be improved for the better.
Or alternatively, you can learn how to store vacuum cleaners correctly so they will be ready the next time you use it. Doing this would prevent dust and odors from building up inside the machine, which would sabotage your maintenance in the first place.
Conclusion
With proper maintenance and a nice product from this top 10 vacuum cleaner list, you can all enjoy happy vacuuming, regardless of your cleaning needs. And of course, I’m sure that my insightful instructions on how to clean a vacuum hose would come in handy for all of you. And if you are interested, there is also another article on how to make a vacuum, which will instruct you to create your own vacuum using many common materials. Feel free to check it out and discover many great contents for vacuum users on our site.


