How to Clean Shark Vacuum - How to Clean Shark Vacuum Filter
Still, if you’ve been using your Shark vacuum long enough, you’ll probably notice a few subtle dips in performance. And most of the time, the reasons are because your best vacuum cleaner is clunked with dust and dirt. Your vacuum will need a good cleaning so it can function properly again.
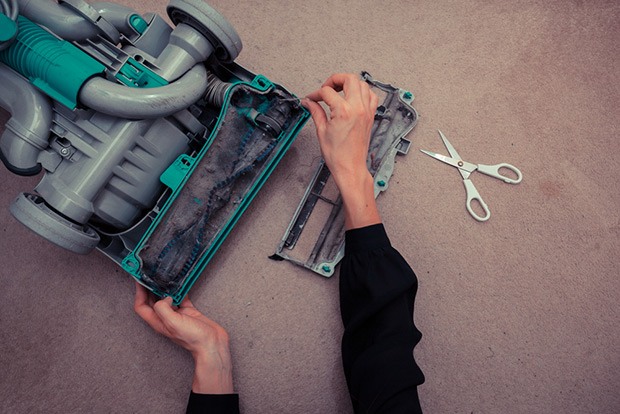
Even if you don’t think that your vacuum is losing suction because of the excess blockage of dirt, you also have more important things to worry about. As the dust clunked up inside your motors, filters, and even the dust containers, the quality of the air that comes out of your vacuum can be quite bad for the health of your family.
That being said, if you’re wondering how to clean Shark vacuum filter, or how to clean Shark Navigator Lift-Away, we’re here to help you. Below is the information that you’ll need to start cleaning your Shark vacuum cleaner without fail.
Things to prepare
While Shark vacuum cleaners can come in varied shapes and sizes, most of the time they come with the traditional upright vacuum design. So the cleaning process that we’re going to introduce to you will certainly work on your vacuum regardless of its model.
Here you’ll find all the necessary tools and items to start the cleaning process:
✛ Screwdriver – While most of the parts that require cleaning in your Shark vacuum can be detached, you’ll need a screwdriver to have your vacuum completely disassembled since we’re after a deep cleaning.
✛ Cleaning solution – The next thing you’ll need is some chemical cleaning solution. It doesn’t matter what type you choose as we just need the soap to work on the greasy and clunky parts of the vacuum.
✛ A large bucket – Make sure it’s large enough so that you can fit the entire dust container inside. You could also use your kitchen or bathroom sink to do the job, but using the bucket might save your money on future plumbing problems from clogged drains.
✛ A hard-bristle brush – You’ll need this to deal with the neglected areas inside your vacuum that require intense cleaning.
✛ High-pressure water – Connect your nozzle to the water source and you’ll find it quite effective when cleaning the hose and attachments.
✛ A pair of cleaning gloves – If you’re keen on keeping your hands clean and save yourself some hand washing later on then a pair of rubber gloves is ideal.
✛ Scrubbing pads – Use these to work on the tough spots and force them away.
✛ Cleaning cloth – Get yourself a few of these since it’s going to be dirty.
✛ Rubbing alcohol – Use this if you want to seriously clean your vacuum exterior and interior. The rubbing alcohol will work great on the plastic parts to wipe away smudges.
✛ A sharp scissor – You don’t have to go for the large ones, just grab one that fits your hand and can work inside the cleaner head with ease. You’ll need to trim away hair and threads.
The complete cleaning process
Now that you’ve known all the important items that need to be prepared, let us guide you through the exact steps. However, since each model is a little different from each other, we recommend that you spend time reading the instruction manual before doing this.
Step 1 - Disassemble the parts that require cleaning
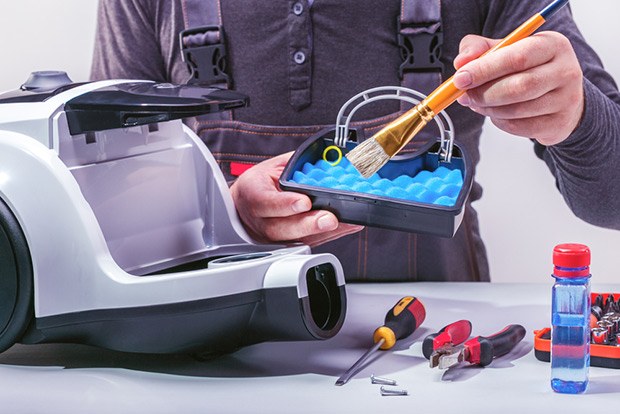
Well, this will not be another “how to take apart the Shark Navigator Lift-Away” tutorial as we’ll be only showing you the dirtiest parts that need to be cleaned. Plus, most of them are quite accessible so you won’t likely run into any trouble.
Having said that, you should start by removing the dust container from your vacuum. You’ll probably see a piece of foam resting underneath of it. This is your Shark vacuum filter which prevents debris from re-entering the atmosphere.
There might be a couple of them, just take them out and set them aside to be cleaned. It’s also recommended that you take out your HEPA filter which is positioned on the front of your vacuum and below the dust container.
The next thing that’ll need your attention is the hose, which is quite easy to remove. And if you want to, you can also remove the cleaner head for more thorough cleaning.
➜ Related: How to Clean Dyson Vacuum Cleaners in Easy Steps
Step 2 – The cleaning begins
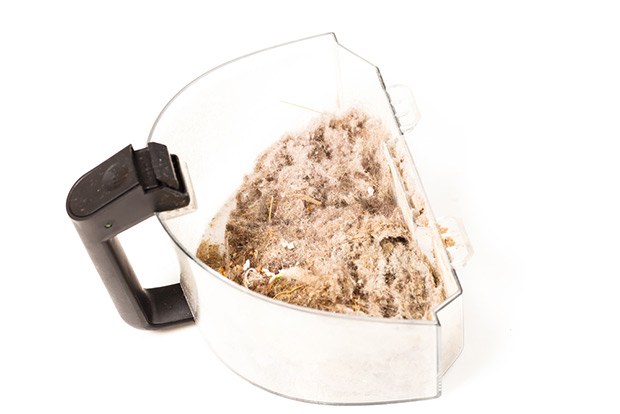
We’ll start with the dust container which is probably the dirtiest part on your vacuum cleaner. Start by taking it outside and empty the dust and debris into a trash bag. Give it a few taps to make sure the remaining dust is forced out.
Use a brush to reach inside the container and loosen the dust and dirt that are clunked around the steel mesh. This is one of the major reasons which cause your vacuum to lose suction power. Empty the container once again to make sure it’s clean.
Once you’re done, fill the large bucket with water and cleaning solution. Then soak the dust container inside the water and leave it for about 30 minutes. Also, put the hose and other attachments inside so that the solution can break down the clunked dirt. In the meantime, you could clean the other parts.
After a certain amount of time, you should take your dust container out of the solution and give it a few scrubs to work the dirt out. It should be fairly easy now that they’re all soaked. Make sure you clean it thoroughly and rinse away the soap completely.
As for the hose, it’s going to be a little trickier since you can’t reach your scrubbing pad inside of it. So we’ll need to use high-pressure water to spray through it. Since the dirt is already loosened, it should come off quite easily.
Do this for the rest of the cleaning attachments and rinse them completely with water. Leave the parts outside until they’re completely dried.
The filters
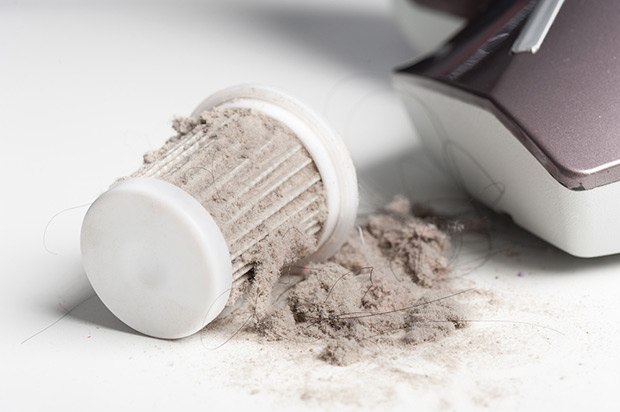
Now, it’s time for our Shark vacuum filter cleaning instructions. Make sure you have all the different Shark filters on your vacuum removed and positioned in front of you.
We’ll start with the foam filter, which is arguably the dirtiest part. Depending on your preferences and the conditions of the filter, there will be two cleaning methods for you.
First, if your filter is too dirty, it’s recommended that you soak it with water and squeeze out all the dirty water and debris. Do this multiple times until the water starts to become clear. After that, squeeze the filter as hard as possible to dry it out. Then leave it out for a day or two to completely dry out.
➜ Related: How To Clean Your Room - The Ultimate Remodeling That Every Homeowner Needs
And if you think that your filter is relatively clean, you could skip the rinsing and take the foam outside to beat off the dust. Hit the filter hard with one of your hands while holding it with the other. Make sure you don’t stand in the opposite direction with the wind to avoid the dust blowing on you or in your mouth. Do this until you’re satisfied with the result.
As for the HEPA filter, we can’t clean it by soaking in water like the foam filter. And for most of the time, the only solution for your dirty HEPA filter is to have it replaced, which is not very cheap. However, if you find it relatively white in color, it means that your filter isn’t too dirty and there is no need to replace it quite yet.
To make your HEPA filters a little bit cleaner, you could use a can of compressed air and spray it on the front of the filter. This will force the remaining dust particles on it to fly away. Just make sure that you take your filter outside before doing this to avoid re-dispensing dust into the indoor environment.
The cleaner head
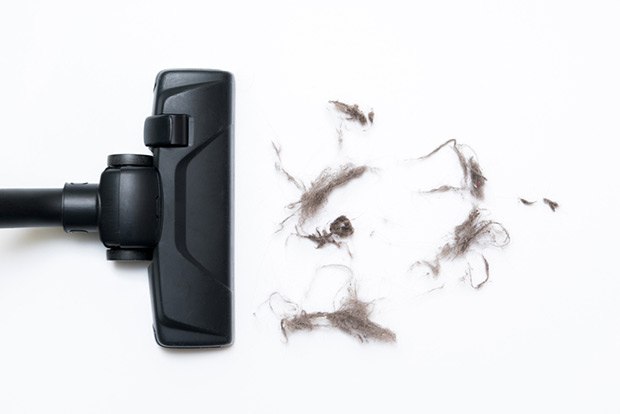
Once you’ve done your job with your Shark Navigator filter cleaning or Shark rotator filter cleaning, it’s time for the cleaner head.
Generally speaking, if your vacuum is relatively new, you won’t have to open the cleaner head and deal with its interior. Just use your scissors and run a few rounds on the brushes to cut off all the clogged hairs and threads that are tangled on it. Do this carefully to avoid touching the bristles. Use your finger to grab the wastes out and you’re good to go.
However, if you’ve been neglecting your vacuum for long enough, having the cleaner head removed and disassembled is definitely recommended. Plus, you can have the brushes cleaned more thoroughly. You should start by removing the top part away, which is mostly possible on many Shark vacuum models. However, if that can’t be done, you could just let it slide since it won’t bother our cleaning too much.
Turn your vacuum upside down and locate the different screws on the bottom. Remove them to gain access to the interior of your vacuum head. Use the compressed air to blow away the dust and debris. Then use a clean cloth to rub around the different parts on the head to clean them completely.
As for the brush, with the head completely opened, you can remove it easily and clean it more effectively. After getting rid of the hair with your scissors, you can use some rubbing alcohol to make it clean and shiny.
Step 3 – Finish things up
Once you’ve done the cleaning on most of the parts on your Shark vacuum cleaner, it’s time to put things back where they belong. Start by installing the brush on the cleaner head and tighten the screws back.
Connect the top part with the cleaner head and let the vacuum stand upright. Put the filters back in place. It’s recommended that you let your foam filter dry completely. But “almost” is also acceptable. Reinstall the dust container and connect the latches so it’ll stay fixed.
Put the hose and attachments back in their places, and you’re done.
Conclusion
Having used many different types of vacuum cleaners throughout my career, I genuinely believe that it’s essential for them to be cleaned and taken care of frequently so they may have consistent performance and good longevity.
Having said that, we’ve put a lot of effort in making these guides. We hope you find our instructions helpful. And if you have any questions about how to clean Shark vacuum? Feel free to send us your feedback through comments or emails. We’ll be more than happy to listen to your opinions.
Thanks for reading, and we’ll see you in our next posts.


