How to Clean Wooden Floors Like a Pro: The Ultimate Guide That Actually Works
- Easy Ways To Remove Dog Hair From Your Car
- Popcorn Ceiling Removal: A Complete Guide For Your Vancouver Home
- The Best Methods for Cleaning Your Shag Rugs
I don't care whether your floors are newly installed or have been there for years – preserving this investment is essential. That's why I clean hardwood floors with the right amount of care and attention, and today I'm sharing exactly how you can do the same.
I do a little more than use any old mop and broom. How you take care of your wooden floors will determine how long-lasting they are.
So how do you clean wooden floors properly? It doesn't have to take up every weekend of your life. I keep three rules in mind so that I can spend less time dealing with them and more time enjoying precious daily moments. I use the right supplies and tools, a suitable hardwood floor cleaner, and know the dos and don'ts.
Below I have specified how I do it. Make sure you read to the end – it takes just a few minutes, but it may be of valuable assistance to your floor cleaning.

The longevity of your wooden floors depends on how you maintain them
How to Clean Wooden Floors
Getting your wooden floors spotless starts with understanding what you're working with. Once you know your floor type, the cleaning process becomes much simpler and safer.
Identify Your Kind of Flooring
Before diving in, let's figure out what type of hardwood you're working with. The particular type may require special considerations. Not sure? Check with the manufacturer first. Trust me, you don't want to damage those beautiful floors.
Since every board of the prefinished floors has bevelled edges, they're the most effortless to spot. They have a coating of a long-lasting surface seal, but the boards have separate layers. The unsealed cracks between them are vulnerable to water damage.
Your floor is unfinished or stained if you have a non-glossy surface. The hardest to distinguish is shiny flooring.
Here's a simple test: Rub a slightly wet fine steel wool on an unnoticeable area to determine whether your floor can be waxed. If a light gray smudge appears on the abrasive, you can tell you have a wax finish.
To know if your surface seal is old or modern, pour some water drops on the most worn area. If the water stays beaded after a few minutes, it's likely a modern seal. Meanwhile, if it darkens or soaks the wood, chances are your seal is poorly finished or is old. Gentle care is necessary.
Polyurethane (a tough, plastic-like coating) and urethane are some of the most popular flooring finishes available today. These surface seals are resistant to stains and water. Cleaning them is easy.
The finishes of older floors are typically lacquer, shellac, or varnish. Though they are technically surface sealed, they tend not to be as durable as their modern counterparts.

Older floors are usually finished with varnish, shellac, or lacquer
The Best Way to Clean Hardwood Floors with Modern Surface Seals
Modern surface seals make floor cleaning much easier, but you still need the right approach. Follow these steps to get professional results every time.
Supplies and tools needed:
- The best vacuum cleaner
- Furniture sliders, blankets, and felt pads
- Hardwood cleaning product
- A bucket of water
- A mop
- A cloth
Instructions:
1. Clear furniture and belongings from the cleaning area
Slide your heavy furniture out of the way using sliders, blankets, and felt pads.
Pro tips:
≫ Ask someone to help lift the heavy items.
≫ If you have plenty of furniture and your living space is smaller, here's what I do: shuffle everything to one side of your room and clean the unoccupied side, then do the same on the other side. Though this method gets the job done, you may want to reserve it for deep cleaning days.
2. Pick up all the dust and dirt with your mop or vacuum
Vacuum or sweep with the wood's grain – this will gather most of the dirt and debris. Pay more attention to the wood's joints because dirt is most likely to build up there.
Pro tips:
≫ Here's something I learned the hard way: Always inspect your vacuum wheels and head before use. Abrasives such as salt, gravel, and coffee grounds can be embedded in your hard-plastic vacuum cleaner wheels. Similar to sandpaper, they can ruin the finish of your floor fast with marks and scratches wherever you roll the vacuum.
≫ The vacuum's stair wand attachment is for more than cobwebs and stairs. It does a fantastic job of cleaning along the edges of walls where dust gets trapped around baseboards.
≫ Don't want to move your furniture? No problem. You can use a dust mop with an extendable handle or the stair wand and upholstery accessories on your vacuum to deal with it.
3. Choose the proper cleaner
Using the wrong cleaning product on your flooring can be damaging and expensive. I once used an ammonia-based cleaner on my prized cherry wood floors. The result? Permanent white spots that reminded me daily of my expensive mistake. Don't make the same mistake – let's choose the right products.
They could leave residues that are impossible to clean and that cause discoloration, wood splitting, or bubbles in the finish. So, choose ones that are right for the job.
For general cleaning, use water-based and pH-neutral products like specific hardwood floor cleaning agents, or products for vinyl floors.
To dissolve dirt and grease, opt for detergents, soaps, baking soda dissolvable in water, or other alkaline, water-based cleaners. Remember to only use these in small quantities. If you want to learn how to clean wooden floors naturally, baking soda mixed with water is one of the safest options.
Acidic, water-based rinsing agents work to dissolve mineral deposits and hard water buildup. Fresh lemon is a good example.
Pro tips:
≫ The safest option? Hardwood-specific cleaners every time.
≫ Avoid ammonia, bleach, and abrasive cleaners. Also, stay away from anything that could leave a residue like wax, oil, and furniture spray. They won't just hurt your hardwood but possibly void any warranty.
4. Dilute the cleaner in a bucket of water
After choosing the right floor cleaning product, mix it with water. Here's what's crucial: follow the manufacturer's instructions when diluting the cleaner. Too much of it can damage your floor's finish.
Pro tips:
≫ Consider the type of water you use. Distilled water is your safest choice as it prevents hard-water streaking. You can buy it in supermarkets at a low price. Alternatively, a quick wipe down with lemon juice in water following cleaning also helps avoid streaks. Make sure you give the floor a hand dry afterwards.
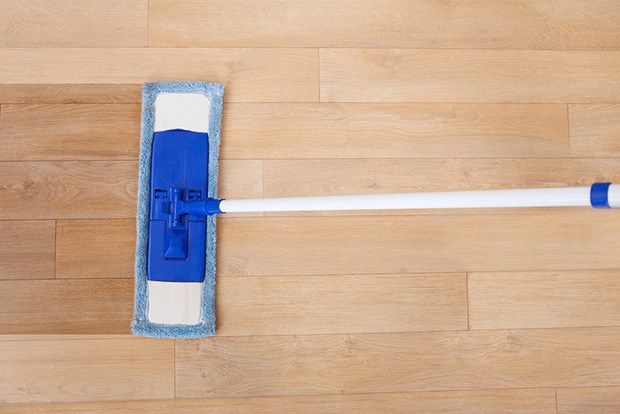
The safest option is distilled water since it stops hard-water staining
5. Mop your hardwood floors with the cleaning solution
Once you're positive that you have the safest cleaner for your wood, dip the mop into a bucket of the mixture. Move it across the floor in the direction of the wood grain. Begin in the far corner and then work toward a door so you don't have to walk on wet floors. Refill the bucket if the solution becomes too dirty.
Pro tips:
≫ To minimize the chances of dirtying or marking your floor when it's wet, take off your shoes.
≫ Use a cloth to tackle stubborn areas. Dip it in the cleaner and water solution and then manually scrub it across stains for more direct pressure.
6. Remove excess liquid from your floor with the mop
Rinse the mop in clean water and squeeze it until it's damp. Mop up the remaining dirty water on your floor with it. Squeegee this into the clean bucket before repeating.
Don't delay this step. Modern surface seals can resist water penetration to some degree, but being wet for a significant amount of time can be damaging.
Pro tips:
≫ Wring your mop dry. Move it over the wet floor until it soaks up the remaining liquid. Repeat until your floor seems free from moisture.
≫ Also, you can turn on portable fans or open windows to allow air circulation.
7. Go over your floor using the clean mop
Doing so will get rid of any dulling or streaky traces of the cleaning solution.
Pro tips:
≫ You can use a terry cloth to dry your floor. The wrung-mop method also helps avoid streaking and protects the lifespan of your floor.
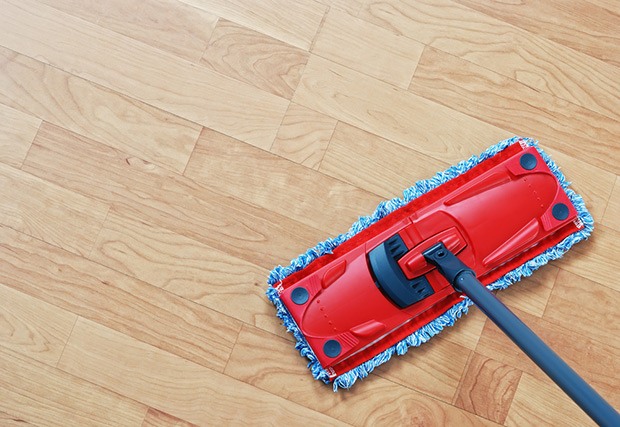
Additionally, the wrung-mop method prolongs the life of your floor and helps prevent streaks
8. Sit back and admire your handiwork
Pour yourself your favorite drink, sit back and admire your sparkly clean floor. You've earned it!
How to Wash Hardwood Floors (All Other Types)
Older floors and different finishes need a gentler touch. Here's the safe method that protects your investment while getting great results.
Supplies and tools needed:
- A vacuum cleaner
- Furniture sliders, blankets, and felt pads
- A bucket of water
- A mop
- A cloth
- Odorless mineral spirits
Instructions:
1. Clear furniture and belongings from the cleaning area
This is the same as the first step for washing hardwood floors with a modern surface seal above.
2. Pick up all the dust and dirt with your dust mop or vacuum
This is the same as the second step for washing hardwood floors with a modern surface seal.
3. Pour water into your bucket
As with modern surface seals, you need a bucket to place water in.
Pro tips:
≫ You can use distilled water to prevent hard-water streaking.
≫ Remove your shoes to avoid dirtying or marking your floor while cleaning.
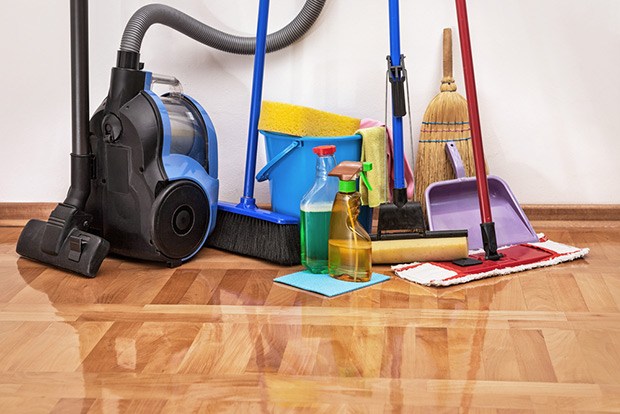
You need a bucket to put water in, just like with contemporary surface seals
4. Clean using a slightly damp mop
Dip the mop into the water bucket. Here's the critical part: your floors cannot come back to their original condition once there's water damage and they will likely need replacing, so make sure you wring it out thoroughly. Move it across the floor in the direction of the wood grain. If the water becomes too dirty, fill the bucket again.
Pro tips:
≫ The mop won't be good to use if you can still wring water from it with your hands.
≫ Rinse your mop many times during cleaning.
5. Use mineral spirits and a cloth for tough spot cleaning
Mineral spirits are too strong to use regularly, but they work wonders to eliminate stains such as white water spots.
Pro tips:
≫ Always test your mineral spirits on an inconspicuous area first. Rub a dot into your floor in a hidden area, such as under a couch. Come back after ten minutes or so to check if there's any damage to your flooring.
General Floor Maintenance Guide
Now that you know exactly how to clean wooden floors properly, let's talk about keeping them clean with minimal effort.
1. Clean routinely
Sweep and/or vacuum your floor weekly to avoid dust and any scratching agents. You should deep clean your hardwood floors only when necessary. This approach will make them last longer and save you time.
2. Wipe up wet spills on your floor right away
Whatever your finish, don't leave moisture on your wood floor. It can harm the wood and the seal for good if you're careless. Use a damp cloth to wipe it up immediately.
3. Prevent the damage your pets can do to your hardwood
If you have pets, you know how their claws can ruin your floor. This is especially true of big dogs. Trim their nails regularly – both your floor and your pets will thank you.

You may be aware of how your floor might be damaged by your pets' claws
4. Minimize dirt from foot traffic
Daily dirt is inevitable when your family and guests enter and leave the house. The best way to tackle this? Try to avoid it in the first place. For example, make your living environment shoe-free. If you're not comfortable with that, another alternative is buying a quality doormat and encouraging everyone to wipe their feet before entering.
5. Be careful if your hardwood needs buffing or waxing
Asking a flooring specialist is your safest bet. Waxing keeps your floors shiny, but they'll be slippery for several days after. Be sure to buff in circular motions, beginning in one corner and moving towards the exit. When you finish, wait about one hour before you walk on the floor.
6. Handle floor scratches with a wood repair kit and floor wax
If you notice any scratches on your floor, don't panic. Get a wood repair kit that matches the hardwood in your home from a local hardware store. Also, get some floor wax. Use the kit to paint across the scratch along the wood's grain. Let the paint dry. Next, apply wax using a paintbrush until it blends with the surrounding floorboards' smoothness.
Final Tips for Beautiful Floors
Ready to keep your wooden floors looking spectacular? If you're still wondering about the best way how to clean wooden floors and maintain their quality, remember this: the key is regular floor maintenance and deep cleaning only when needed. Your flooring takes the most substantial amount of wear and tear in your space from dirt, dust, grime, debris, pet hair and your kids' leftovers. Repairing, refinishing, or replacing it is expensive.
I hope the methods and floor care tips mentioned above help you achieve those gorgeous, gleaming floors you deserve. Do you have another effective way to clean wooden floors? If so, please feel free to share in the comments below!
FREQUENTLY ASKED QUESTIONS
- 01. How Often Should I Clean My Wooden Floors?
-
You should sweep or vacuum your wooden floors weekly to remove dust and dirt. Deep cleaning with a mop and cleaner is only needed when the floors look dull or have visible dirt buildup. For most homes, this means deep cleaning once or twice a month.
- 02. Can Vinegar Be Used to Clean Hardwood Floors?
-
While vinegar is natural, it's acidic and can damage your floor's finish over time. Stick to pH-neutral cleaners designed for hardwood floors, or use the baking soda method mentioned in this guide for a safer natural option.
- 03. What Should I Do if I Accidentally Use Too Much Water on My Floors?
-
Act fast. Use a dry mop or towels to soak up excess water immediately. Turn on fans and open windows to increase air circulation. If water has seeped into the wood and caused swelling or white spots, you may need professional help to assess the damage.


