How To Paint Laminate Floors - The Quickest, Easiest Ways
When this happens, you have two choices: either to replace the entire floor or learn how to paint laminate floors and rework the lamination. Most people, of course, will opt for the latter. Replacing an entire laminate floor is an incredibly expensive venture. It’s needless, too, if your floor boards aren’t heavily damaged.
In this guide, we’ll show you how to paint laminate floors. It’s a lot easier than you might think!
Things You Should Know Before You Repaint Your Laminate Floors
Though it may sound straightforward enough, repainting a laminate floor is actually a big undertaking, especially if you decide to do it by yourself. So, before we get into it, here are a couple of things that you absolutely must know before you bring out your brushes.
Why You Should Repaint Your Laminate Floors
Over time, the finishing on your floor can degrade. The color is going to turn dull and the surfaces are going to be filled with scuffs, dents, and scratches. It doesn’t mean that you have done a bad job at maintaining the floor. Unless it’s never walked on at all, all of this is completely normal for a laminate floor after a couple of years.
Repainting your laminate floors is like giving it a refurbishment. The new coating of paint is going to refresh the color of the boards, making them look new again. In the process, the paint is also going to cover up all of the superficial damages that the floor has suffered through the years.
By the end, it’s going to look just like new!
Replacing the Floor vs. Repainting: Which Is Better?
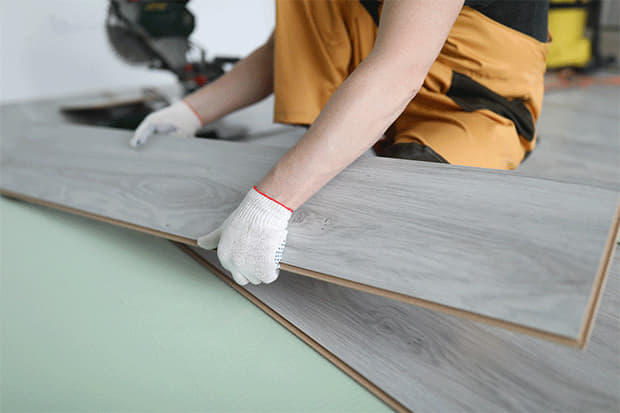
Like we said at the very start of the article, you have two choices when your laminate floors begin to show its age. You can either replace the old boards with new one, or you can repaint. And like we said, most people will prefer the latter simply because it’s much cheaper to repaint than to replace.
Nevertheless, it’s not as clear-cut as it seems. There are pros and cons to both approaches. Here’s the brief rundown.
Cost
Replacing an entire laminate floor isn’t cheap. Depending on where you live and the contractor, you will have to pay between $8 to $15 per square foot (labor and material also included). For an average 340-square foot living room, you’re looking at a bill worth around $2,720 at the cheapest.
But here’s the kicker: that’s just the installation cost. We haven’t factored in things like floor-board removal and furniture moving. The final bill is going to be a lot more than that.
Meanwhile, repainting the floor will only cost you the primer and the paint (and any tool that you don’t already have). Around 2 gallons of each can be bought for less than $100. Even if you have large rooms to repaint, the cost would likely never exceed $500.
But is cheaper really better? Not always.
If your floors are very run down and have many dents, cracks, even potholes then maybe it’s time for a full refurbishment with new boards.
On the other hand, if the floor still looks pretty good with only a few tiny nicks here and there, repaint will be best.
Possibility of a Restyle
There are different kinds of finishing out there.
For example, if you’re hoping to transform your house into a rustic-looking space, you can repaint the laminate floors with a distressed finish. It gives the floor an artificial worn-out, historical feel for cheap. Similar distressed-finished boards, if purchased and installed by professionals, are going to cost you a lot.
You may also recolor the boards, too. Fancy yourself a dark-tone, elegant wood floor? Repaint the boards with ebony or dark oak paint. Want to brighten up? There’s no shortage of light-tone paints out there for you to try!
Environmental Friendliness
Recycling old boards are better for the environment. By repainting, your current floorboards (if they are still serviceable) will be given a new lease of life and may continue to be used for a few more years.
Inspect the state of your floor carefully to see if they should be replaced. If you feel like they’re still good for use, repainting is more economical and better for the environment!
Can You Paint Laminate Floors? How Hard Is It to Repaint a Laminate Floor?
A common question we were asked is “Can you paint laminate flooring?”
You can absolutely paint laminate floors… but some skills are required.
If you haven’t handled a brush or power tools before, we highly recommend that you hire a professional to do it for you, instead.
The chance of messing up is quite high and can cause even more expensive damages. Additionally, there’s a chance that you may injure yourself while handling power tools if you don’t know what you’re doing.
Got the skills down? Next, you’ll need the time. Like any painting project, the primer and paint don’t just settle immediately. They need hours to cure.
Last but not least, the clean-up afterward is going to be hard. The sanding machine is going to produce a lot of dust and debris. The paint will fill your house with chemical odors. These can be dangerous if there’s anyone in your home who is asthmatic or has respiratory issues. Take special care and clean up thoroughly, if that’s the case.
How to Paint Laminate Floors - Detailed Guide
Part 1: Gathering the Tools and Materials
Before you paint, you need to gather everything you’ll need to do the job, first.
Step 1: Purchase the Right Kind of Laminate Floor Paint
There are many kinds of laminate floor paint that you can choose. For general-purpose painting, you can either pick porch paint or latex-based paint. Both are highly durable and can retain their colors for years.
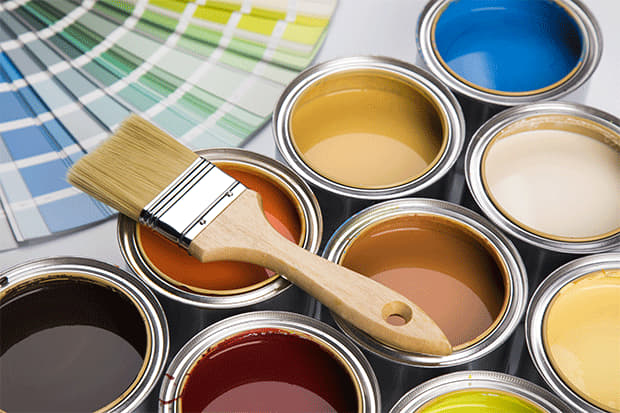
If you have hardwood or vinyl floors nearby, though, the two types of paints above may not match the color. In that case, use chalk paint. Its light color will allow you to blend the two floor types together more easily.
While you’re shopping, be sure to check the labeling to see if it’s safe to go on laminate.
Step 2: Pick Up an Oil-Based Primer
Some folks at different corners of the web are going to tell you to just splash the paint right onto your floor. There’s merit to this method: it’s quick, simple, and it works … at least for a while.
If you simply spray-paint the floor and let it dry for a couple of hours, your laminate floors will look beautiful again afterward.
But we don’t recommend doing this. The lamination layer on top isn’t very porous, so the paint — while it sticks — doesn’t fully bond to the floor. So, the new paint coating won’t be as durable and will dull or develop scratches more quickly. When it does, you will have to bust out the paint again.
For a more permanent solution, you need to sand the old paint off and apply a primer. The primer gives the paint a better surface to stick on, allowing it to last longer.
An oil-based primer is best. It adheres to the paint much better than water-based primer. Additionally, you should also pick up tinted primer that matches the paint color you’re planning to go with. It will reduce the amount of paint layers that you have to apply. This is especially important if you’re going for a dark color on your floor.
Step 3: Gather Tools and Materials
After you sorted out the paint and primer situation, it’s time to move to the tools and materials. Here’s a list of everything that you will need:
- Gloves
- Painting mask
- Masking tape
- Paint tray and paint tray liner
- Paint rollers
- Edging brushes
- Orbital sander
- Sealer
- Trisodium Phosphate cleaner
- Sanding paper (120-150 grit)
Part 2: Prep the Floor
The floor has to be prepared before you paint it over. Follow the steps here.
Step 1: Examine, Repair, and Clean the Floor
Never paint a laminate floor that is filled with dents or scratches. They will make your floor look terrible later on if you don’t spend time fixing them up. Take a walk across the floor and examine every inch of it carefully. Fill any imperfection you see with caulk.
Clean up the floor carefully later and remove any dirt or debris that you see (you can use the best laminate floor cleaning machines for the job).
Step 2: Sand the Floor
Take an orbital sander (if you don’t have one, consider renting it for a day from your local hardware shop). Use 120-150 grit sandpaper to sand down the floor.
An orbital sander will save your shoulders and back a lot of pain. However, if you can’t access a sander, use sanding paper.
Step 3: Clean Up the Floor
Last but not least, take the Trisodium Phosphate (TSP) cleaner and wash out any grime, dust, loose soil, and other debris with the best mop for laminate floors.
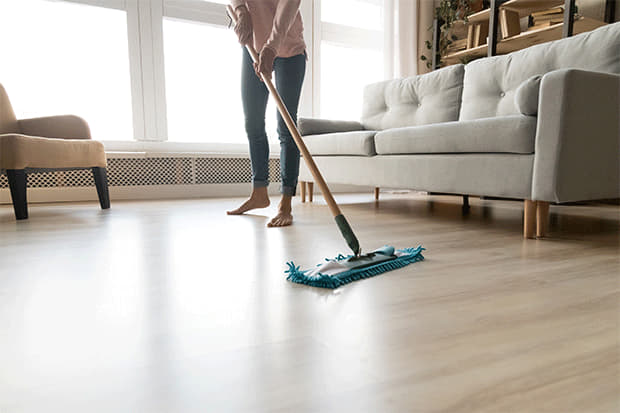
Dry the floor with towels, then use an AC unit or a heater to fast-track the drying afterward.
There shouldn’t be any moisture left on the laminated boards when you’re finished. If there’s any, it will cause bubbling when you put on the paint.
Step 4: Mask Up Everything
Cover up everything near the floor that you don’t want to be covered with paint using masking tape. If you accidentally got paint splatters on places you don’t want them to be, check out this guide on how to get paint off laminate floors.
Part 3: Prime the Floor
Step 1: Apply the Primer
Take out a brush and dip it into the can of primer. Cover the floor with a uniform layer. Make sure that you don’t miss the smaller, hidden corners in the house in the process.
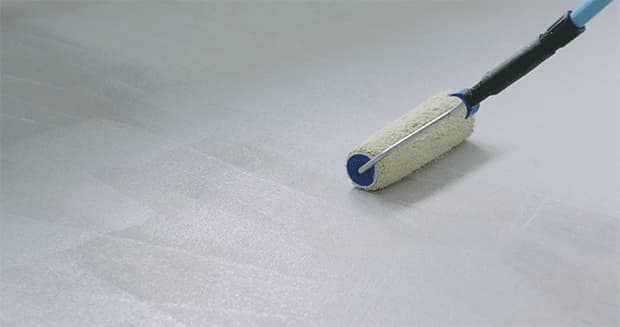
Step 2: Wait for the Primer to Dry
Once the primer has been applied, all that’s left to do is wait. It could take the primer overnight to fully dry, so you should prime the floor in the evening. Go to bed afterward and you’ll have the floor ready to be painted in the morning!
Ensure that the primer is completely dry before you proceed. If it’s still a bit wet, give it a few more hours. Painting on unready primer will quickly turn your floor into a mess.
Part 4: Paint the Floor
All of the prepping work is done, it’s time to get to painting!
Step 1: Apply the Paint on Laminate Floor
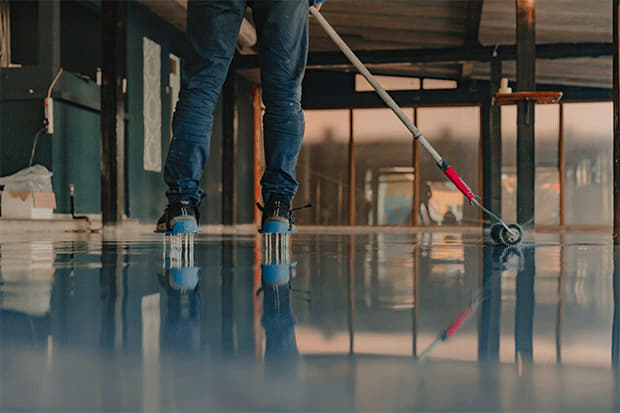
Dip your paint roller in and get the foam tip nice and wet. Attach the roller to an extension handle so that you won’t accidentally step over the wet paint.
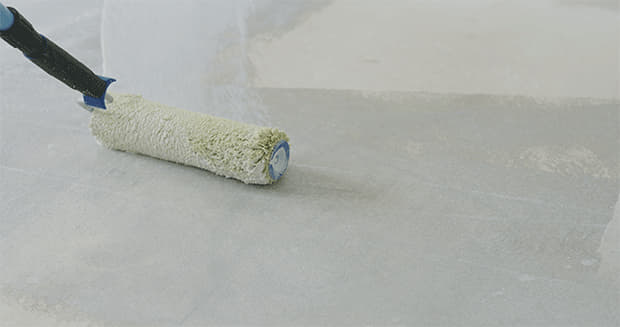
Push the roller along the lines of the laminate floor boards. Apply a uniform amount of force throughout the painting process so that you don’t end up with places that are brighter/with more paint than others.
Do not paint perpendicularly. If you do, the paint is going to turn messy and splotchy near the edges of the floor.
Step 2: Wait for the Paint to Dry
When the floor is all nice and painted, it’s time to literally watch the paint dry. Read the label of your paint can to see how long it would take for it to be ready. Paints from different manufacturers will dry at different rates.
Usually, just leave it overnight and it’ll be ready for the next step the morning after.
Part 5: Apply the Sealant
You’re not done yet. To protect the paint from dulling or wearing out too quickly, you should apply a layer or two of sealant. It will protect the floor from scuffs, scratches, moisture, and an assortment of other problems that could ruin your newly-repainted floor.
But be sure to check the type of paint that you use. Different types of paint will go with different types of sealant. For example, latex paint or porch paint will go best with a polyurethane sealant. On the other hand, if you use chalk paint, get yourself a can of polyacrylic sealant, instead.
It’s no different than painting. Take a natural bristle brush, dip it into the can of sealer, and apply even coatings around the floor to seal up the paint.
And that’s how to paint laminate floors!
How to Paint Laminate Flooring Without Sanding
This segment is also for the folks who have asked us “Can I paint laminate flooring without sanding”.
Though it is totally not recommended, you can paint the floor without sanding.
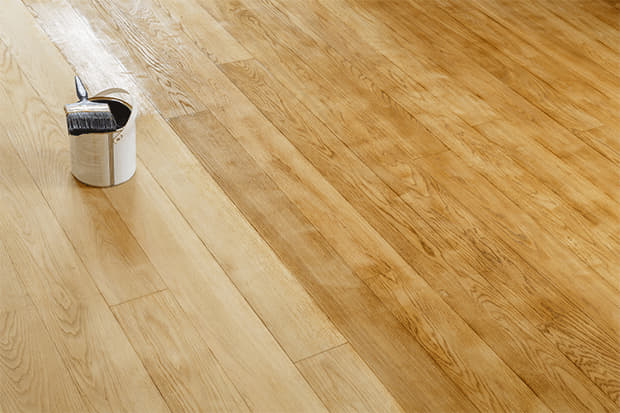
If your floor is made from a very hard type of wood or the lamination coating is highly durable and can’t be sanded effectively, this could be your only choice.
Here’s the good news: the painting steps are completely similar to the ones above (without the sanding step, of course). Prep the floor as normal, prime it, paint it with normal laminate flooring paint, then seal it.
Depending on the composition of your floor, the lack of sanding could make scuffs and scratches appear more quickly. The color might also dull faster, too.
How to Update Laminate Flooring
With the basic painting steps finished, this segment will show you how to update and style your floor while you’re repainting it.
How to Whitewash Laminate Flooring
Whitewashing will give your floor (and the rest of the house) a very attractive rustic look. The process of applying it is fairly simple.
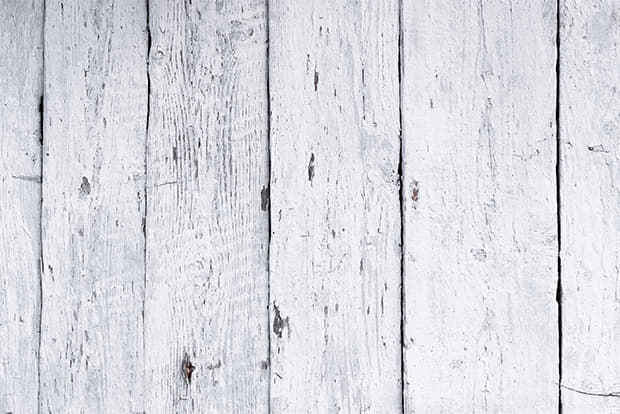
Step 1: Prep the Floor and Apply Primer As Usual
Go through the normal preparation steps for the floor, then apply the primer. Let it dry.
Step 2: Mix the Whitewash
In a can of warm water, mix masonry lime with table salt. Stir until everything coalesces.
That is the traditional recipe. Alternatively, you can also mix latex paint in an off-white color together with warm water until it turns into a cream-like substance. Painting the floor using this mixture will also give your floor the same feeling as traditional whitewash.
Step 3: Apply the Whitewash
Use a roller with an extendable handle to cover up the floor with the whitewash like you would with normal paint. Wait overnight for it to dry.
Step 4: Apply Varnish
The layer of whitewash should be sealed up with varnish. We recommend using a water-based latex varnish for the job.
Use a paint brush to apply the first layer, then leave it for a couple of hours until it fully dries out. Apply the second layer of varnish immediately afterward.
Give the floor around a full day to cure, then it’ll be ready!
How to Stain a Laminate Floor
A lot of people mistake staining and painting to be the same thing. These two processes can’t be more different from one another.
Painting will completely hide the material that’s underneath the paint. You cannot see the wood grain or feel the wood texture. All of it has been hidden away under the layers of color.
On the other hand, staining will simply change the color of your laminate floors. It doesn’t hide the patterning on the wood or its texture. Many people prefer staining far better than painting for this exact reason, especially if the wood still looks good and doesn’t have many imperfections.
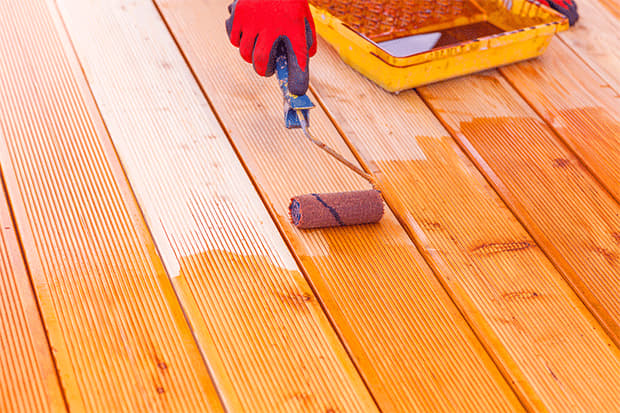
When you recolor your laminate floor by staining, the color will last a lot longer and be more resistant to damage than painting, too.
Step 1: Prep the Floor As Usual
Clean the floor, repair any damage it may have, then sand it. Clean up the dust from the sanding step by mopping, then dry the floor thoroughly.
Step 2: Apply Finishing
Instead of paint, get yourself a can of laminate floor finishing that’s in the color you want. Make sure that the labeling specifically says that the finishing is made for laminate flooring. Do not pick up finishes for hardwood. The finishing for either type of flooring is formulated differently.
Step 3: Coat the Finishing
Take a dry washcloth and dip it into the can of finishing. Apply a thin, even layer of finishing on the floor.
At first, you should apply it to a small, hidden corner of the floor first to test whether you’d like the color or not. If you like the look, cover the rest of the floor with it.
It should take the initial layer of finishing around 2 hours to fully dry.
Step 4: Apply More Layers
Once the first layer has fully dried out, apply 2-3 more layers. The more layers you add, the richer the color will look and the more durable the finishing becomes. Keep on applying until you like the color.
Step 5: Wait for the Finishing to Cure
The finishing will take quite some time to fully cure (around 48 to 72 hours, depending on the brand). During this time, avoid stepping on or touching the finishing.
Conclusion
Take a picture of the floor before you paint it, then a picture of it after and make a “Painting Laminate Floors Before and After”. You will like the After much more. The color will be brighter, scuffs along with any damage your floor might have had will be gone, too.
So, although it’s a lot of work, spending the time and effort to learn how to paint laminate floors is going to be well worth it!


